Balloons just add something special to a party, shower or event. We love using balloons whether it's for a birthday party, a baby shower or even a cookie decorating party around the holidays. Learning how to make a balloon garland is a great skill you can use when hosting events or helping add a special touch to any event.
Kinsie from Pulley Balloon Co helped us with this post- she's made hundreds of garlands and arches and this step by step tutorial will help you with your diy balloon garland! These's even a video at the end of this post you can check out!
Looking for balloon inspiration?
- Going 'two' the Farm Birthday Party
- She's been Scooped Up Bridal Shower
- Bonjour Bebe
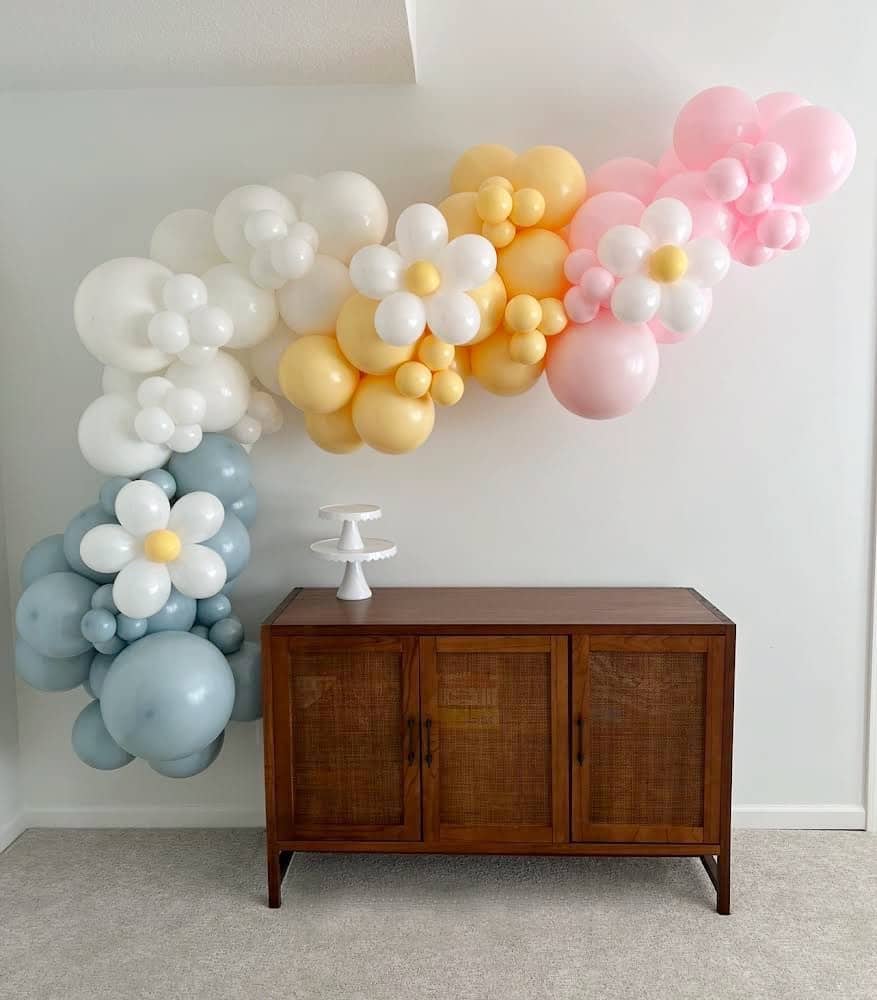
If you're going to be making a balloon garland we highly recommend getting an electric air pump. Kinsie shared a trick for tying balloons two at a time, or you can use a balloon tying tool too.
Supplies
- about 100 balloons for a 6ft garland
- 3-4 of the larger, 18-in balloons
- 15-20 of the small, 5-inch balloons
- the rest a standard 11-inch size
- electric air pump
- bag of 260's
- size 19 rubberbands
- damage-free command strips
Picking Balloons
Start by picking colors that go with your theme. Pinterest is a great place to look for inspiration. We'd recommend 3-4 colors. You can either mix and match the colors or do color blocking. It's so fun to tie your colors into your party theme and the options are endless!
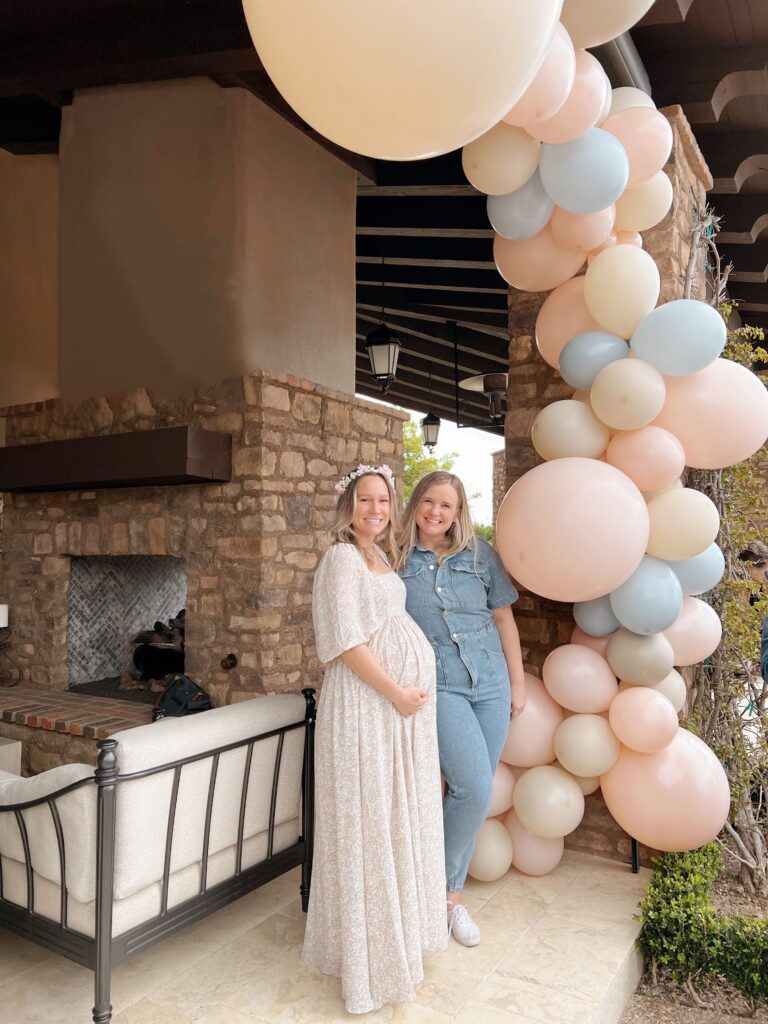
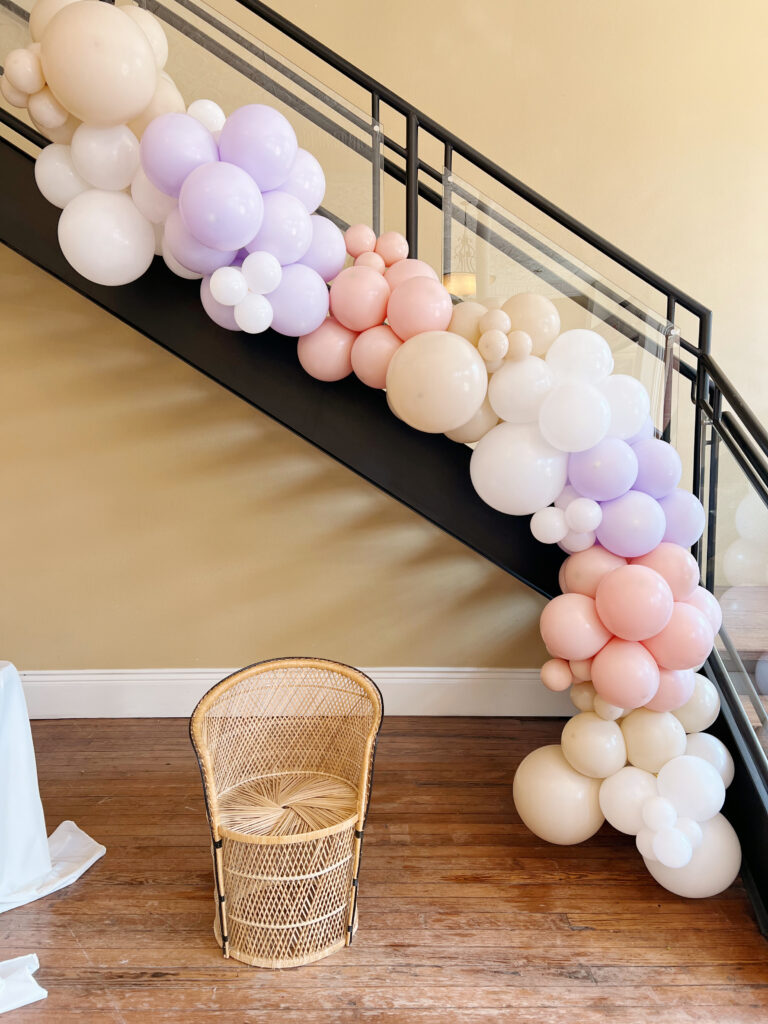
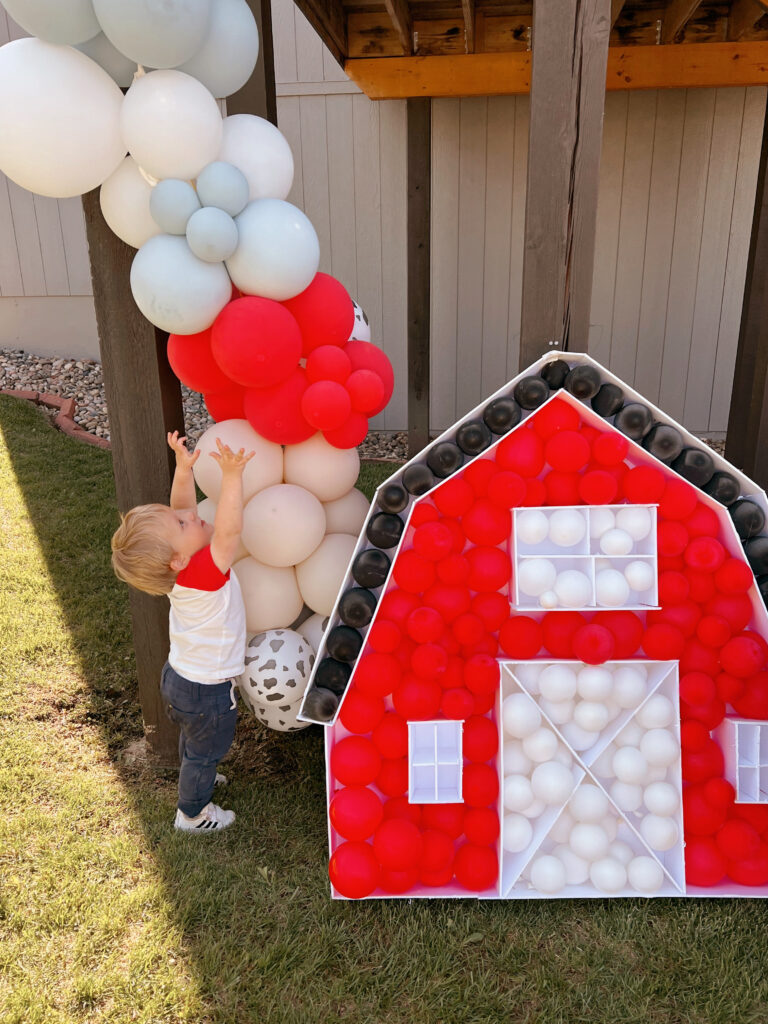
One note- not all balloons on amazon are created equal. We've been there and when I made my son's barn mosaic my hands started turning black from the cheap plastic. A few brands Kinsie recommended are Kalisan or using Bargain Balloons as a resource and buying in bulk.
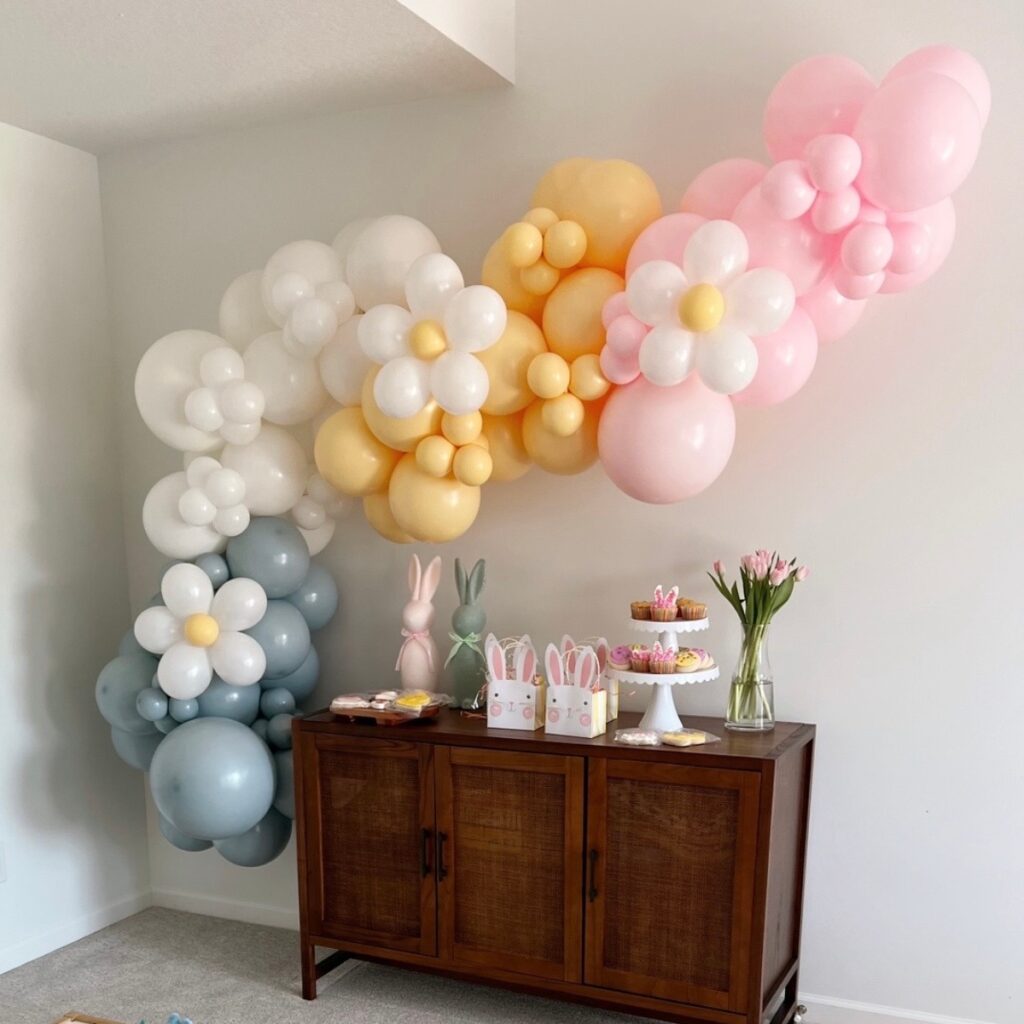
You'll use about 100 balloons for a 6ft garland, which is what we made in these photos. Aim for 3-18 inch balloons, or one per color. Then plan on about 3-4 clusters (so 15-20) 5-inch balloons. The rest will be your standard 11-inch size.
Blowing up and tying your Balloons
Fill the balloons with a bit more air than they need, then place them with the tails towards you and use the ground to press out a bit of air. This will give them a bit more of a circular shape.
You can also "double stuff" your balloons, which creates a custom color, you simply find a pencil or use the end of a skinny paint brush, and slide one balloon on the end of the pencil. Stretch the balloon down and hold the tail against the pencil, and slide your second balloon on top. Remove the pencil and you will have a double stuffed balloon. Fill with air as normal. You can play around with different colors, until you find the perfect shade to match your event.
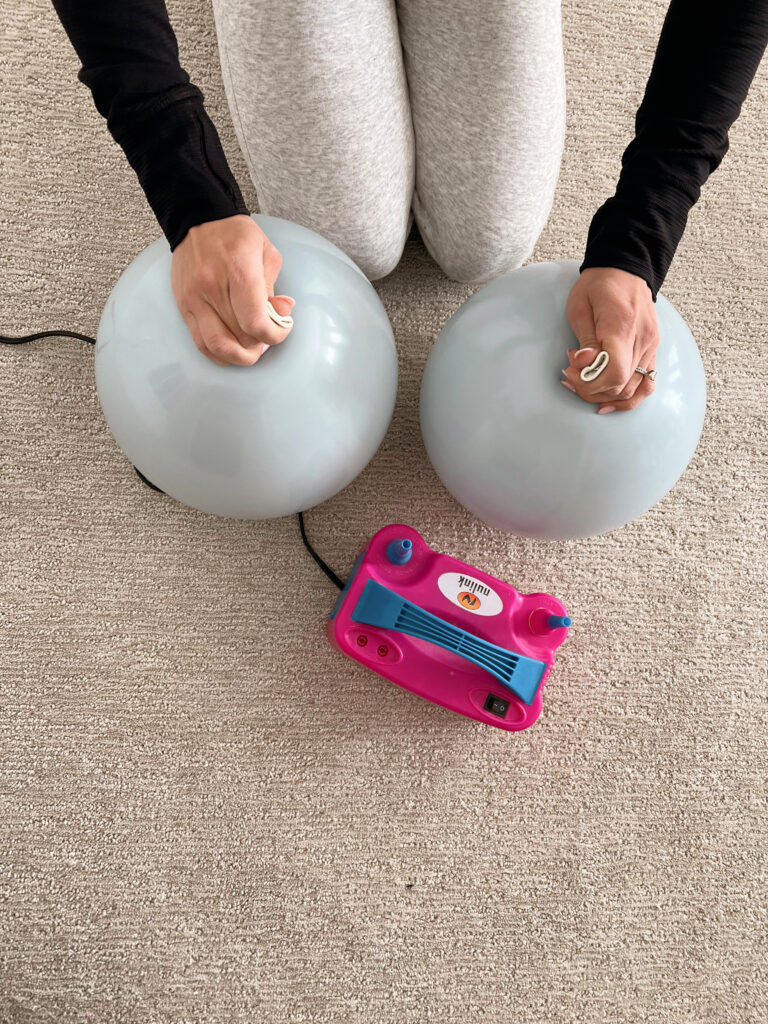
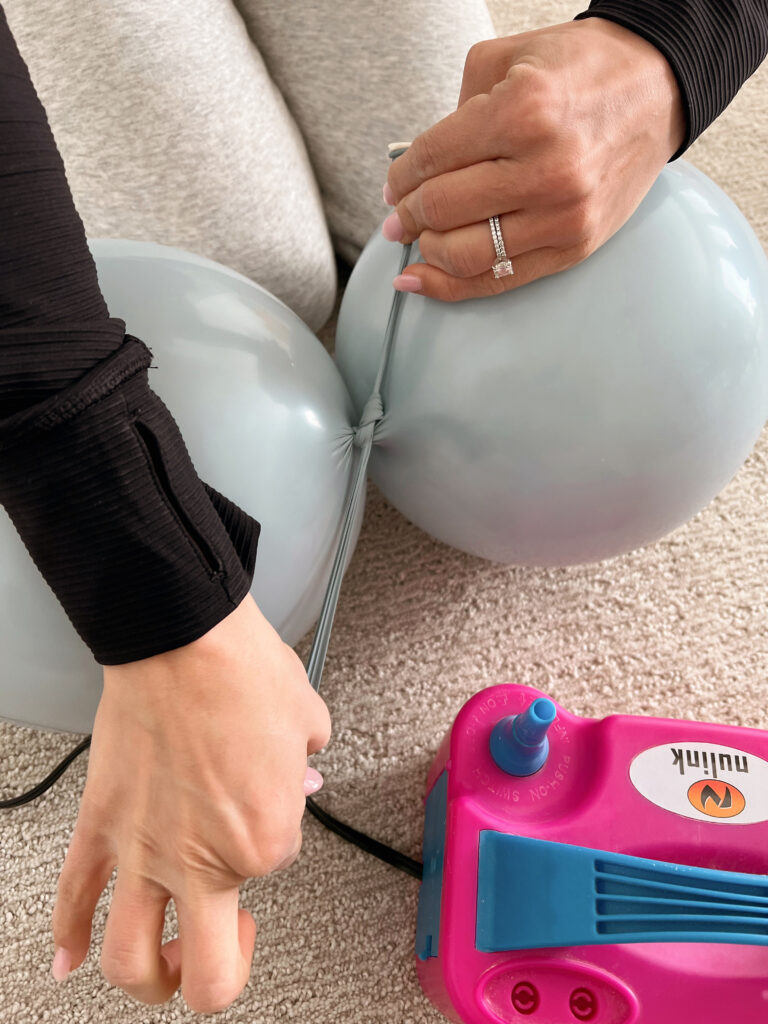
Using an electric pump is key when making an arch or garland. You do not wan to be blowing up these by yourself the night before your party. Kinsie's tip is to blow up two at a time and actually tying those together instead of tying them and then twisting them together. This saves so much time!
Building Clusters
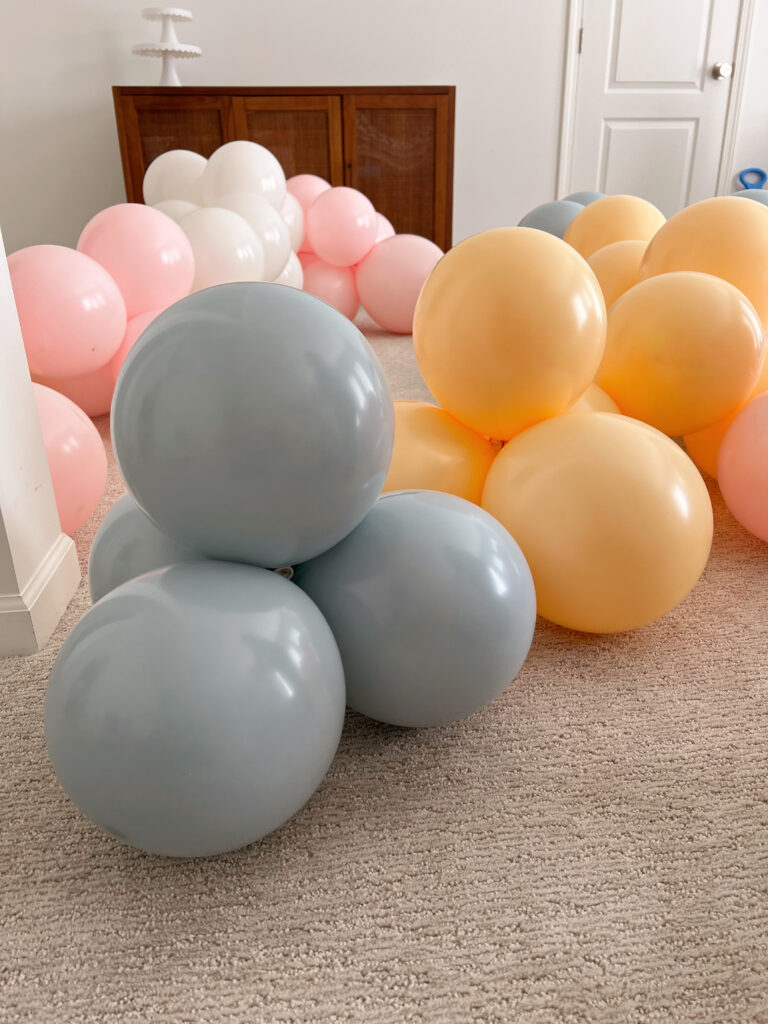
After blowing up and tying together two balloons, repeat to make two sets of 2 balloons. Twist them together to create a 'cluster'. You'll create clusters of 4 balloons that will be the base and structure of the garland.
Securing to the Wall
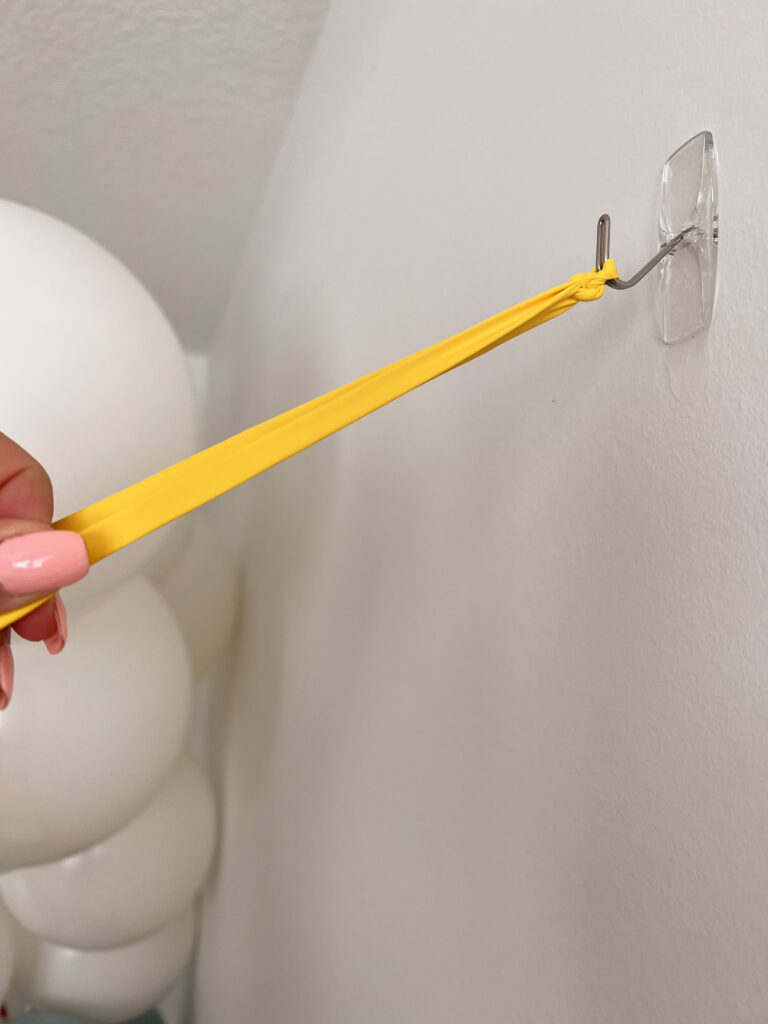
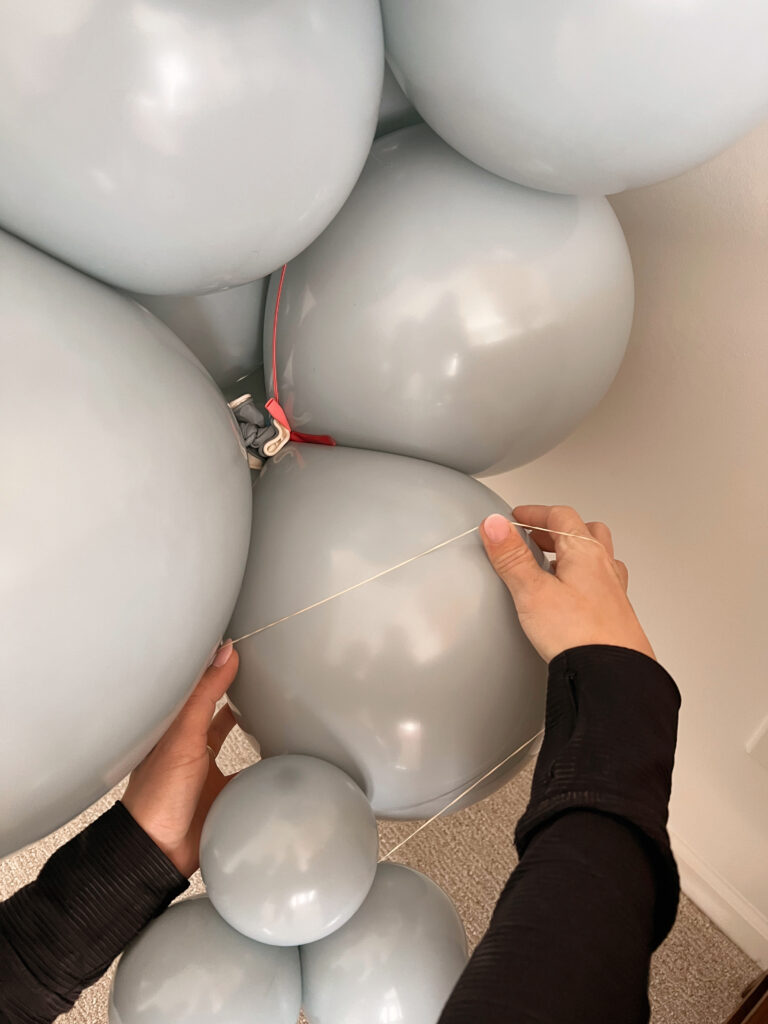
Place your command strip on the wall, starting with where you want the center to be. You'll build around this. This tutorial goes more in-depth, but to secure to a wall, take a damage free command strip and tie a long skinny balloon (a 260Q) around it using a double knot. Take the ends of the stretchy balloon and tie around your first color or group of balloons. Wrap it around the balloons about 3 times so that it's secure.
Combining Clusters
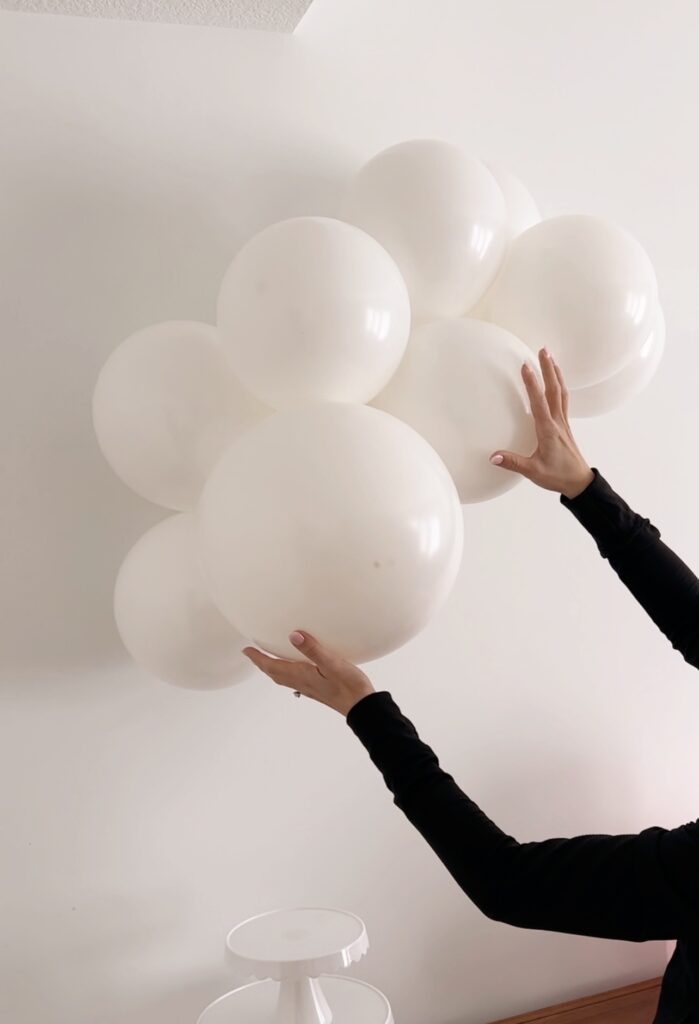
Start with one cluster for your first command hook with your 260Q, firmly securing your first cluster against the wall. Do this by taking a 260Q and tying to the center of your cluster where the tails are tied together. When you go to add your second cluster, you will use another 260Q and attach it to the first one on the wall. You will eventually get the hang of how many 260Qs you use when adding clusters, but typically you can attach two clusters with one 260Q since they are so stretchy. Some people might want it extra secure so using one 260Q per cluster is perfectly fine, just know they stretch and do a great job holding with only a few wraps.
Building Your Garland
By using command strips and the skinny balloons you have the ability to be flexible as you build your garland. You can twist and shape the balloons as you go. One of the best tips Kinsie gave me was not to think it's too fragile.
You'll place another command strip about 2-feet away, which will define the shape and structure of your garland. It may feel like it's not coming together but be patient, and remember you can hide any holes or gaps with the smaller 5-inch balloon clusters.
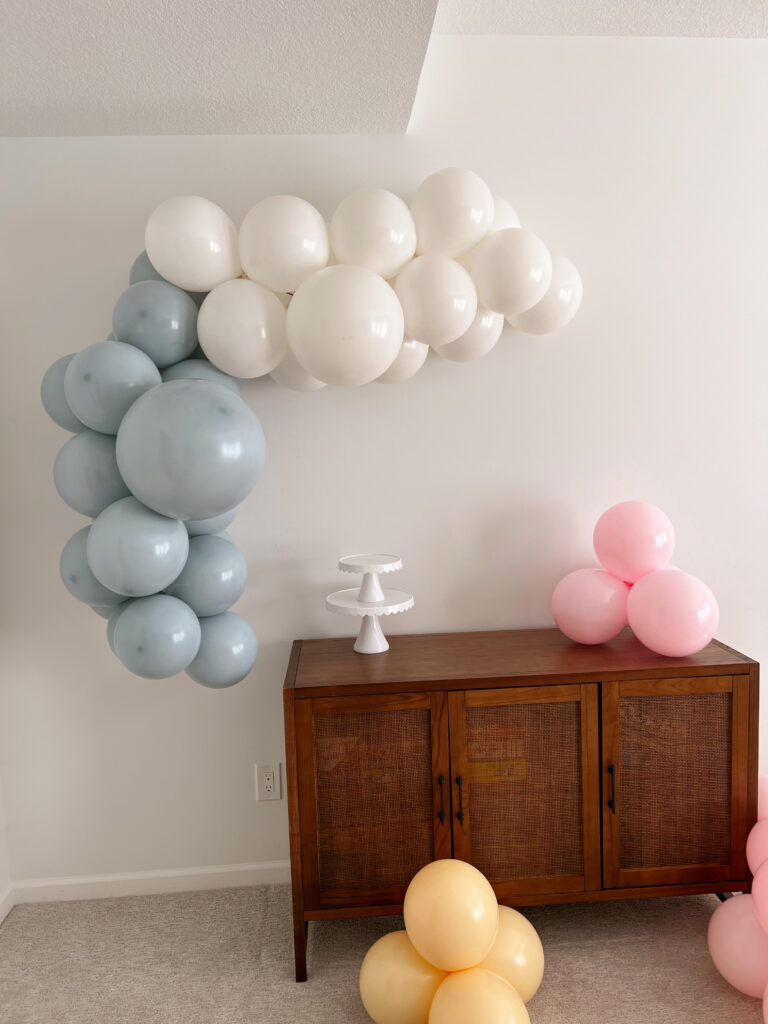
After you've added each block of balloons to the garland you'll be able to tell if you're happy with the shape and direction. If you need to move it, cut the long skinny balloon tied to the command strip and re-arrange as needed. We re-arranged this garland a few times to get the right shape and layout. You may be able to slide the knot off the command strip to move it too. Add your remaining clusters and you'll have the base of your balloon garland!
Adding Smaller Balloons
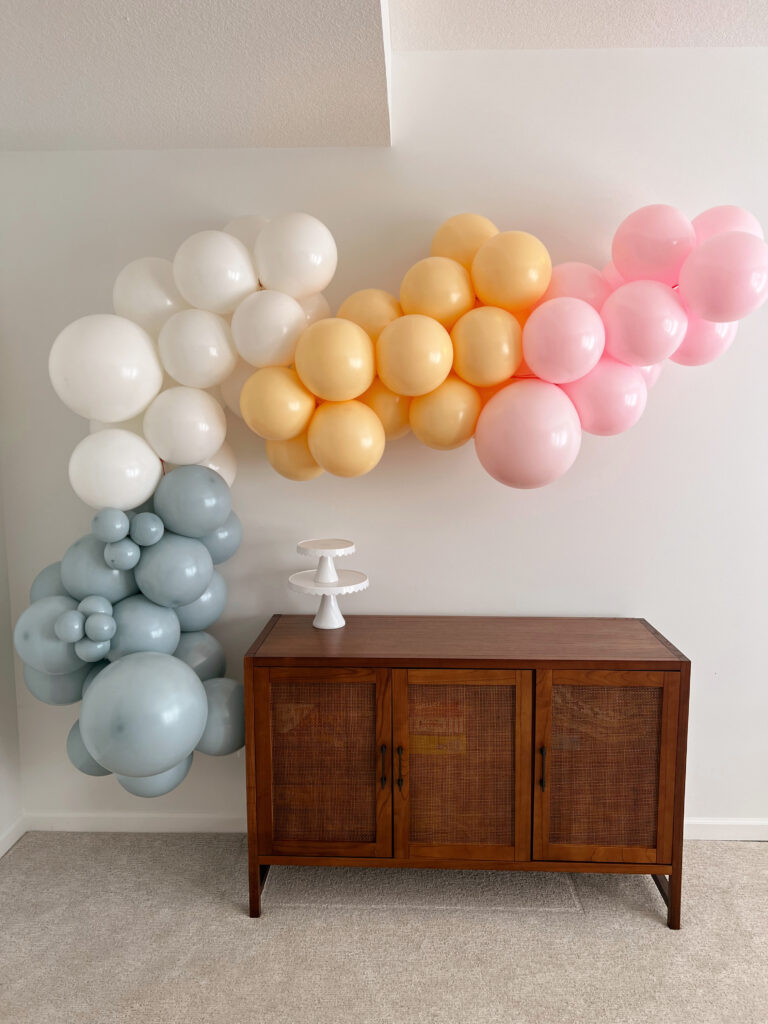
The 5-inch balloon clusters really give a garland a nice finishing touch. To connect the small clusters to the larger garland use these rubber bands. This size is the most flexible and stretchiest, which really helps. Wrap the rubber band around the cluster of small balloons a few times, and then stretch an end over a larger balloon so they're connected.
After you've added your smaller 5-inch balloon clusters, shift things around to cover any gaps. Then your balloon arch is ready for display!
Tips
- If you're working on a garland by yourself, make the clusters at least the night before. The garland (at a 6ft size) will take about 1-2 hours to assemble depending on your comfort level/speed and if you have help so keep that in mind.
- You'll use a command hook per 2ft of garland.
- If hanging outside, heat can cause them to pop so try to put the arch up that same day.
- If you don't have the skinny balloons, you can use fishing wire to create your garland. You can also use fishing wire to tie the garland around a post, pole or deck.
FAQ
If you're hanging a balloon garland inside it can last 3-4 weeks.
Heat can cause balloons to pop, so if hanging outside you want to install the day of.
Typically you'll use one command strip for every two feet of garland. You can use additional to secure it further.
If you blow up the balloons ahead of time, a 6ft garland will take about an hour to put together once you have the hang of it. Give yourself extra time if it's your first go at it.


Leave a Reply