
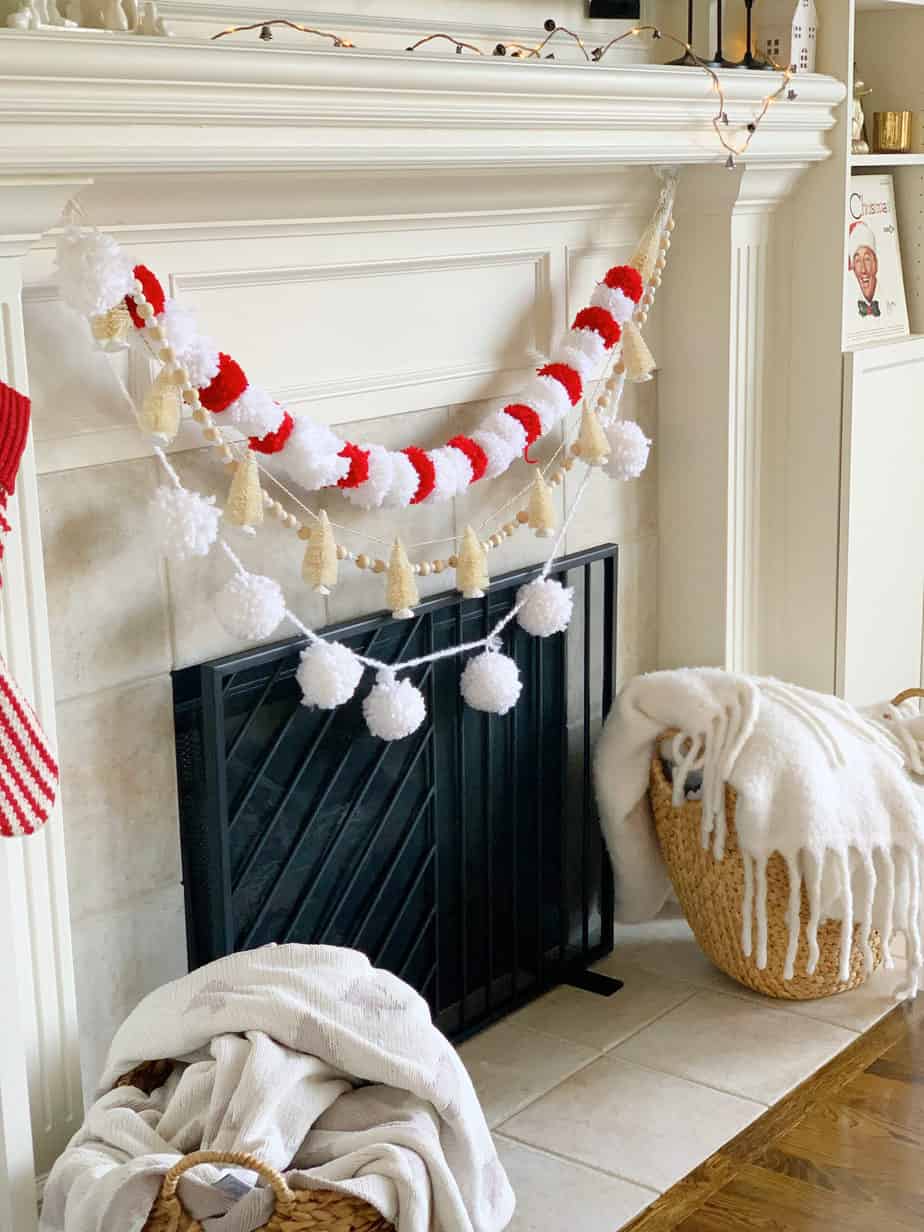
The perfect Christmas craft is the pom pom garland. Why is it a perfect craft? I have been making pom poms for years and this is a great craft for the Christmas season because it's adorable, affordable, and obtainable while watching a Hallmark Christmas movie. Including popcorn breaks. See? Perfect! 🙂
Learning how to use a pom pom maker can be intimidating, but with a little practice it's super simple and I'll walk you through how to use one, including with a video at the end of the post in case that's more helpful. You can use any color of yarn you want and it's an easy decoration to add for birthday parties, wedding showers, or even just as a fun piece of decor in your home. It would look perfect on a boho Christmas tree too!
Looking for more garland inspiration?
- Make a Popcorn Garland for your Christmas Tree
- Paper Chain DIY- Garland or Countdown
- Easter Felt Pom Pom Garland
You can use cardboard to make a pom pom garland, I think it's easier to use the clover pom pom makers. This is the set I have. With it you can make large or small pom poms. Below we'll go through the steps around how to use it, but first the supplies for if you're going to make a garland!
Supplies for your Garland:
- Yarn in your choice of colors. I like using medium or bulky, but it would work great on thinner yarn too, you'd just wrap it more.
- Embroidery thread and needle
- Pom pom maker (I also think this pompom maker set with a mini option would make some really cute poms if you're wanting a smaller size!)
- scissors

How to use a Pom Pom Maker
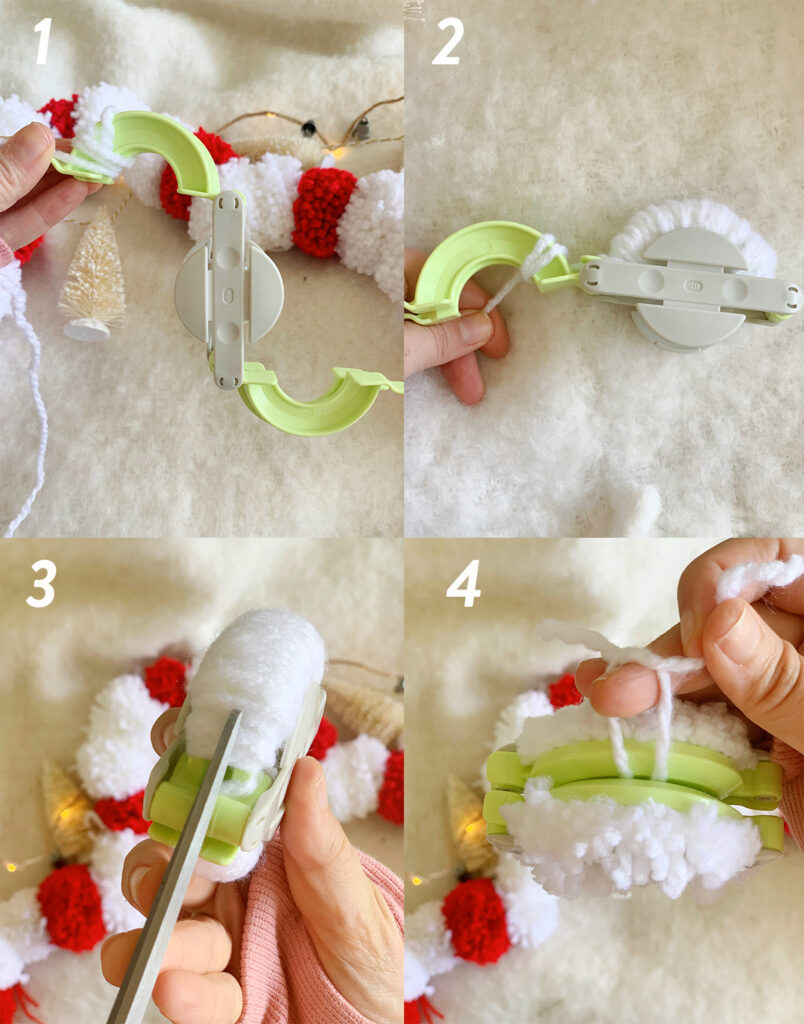
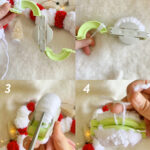
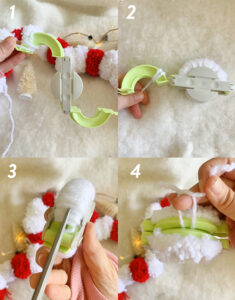
- Open up the pom maker so you have two arms sticking out from the center grey piece. If you expand it there are four total, but you want each side to be lined up.
- Wrap the yarn around the side of the pom pom maker, holding together two of the arms. It depends on the thickness of the yarn you're using, but I usually get around 60 wraps to make a fluffy pom.
- Loop to the other side of the pom maker, and do 60 more twists.
- Close the pom maker so you have a complete circle of yarn.
- Cut off the yarn from the spool.
- Next, cut the yarn in half across the middle of the pom maker. (Photo 3 below.)
- Once each side is cut, tie another piece of yarn around the cut and knot it.
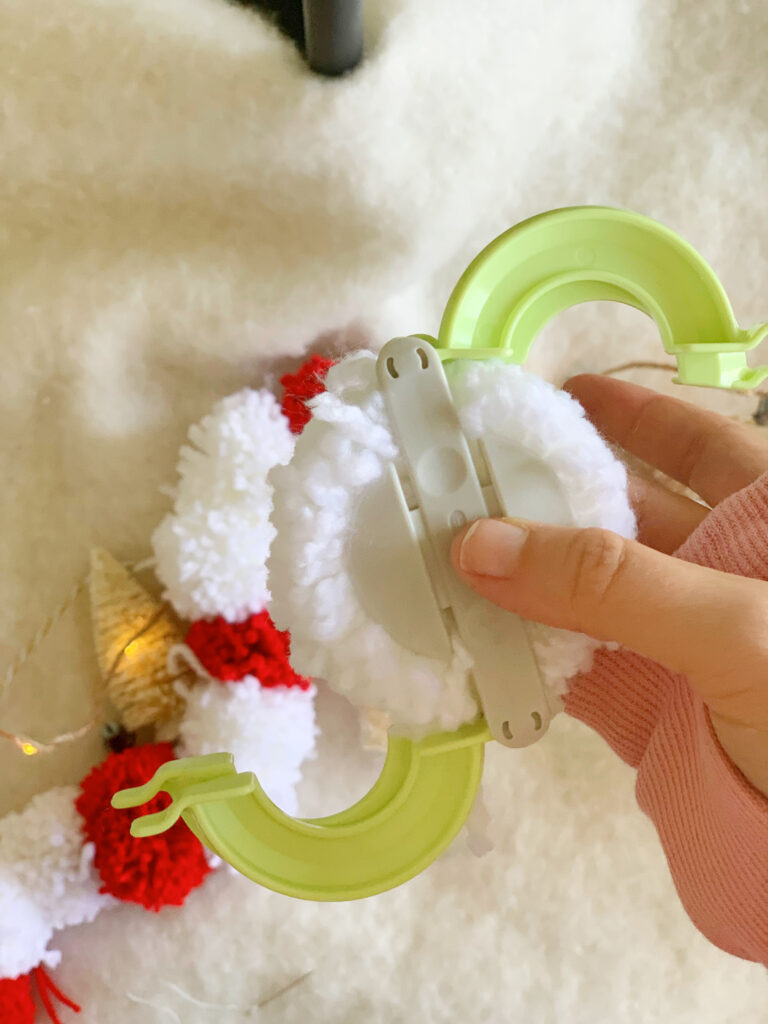
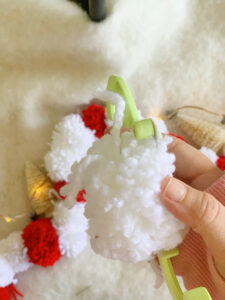
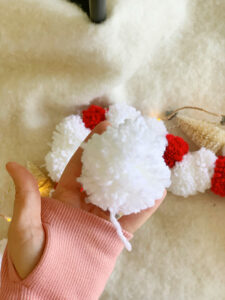
After you cut your yarn and knot it, take apart the pom maker by 'unlocking it' (pulling apart the green tabs in this case or where you closed it previously). Then you take apart the middle circle pieces to release it. I usually tighten the yarn that ties it together at this point. You'll want to fluff it out a bit and trim the edges of the yarn too.

Make Your Pom Pom Garland
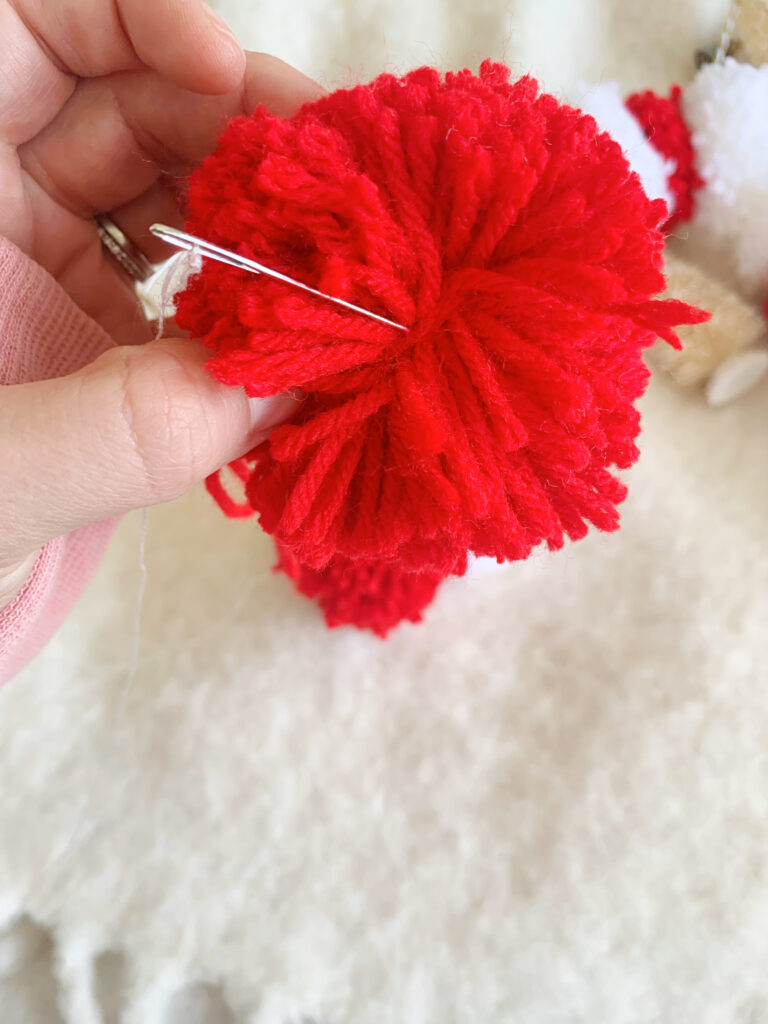
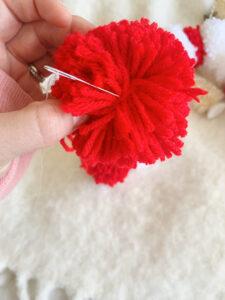
To take your pom poms and turn them into a garland all you need is a little embroidery thread and a needle. Lay out your pattern in poms and thread your needle. Push the needle through the center of the pom and string it through. String your poms until it's your desired length.
One tip for hanging your garland if you're hanging it on/under a mantle. I have a few command hooks tacked up under our mantle for all of our garlands. After I cut the embroidery thread I knot it multiple times to a longer piece of yarn and tie that off in a loop to hook onto the fireplace. It makes it easier than trying to knot the embroidery thread multiple times.

Pom poms have so many purposes beyond a garland too and once you know how to use a pom pom maker they are so easy. One of my favorite ways to use them is to tie them onto presents along with a cute name or photo tag.
Pom Pom Garland
Equipment
- Pair of scissors
- pom pom maker
- needle
Materials
- 1 spool yarn any color of your choice
- 1 length embroidery thread
Instructions
- Wrap the yarn around the side of the pom pom maker. It depends on the thickness of the yarn you're using, but I usually get around 60 wraps. Leaving off from the open edge loop to the other side of the pom maker, and do 60 more twists. Or adjust to the thickness you prefer. Cut off the yarn, then cut the yarn in half across the middle of the pom maker.
- Tie another piece of yarn around the cut and knot it.
- After you cut your yarn and knot it, take apart the pom maker by 'unlocking it' (pulling apart the green tabs in this case or where you closed it previously). Then you take apart the middle circle pieces to release it.
- I usually tighten the yarn that ties it together at this point. You'll want to fluff it out a bit and trim the edges of the yarn too.
- Lay out your pattern in poms and thread your needle. Push the needle through the center of the pom and string it through. String your poms until it's your desired length.
Have any questions? Let me know in the comments!
Looking for other super simple holiday crafts? Check these out!
xoxo,
Claire


Allie says
Perfectly detailed, easy-to-follow instructions! Such a cute holiday DIY!