
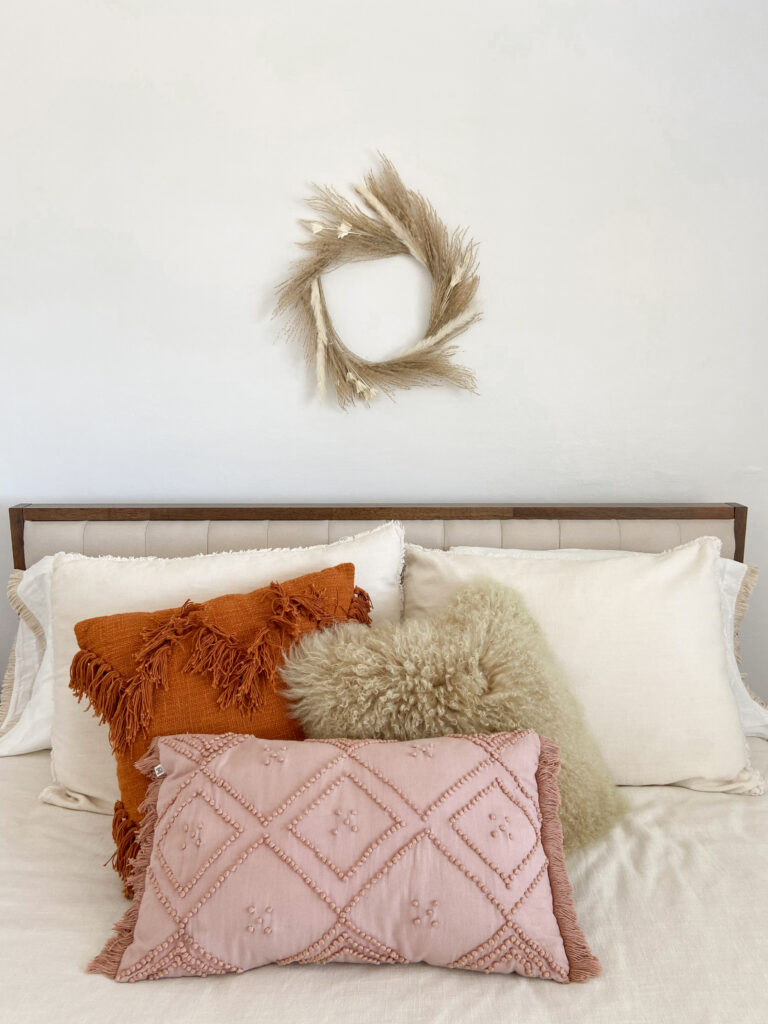
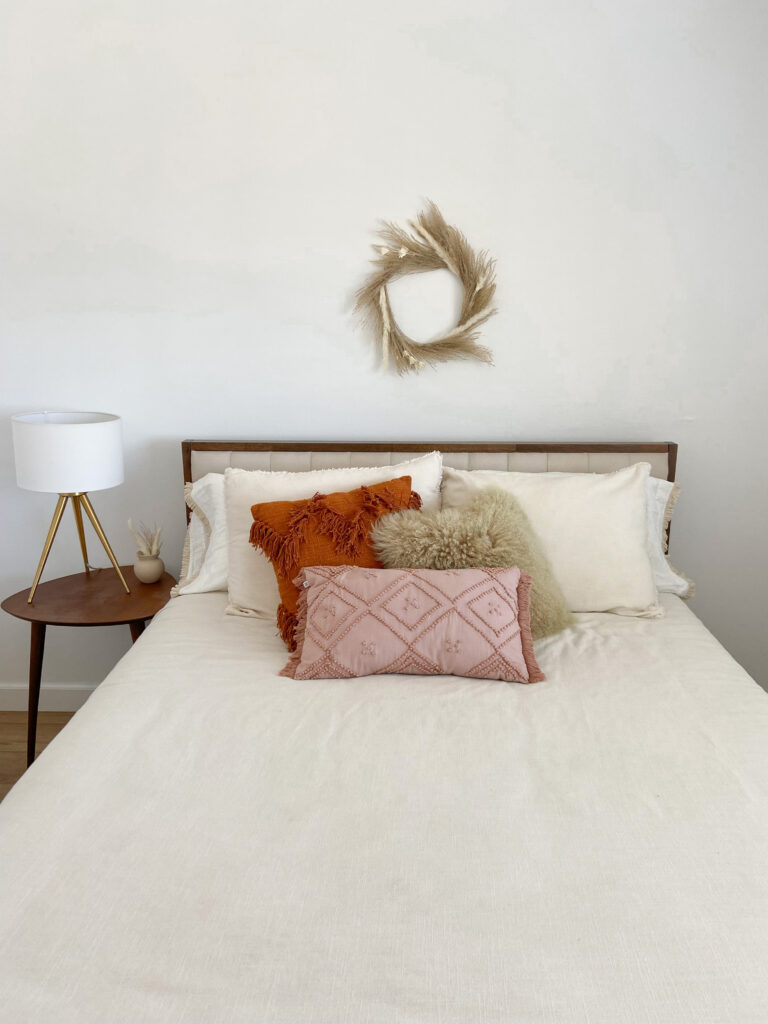
I'm so excited to share today's post with you guys! I was inspired to make myself a boho wreath using a neutral color palette and I'm thrilled with the results! This boho wreath would look so cute hanging over a fireplace, as wall decor, nursery decor, or a door hanging! I chose to hang mine above our guest bedroom bed and I love the style that it gives this room. I hope that you enjoy this boho wreath tutorial! Grab your favorite dried flowers/grasses/pampas and let's get this party started!
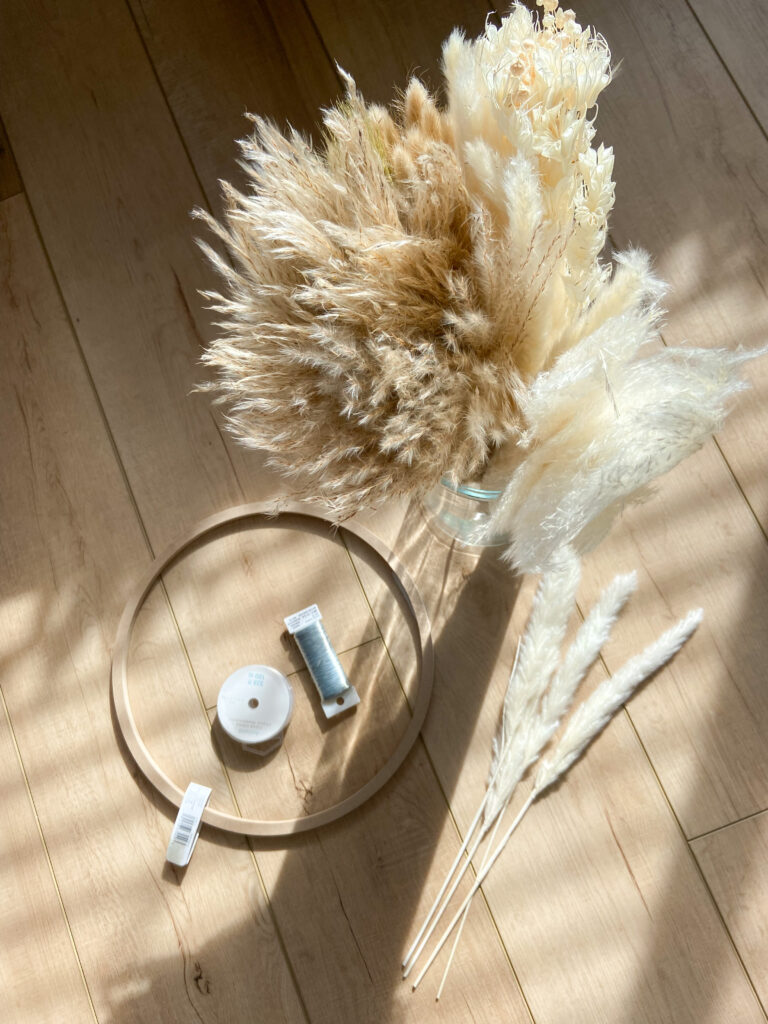
Supplies for the Boho Wreath
- Dried Florals
- Wreath
- Wire
- Scissors
- Hair Spray
Steps
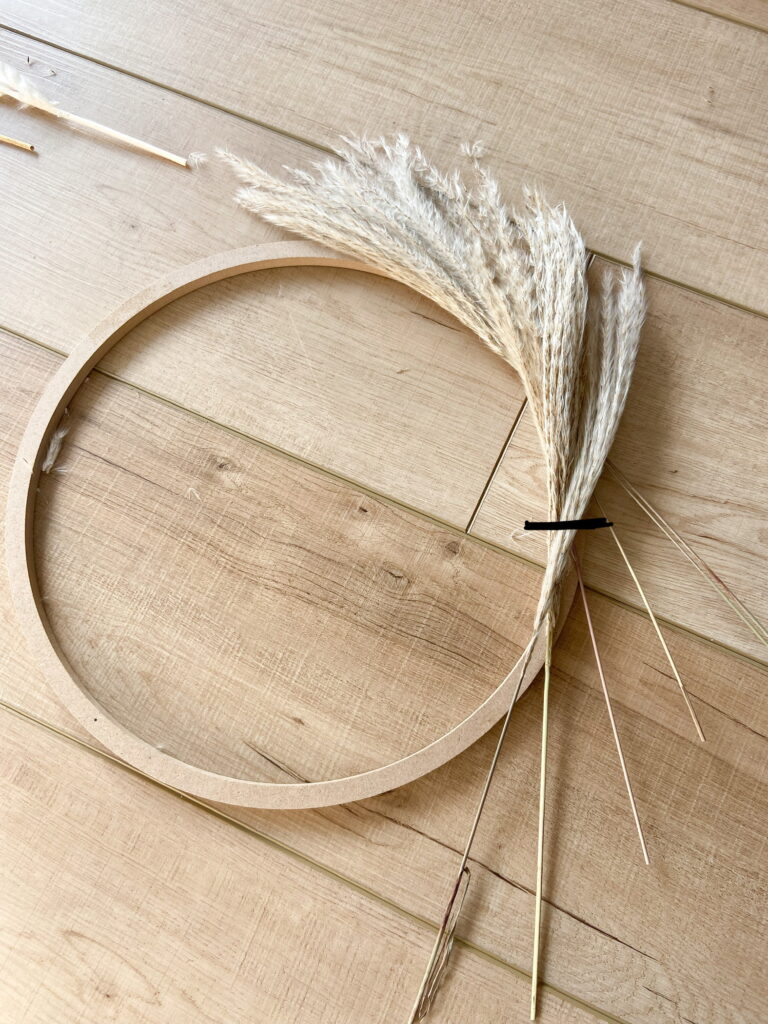
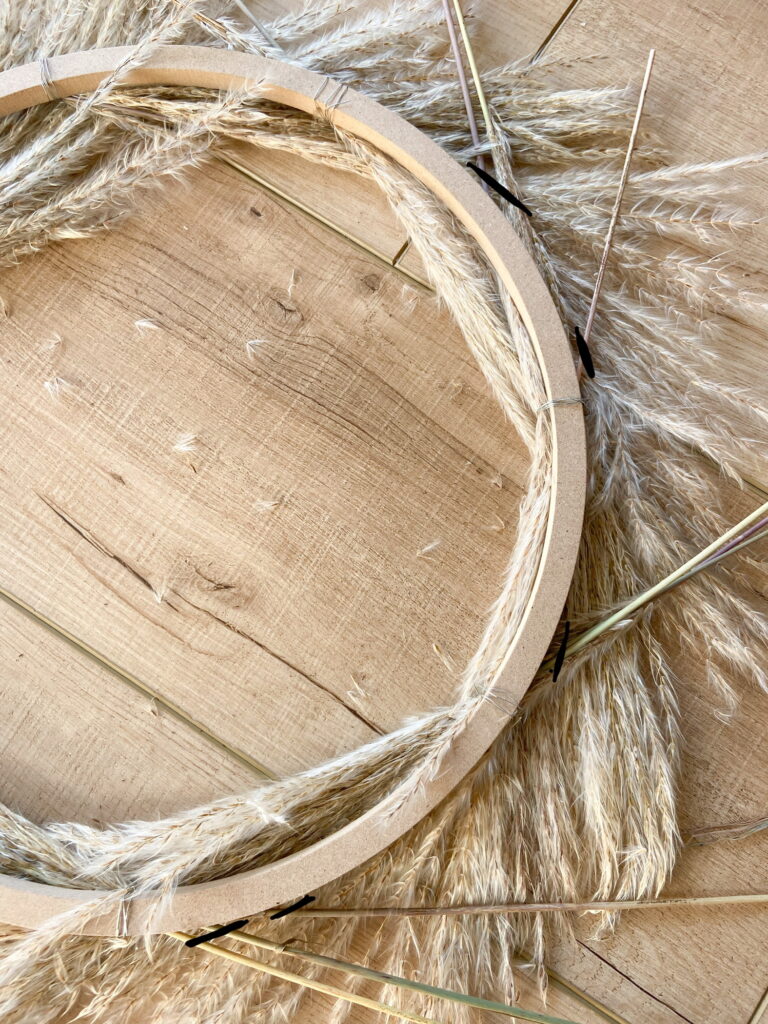
Take the first piece of reed (the brown fluffy stuff) and place it diagonally on one corner of the wreath. The "leaves" should stick out over the wreath frame, covering it fully. Place the second piece right below the first, following the same diagonal. These pieces can overlap a little! Take the third piece and place it just below the second, again following the same diagonal as the first two pieces. The three pieces will start forming a curve, and the grass should be sticking out over the edges.
Next, wrap a piece of wire around the three stems and the base wreath below. Twist the wire together to secure it underneath. The wire can be wrapped around the lower "leaves" section on the base wreath- I had to do this because my pieces were longer than I initially expected! The photo below shows a marking where the wire should be wrapped. The wires will be covered by the new pieces as you go along, so don't worry about trying to cover each wire!
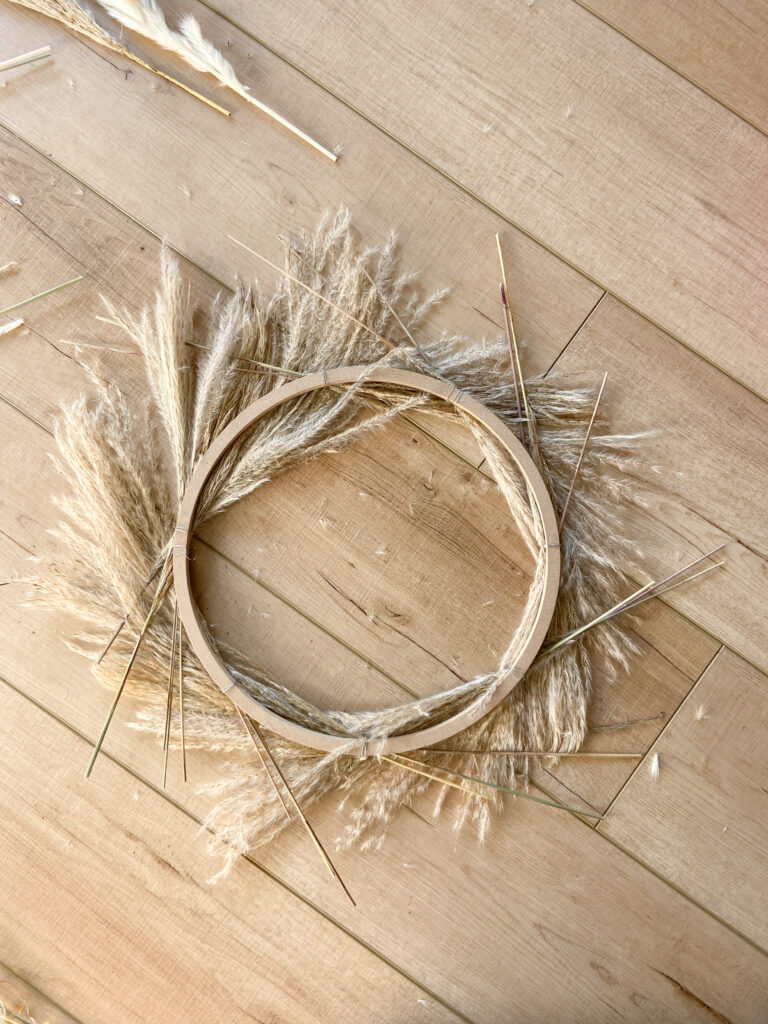
Follow the exact same pattern around the entire base. Place each new piece just below the last, and secure them together every third piece. I kept them in sets of three so that they fanned out nicely together and were manageable but you could add more or less pieces in each group if desired.
Turn the wreath upside down and cut off all of the excess stems once the base is fully covered. Make sure to do this carefully and hold the pieces down while cutting. This was actually pretty easy because the stems are dried out and they cut really well for me. In the second photo below I've outlined where to cut the stems. It's ok if they are longer than the edge of the base because the reeds and pampas should cover the cut stems.
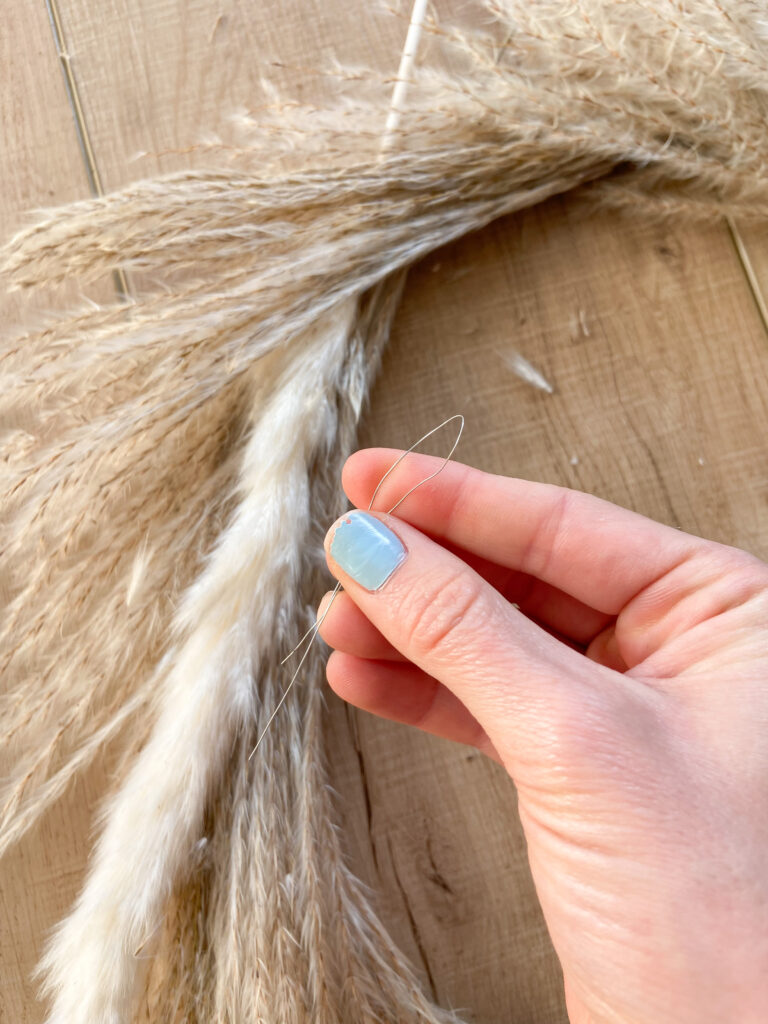
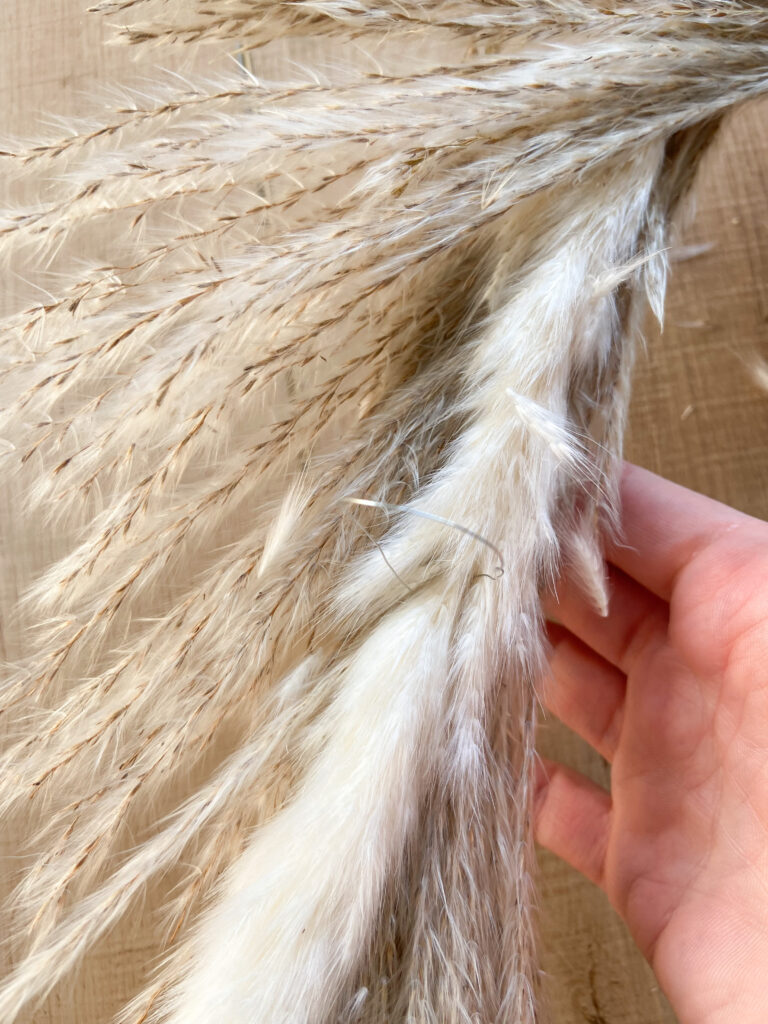
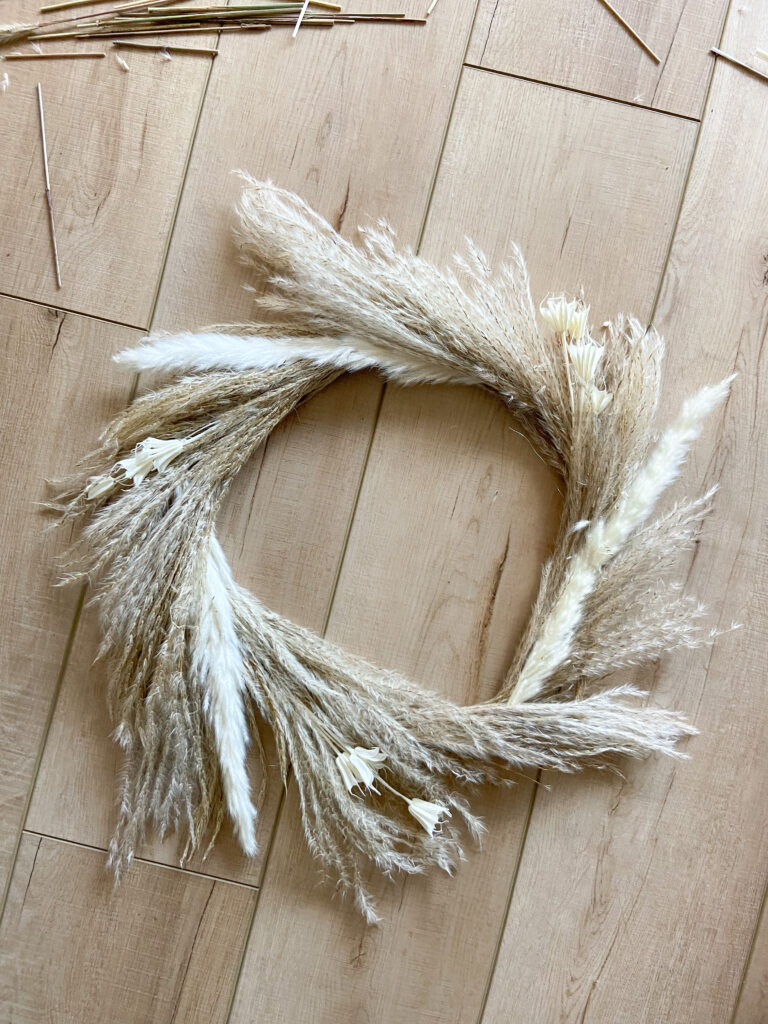
Next, take three pieces of pampas and place them between two pieces of reed in a triangle pattern on the base. To secure each pampas, take a piece of wire and thread it through either side of the main stem(about halfway on the pampas) and the base wreath. Secure the wire in the back. The pampas leaves and reed will cover the wire as long as its tightly secured.
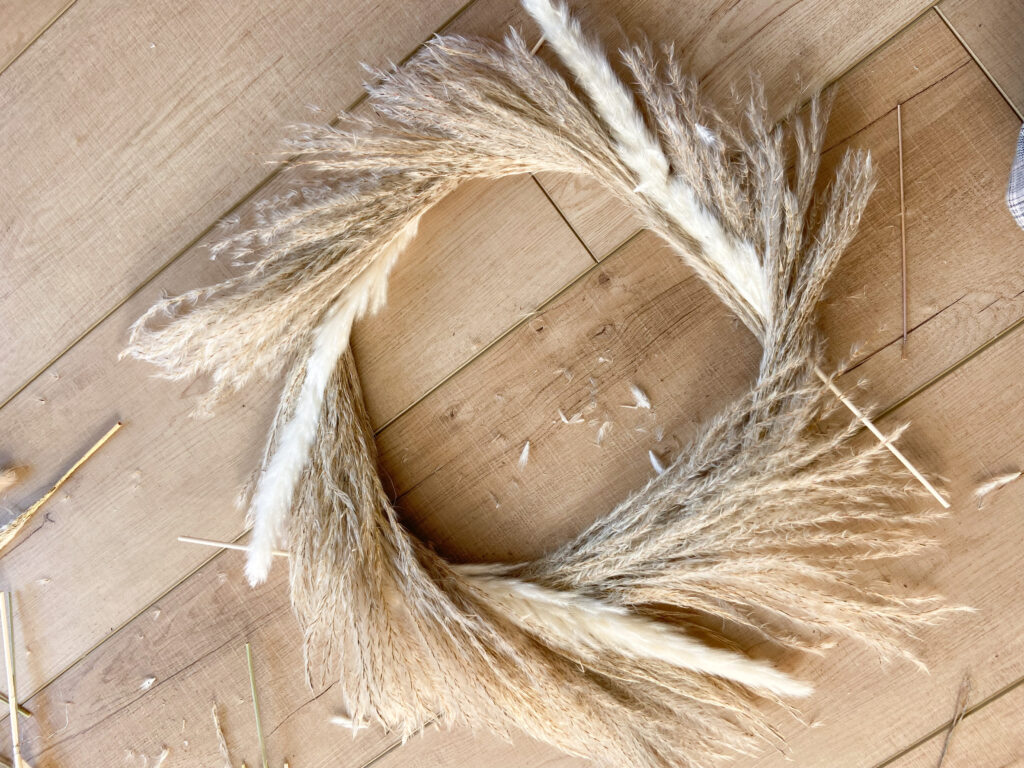
Once the three pampas pieces are secured, turn the wreath over again and cut the long stems down to the same lengths as the reed stems. The fun thing about this step is that you can add as much or as little of this as you'd like. I preferred mine simple, but adding 6 or 9 pieces of pampas would look so cute too!
The cute white flowers are the last element in this boho wreath. I attached these the same way as the pampas, in a triangle pattern. Secure the flowers with the wire and then cut the stems just below the wire. on top of the wreath. Gently cover the cut stems and wire with the reeds. I wanted these to look like they were peeking through the reeds so I played around with them until I got the look I wanted!
Finishing Touches
Almost done!! Once the wreath is perfect and fluffed, spray it down generously with hairspray! This will help the leaves stay in position and it will help with shedding!
I hope you enjoy making this as much as I did! Please let me know how your boho wreath turns out! If you enjoy making crafts and want a few more projects, check out our ocean painting and spackle art tutorials!
xoxo,
Melanie


Leave a Reply