
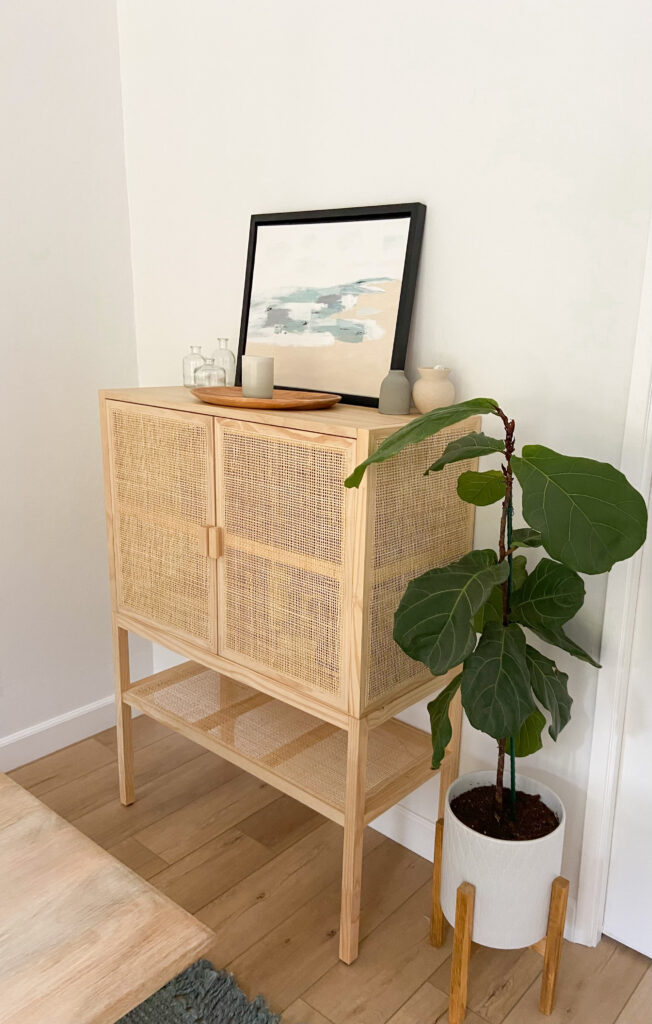
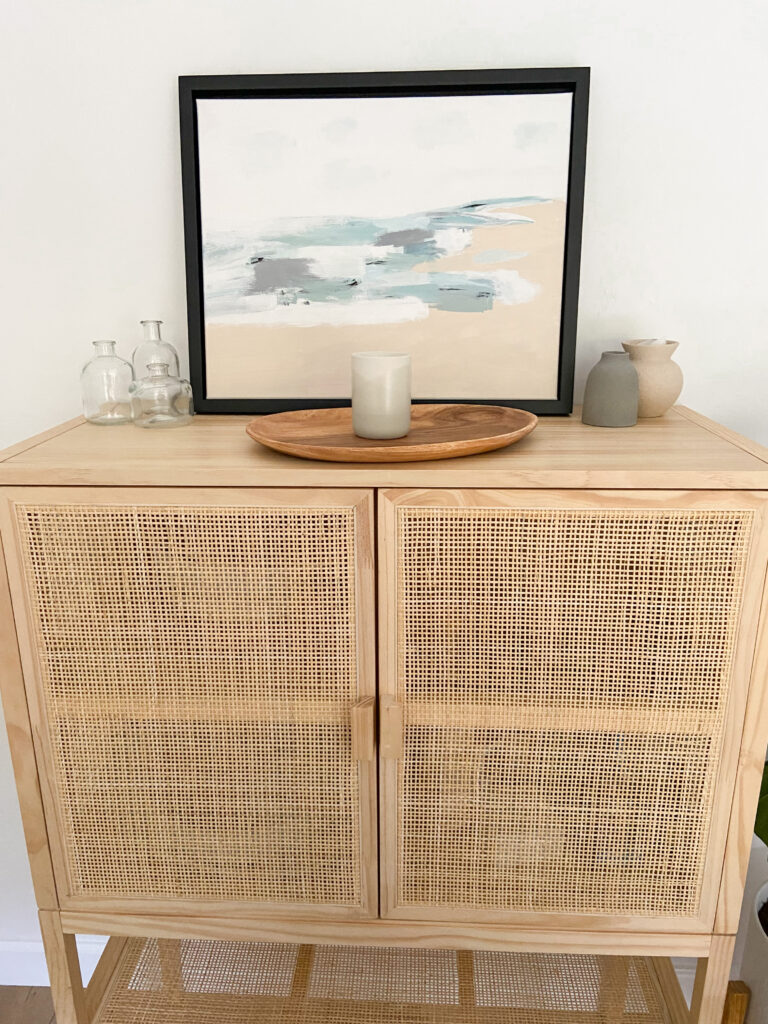
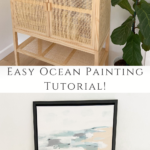
I've been eyeing a few pieces of artwork to add to my dining room lately, but to be honest haven't wanted to spend the $$ to get them! I finally found the one that I absolutely loved, but it was over $400 on West Elm. So I decided to try my hand at a DIY version- and it didn't disappoint! Today I'm going to share with you how I made it, and guys, this DIY makes ocean painting easy! This project cost me less than $17 and it is a beginner ocean painting easy kind of a project! All you need is an afternoon and maybe a few snacks with a yummy drink!
Supplies
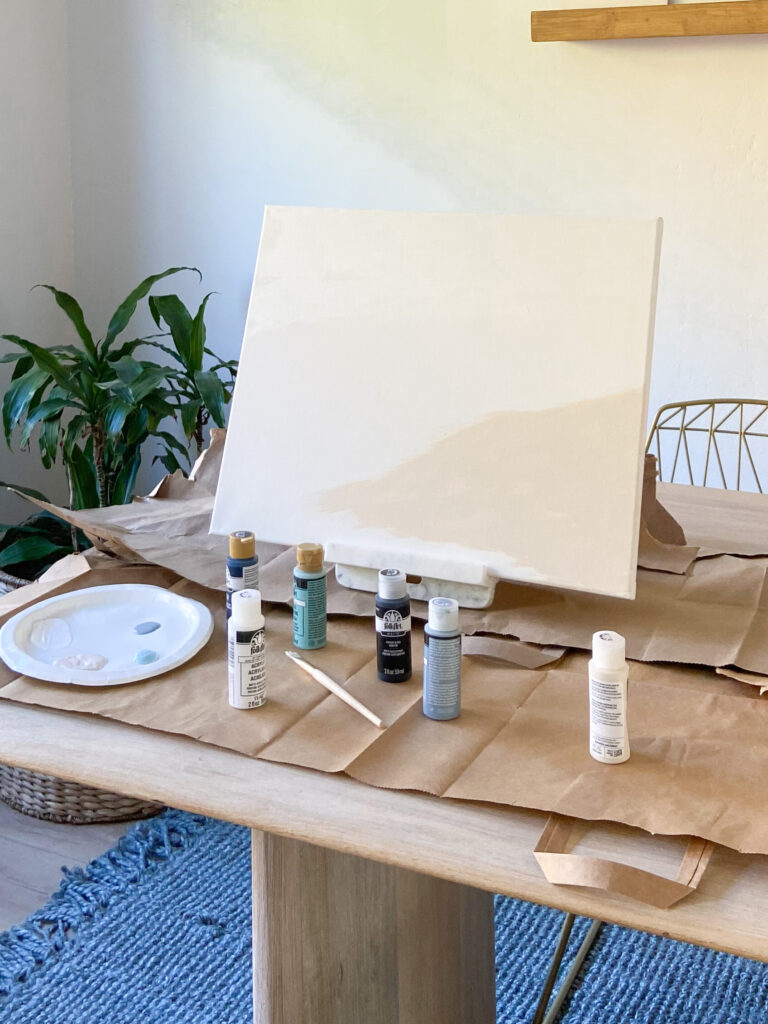
- Acrylic Paints in white, sand, blue (I also used this blue), and black
- Canvas (I used 16x20)
- Paint brush sponges
Steps
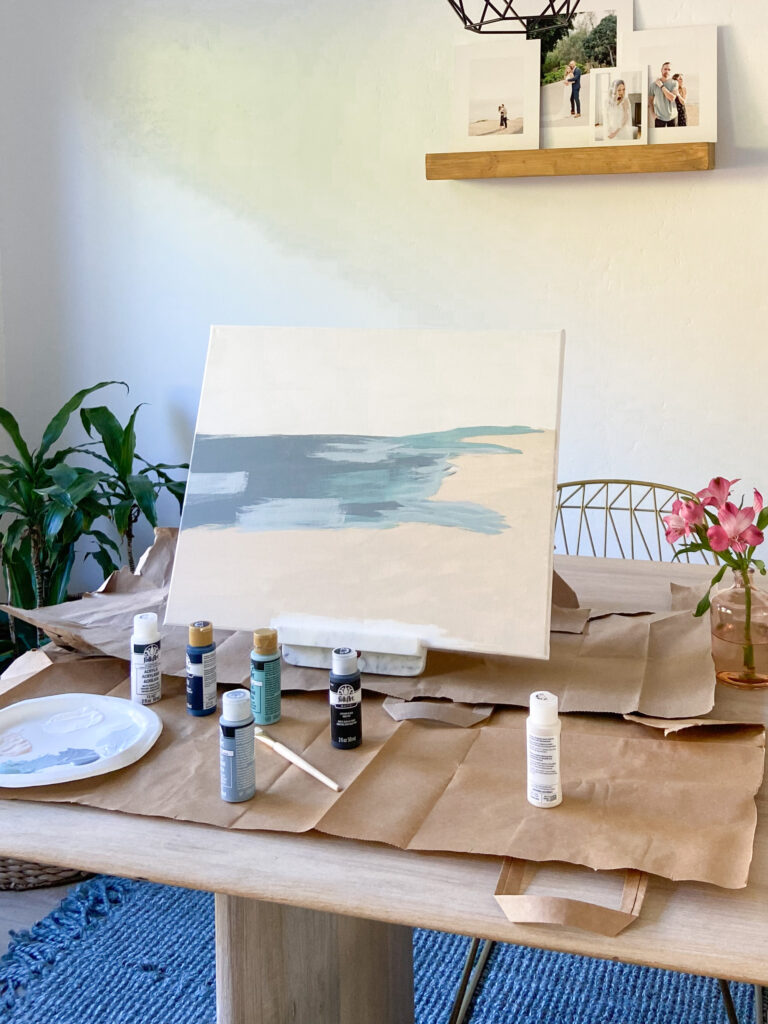
After studying my West Elm painting inspo piece, I decided to start with the base sand layer first. Because my inspiration painting was landscape oriented, I chose to do mine the same. I painted a triangle from the bottom right corner and filled it in. Tip: All of my brush strokes were in the same direction, horizontally. I think this helped with the cohesiveness of the painting as a whole.
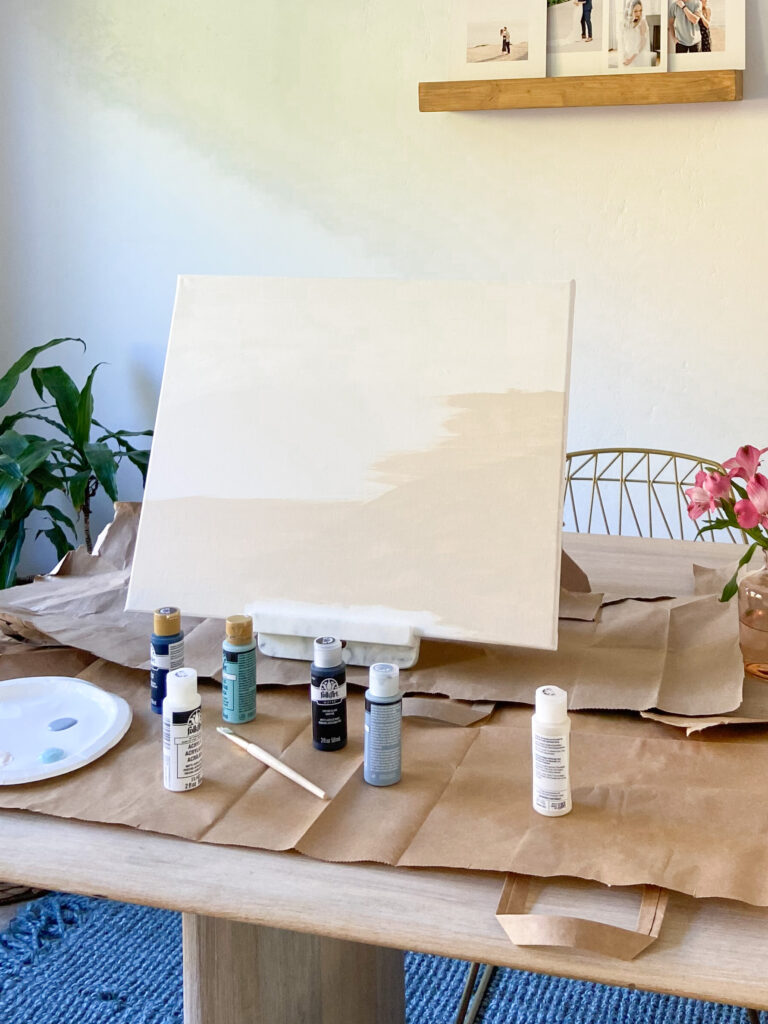
After finishing the triangle, I painted the sandy layers up the right hand side, about ⅔ of the way up the canvas, and then filled in the entire bottom ⅓ of the canvas. The key to this part was brushing so that the right hand side started to look like a shoreline. In order to achieve this look I brushed farther in towards the middle of the painting on some strokes, and then closer to the edge on others.
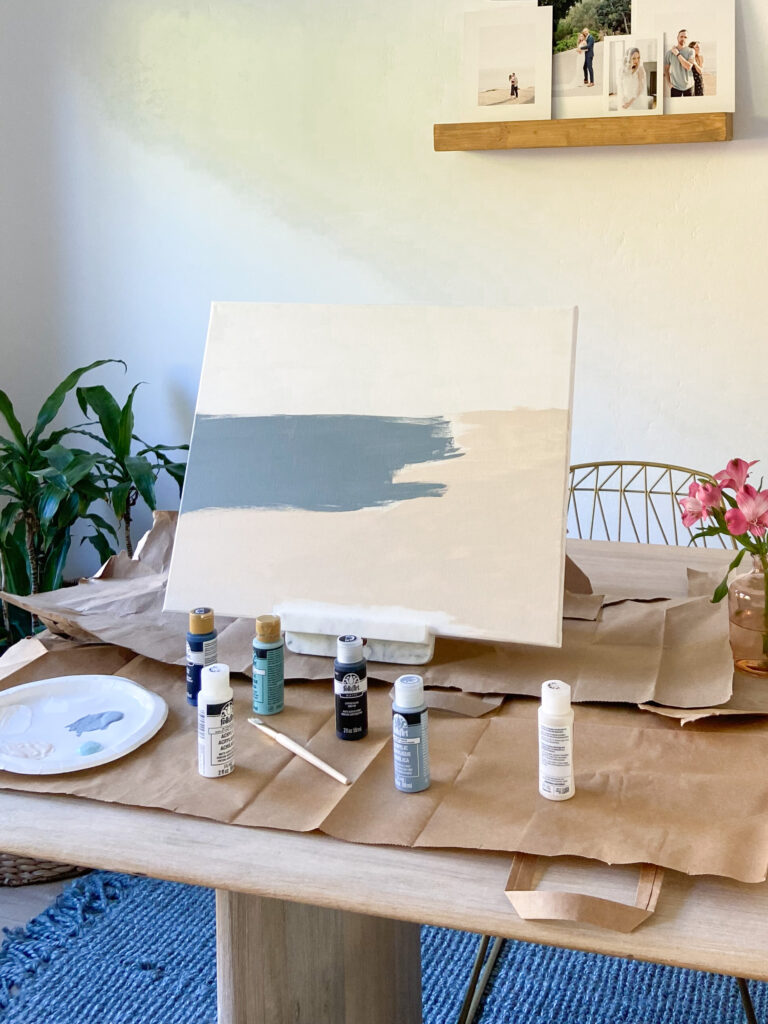
To make the ocean painting easy for myself, I layered different colors of blues, grays, and whites, over and over. I started with a darker blue base layer, and then added lighter blues over the top of it, and then mixed some blues and layered even more. These "layers" looked like patches or rectangles across the ocean. This part took the most time, because it was a matter of layering the paints enough to give the ocean depth. I also filled in around the shoreline in different blues and whites, to look like sea foam!
I added a touch of black paint to different parts of the painting, because I could see in my inspiration photo that there was black running through it. I think I did a little too much here at first- but again, with all of the layering it was very easy to cover and blend. Rest assured, there's beginner ocean painting easy fixes here!!
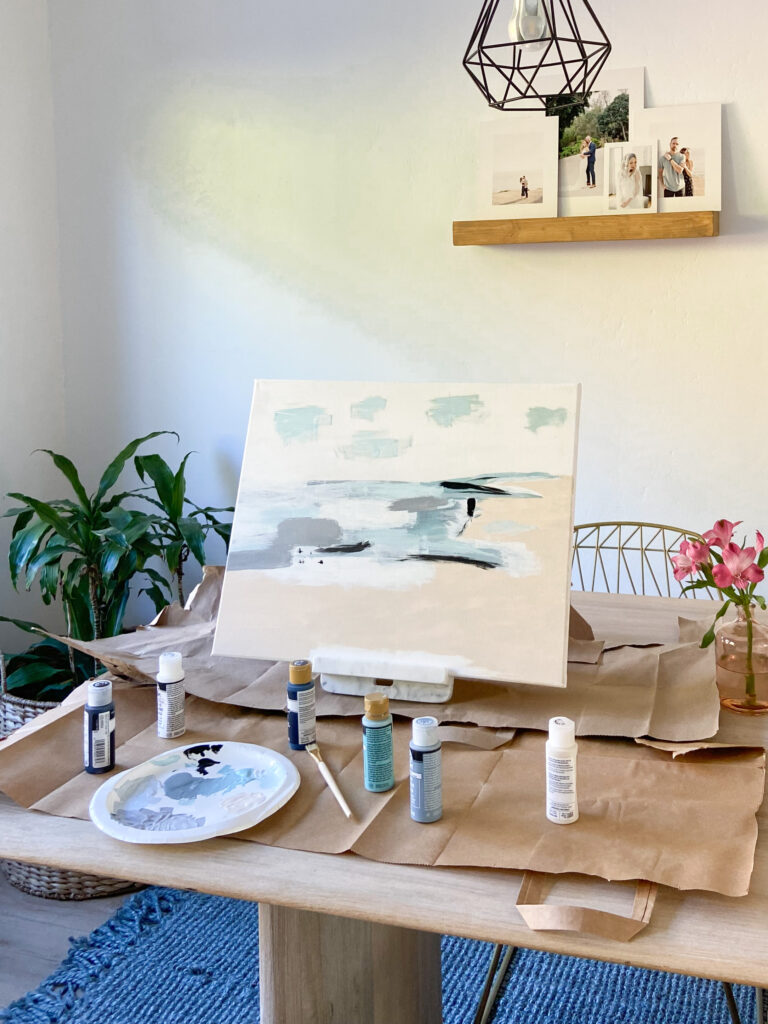
Tip: It is not supposed to look perfect! If I didn't like how one section turned out, I layered a few colors on top of it!
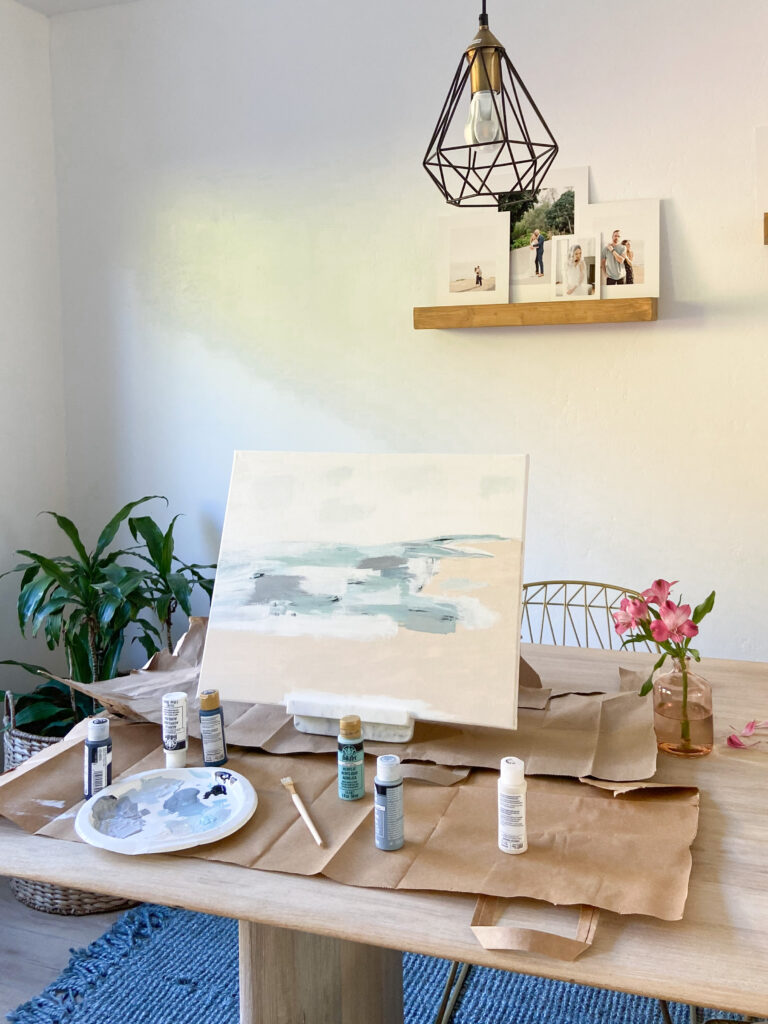
The last section was the sky. I knew I needed to add a little bit of blue to the sky, so I mixed a few of my blues with white to make a light blue color. I painted a few random sections of blue in the sky, and let that dry.
The final step in this painting was going over everything with white paint. I painted the entire sky in white, which turned out really nice because the blue still showed through underneath, giving it dimension. I also painted a lot of white across the ocean layers, to make it look like waves crashing along the sea line, and just to lighten the blues across the entire painting.
That pretty much sums up all of my steps! I kept this ocean painting easy and simple because I am not a painter at all! So trust me, if I can do it, anyone can. lol!
Tips to make this ocean painting easy and simple
- Keep the brush strokes going in the same direction
- Layer layer layer! You can do no wrong in layering colors
- Letting the colors dry before the next layer is helpful to not over mix colors if thats an issue- but sometimes I did let them mix and loved the outcome! I think a balance of both is key
- Have fun and keep checking your inspiration if you get stuck!
I really enjoyed this project and I hope you do too!!! Making ocean painting easy should be a thing so we can all enjoy it, right?!
If you're up for more DIY art projects, check out our DIY Spackle Art post!
Happy Painting All!
xoxo,
Melanie


Leave a Reply