
My husband and I moved into our cozy townhome a few months ago. Slowly, ( I mean slowwwwly) we are making this space a home! I decided to hang a simple photo collage using some tips my mother-in-law and her bestie gave me around hanging picture frames. Thank the Lord for older, wiser, ladies to rely on, right?! I’m excited to share this 3 step photo collage tutorial! It will save you from awkward, uneven photo frames and unnecessary holes in your walls!
I wanted to keep this collage simple and have it compliment the existing wall decor. Our living room is painted in Behr Ultra Pure White, which I LOVE, but I’m at the point now where it’s time to make it look less hospital-y, and more homey. I’ve tried to keep this space as minimalist as possible, while still trying to add a little bit of character and warmth. While we love our tiny townhome (Thanks, California housing market!), I knew we needed to keep the color palette light to make it feel as bright and as spacious as possible!
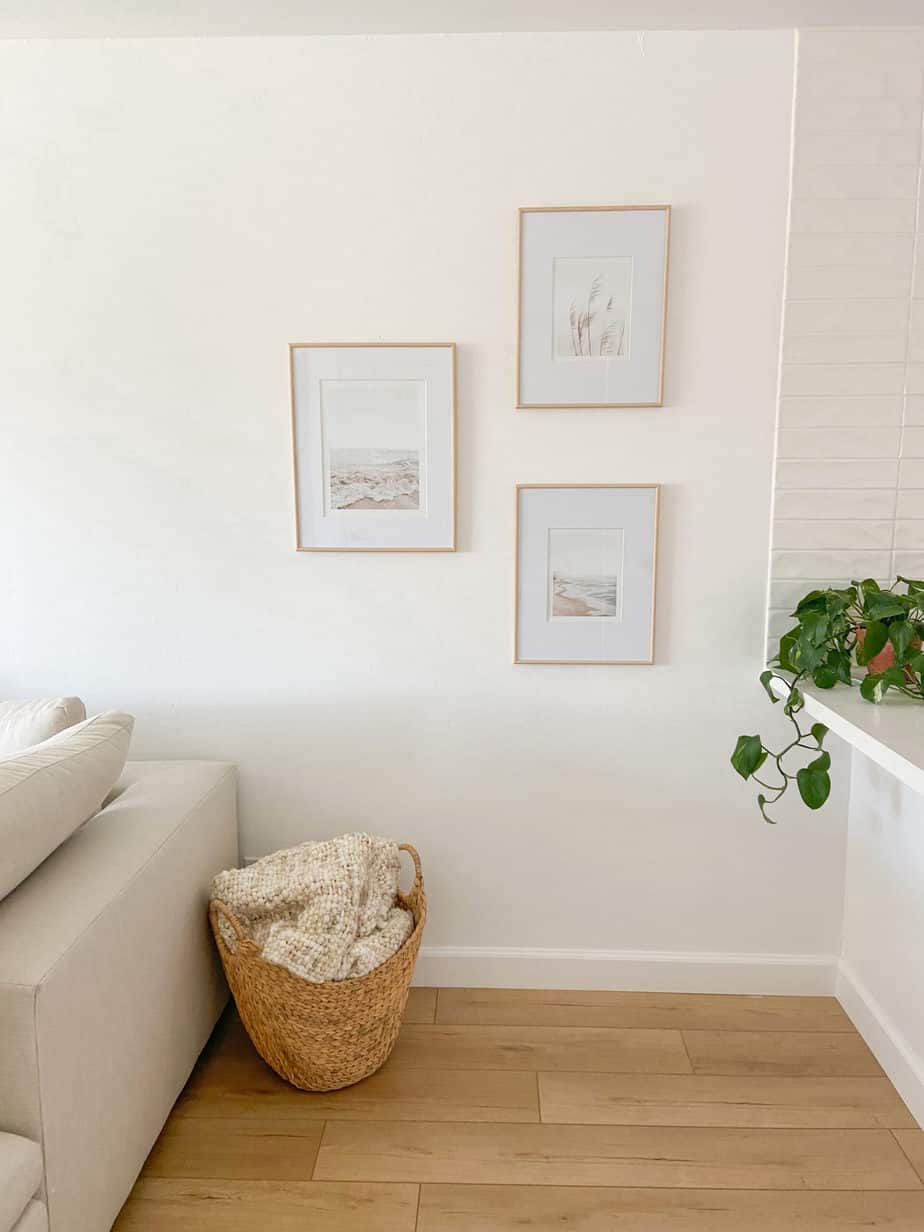
My first step was determining what layout I wanted the photos in. I toyed around with having them stacked vertically with the largest photo in the center, but after playing with different layouts, this is the one we settled on! Trick: Take a photo of your whole wall and use the “markup” tool on your iphone to draw potential collage options for hanging picture frames. This gives you a preliminary visual at no cost to you or your walls! Now to the fun part!

Here is the list of tools I used to make my collage:
- Blue Painters Tape (I got mine from CVS, you can get it at any home/grocery/building supplies store)
- Laser Level
- Measuring Tape
- Pencil
Our living room wall feels really long, and the ceilings seem a little low to me. I wanted to have the photos cover space both horizontally and vertically, without placing them too close to the ceiling. After measuring out the spacing for my photos, I set to work on hanging the picture frames!

Step 1: Laser Level
Can I tell you that using a laser level makes hanging photos a million times easier?! It took me a little bit of trial and error, but I got the hang of it really quickly! Side note: Grab a buddy to help, because holding the laser level, tape measure, and pencil all at once is pretty tricky!

I measured the distance I wanted from the ceiling down, and then placed my first mark. Off of that mark I used the laser level and tape measure to make all of the corresponding marks (one on each corner of the frames, and one on the top middle, where my hook will go). This part was a dream, since the laser automatically levels itself, all I needed to focus on was using the measuring tape to make the next mark.
Looking for more DIY content? Check out these posts and be sure to follow along on Pinterest!
- DIY Spackle Art
- Use Family Photos as Large Wall Art
- Simple Pallet Picnic Table
- Make Your Own Pom Pom Garland

Step 2: Using Painter’s tape to Visualize your Photo Wall
After I made all of my marks, I used the painters tape to outline where I'd be hanging picture frames. This felt like an unnecessary step at first, but it made a world of a difference in visualizing the wall as a whole. I definitely recommend this step for making photo collages, or when hanging picture frames next to existing ones! Remember: Tape comes off quickly but a hole in your wall.. well that’s for life!

Step 3: Hanging picture frames!
Once I was happy with the layout, I removed the painters tape and nailed in my hooks, and ta-da! My simple photo collage was complete!

I would love to hear if these tips work for you too!
Notes: Standard spacing between photos is 3 to 6 inches. I leaned toward the upper end of this to cover more wall space.


Leave a Reply