
Displaying family photos is a great way to add personality to your home. I wanted to create a display using large photo frames, but that would still be easy to swap out. Frames can be really expensive the larger of size you're looking for, and if you order photos there's typically an additional cost of having them matted and shipped, so I decided to create my own large wall art to display family photos.
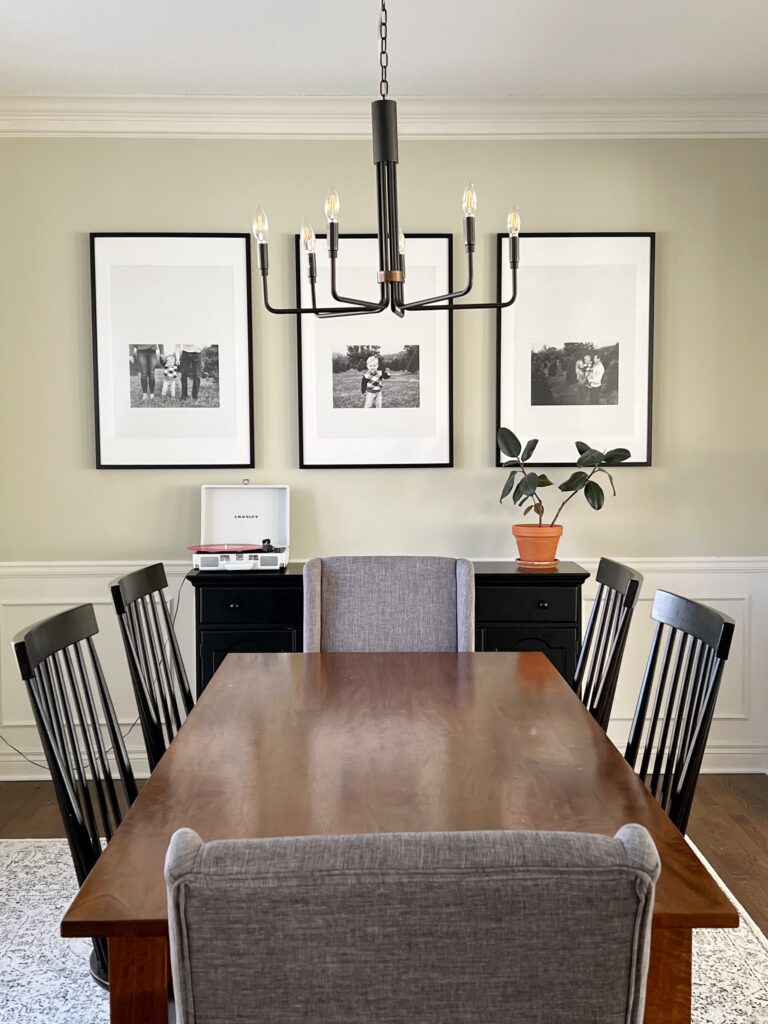
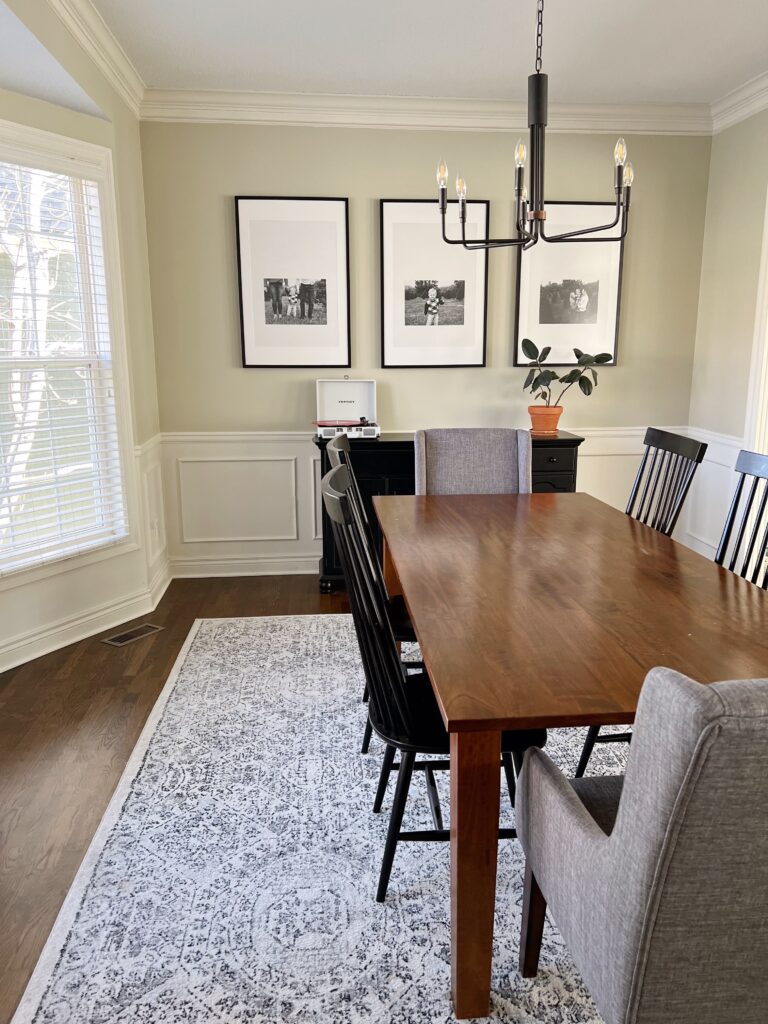
When you're in our home, there is a formal dining room but it's still fairly open and not a completely separate/walled off room. There's also a bigger wall and a bay window facing the street. On the other 'side' of the empty wall is our living room and built-in bookcases. I decided to use black frames and black and white family photos for the wall art.
IKEA Ribba frames
Who doesn't love an IKEA hack? I'm not sure this classifies as a hack, but, it is upgrading an IKEA piece and saving lots of dollars, so, maybe it is. 🙂 These frame have been a favorite of mine for a long time. I've mainly used white ones to create gallery walls, but this time I went for the largest size, the poster frame size and the black finish.
Supplies and Costs
- Ikea RIBBA Frames (3)- $22 each
- Poster Board- I bought this 10-pack at Target in this size- $5.50
- Photos- I ordered mine since I wanted a speciality size (10x14), but you could print at home as well
- tape
- nail and hammer, or command strips, hooks, push pins.. however you prefer to hang art
- tape measurer
Tips
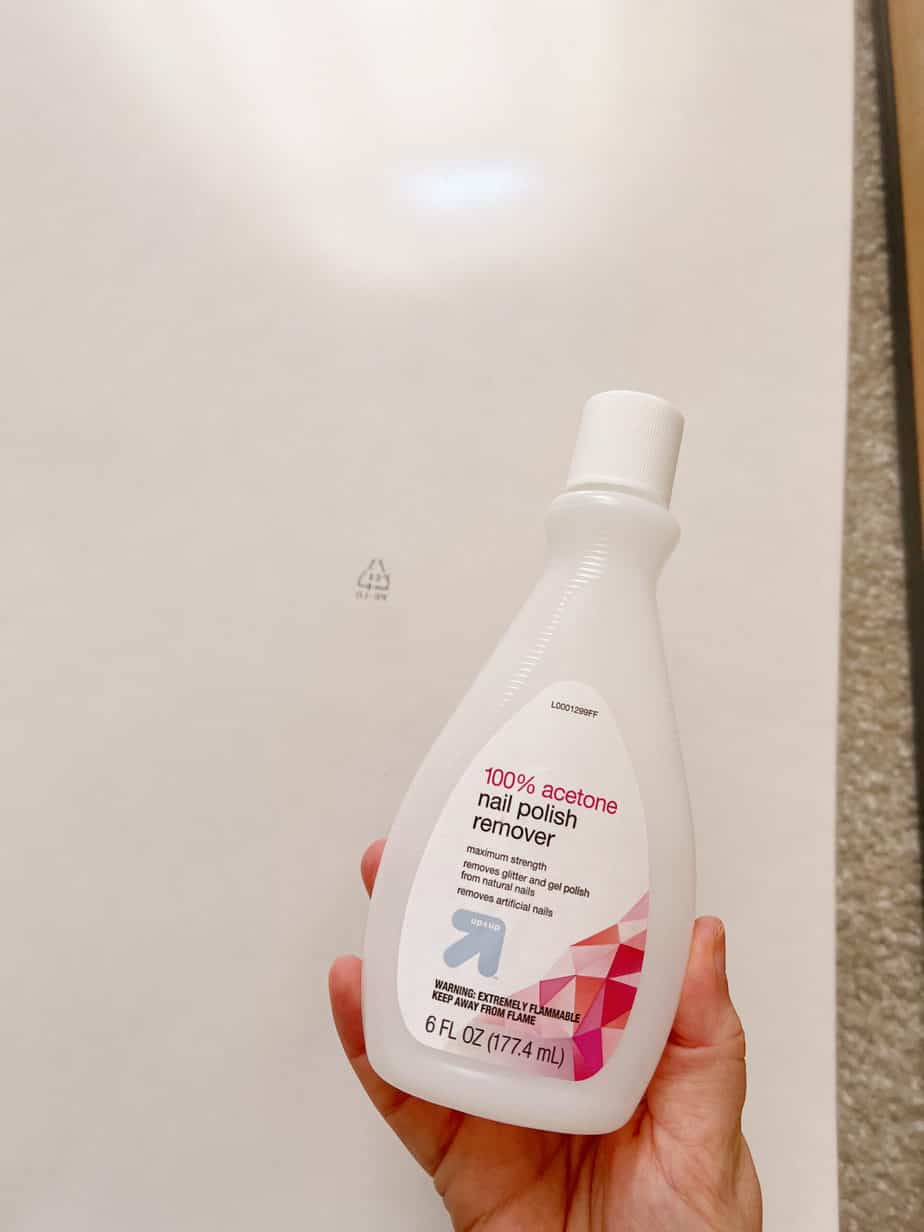
- The frame plastic that comes with the frame instead of a glass front has a little black marker symbol on it. Nail polish remover works like a charm to take this off!
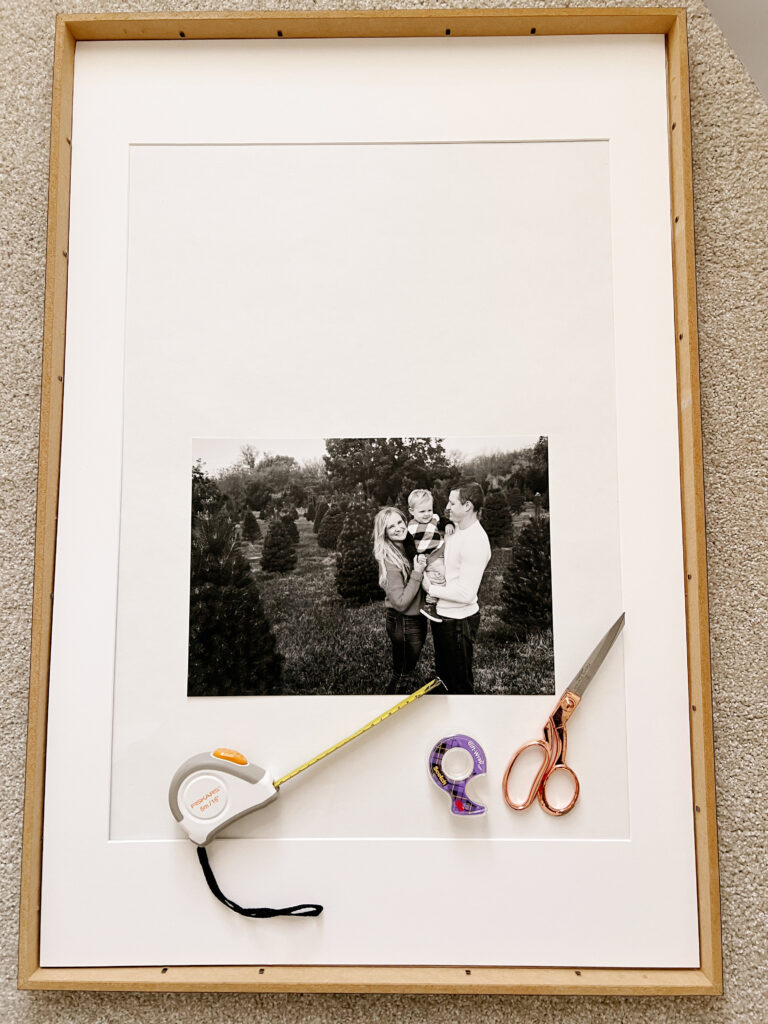
- Poster board worked as matting. My original idea was to use the paper that comes with the frame, but then I realized it has dimensions on one side and the other side is gray.
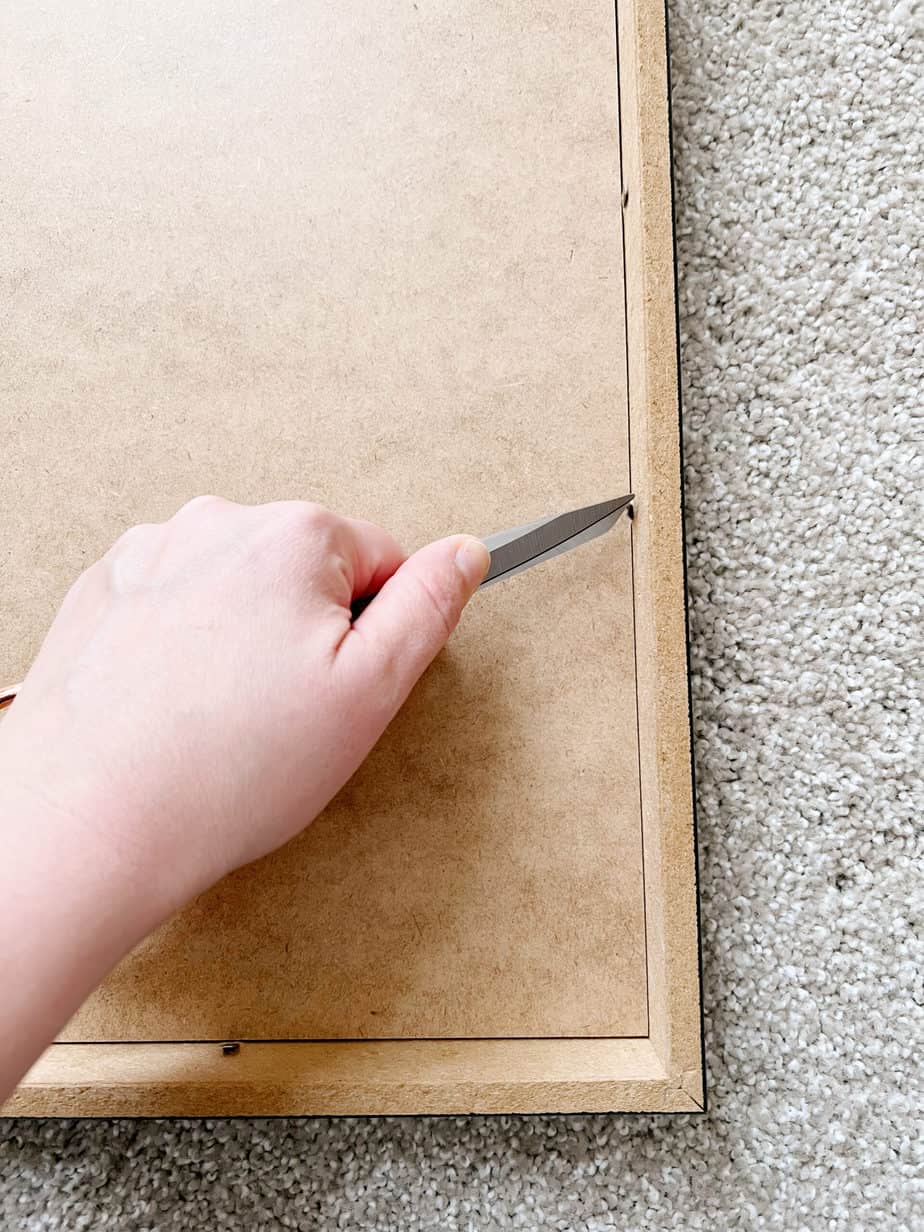
- Use scissors to help open and close the tabs that keep the poster board photo mat in place.
How to hang an IKEA Ribba Frame
I really think there are 2 main ways to hang these frames. They're super light, so you could get away with nails or even thumb tacks on the metal teeth or in the corners. Melanie's gallery wall method would most likely work too with command strips placed strategically. The hardest part is making sure everything is level. I typically use my laser level, but you can use a tape measure and draw the lines/mark where you'll be nailing the hook too.
A miscellaneous tip that may be helpful... this 3M high-strength small hole repair compound works really easily. It has the compound in the tube, then you can scrap and sand it with the lid/end of the tube. I've only used it 300 times in this house, ha!
Photos
I used 3 photos gray-scaled, and ordered them from Nations Photo Lab. The size I picked was 10x14. One thing I'm really excited about is swapping out these photos over time or for special occasions.
Picture Frame Wall Decor
Equipment
- 1 tape measurer
- 1 level
- 3 hooks or nails or command strips, however you prefer to hang art
- 1 Pair of scissors
- 1 pair pliers optional, but useful for popping off the back of the photo frames
Materials
- 1 roll scotch tape
- 3 pieces poster board
Instructions
- I always start by laying out how I want the frames to be, and marking with a pencil where the photo is going to sit within the mat.
- Cut your poster board down to align with the photo mat. You want it to not have any gaps showing.
- Tape your photos to the poster board, facing forward. At this point it helps to kind of lay the frame over the poster board and mat so that you can see what it will look like.
- Take some nail polish remover to the front of the plastic photo cover, it takes the black marks right off.
- Stack everything back into the frame and close the frames.
- Hang your photos!
I hope this helps you in your home! xoxo, Claire


Claire says
Love a good IKEA hack!