I have been thinking about making a boho pallet picnic table for a long time. Honestly, I’ve been thinking about making this for… years. Lol. Pallet picnic tables are so versatile and can be used for a variety of events and parties. When one of my best friends asked for a picnic at the beach to celebrate her birthday, I knew this table was the PERFECT time to try it! If you'd like to see how we styled the table for that, check out my beach picnic party setup post.
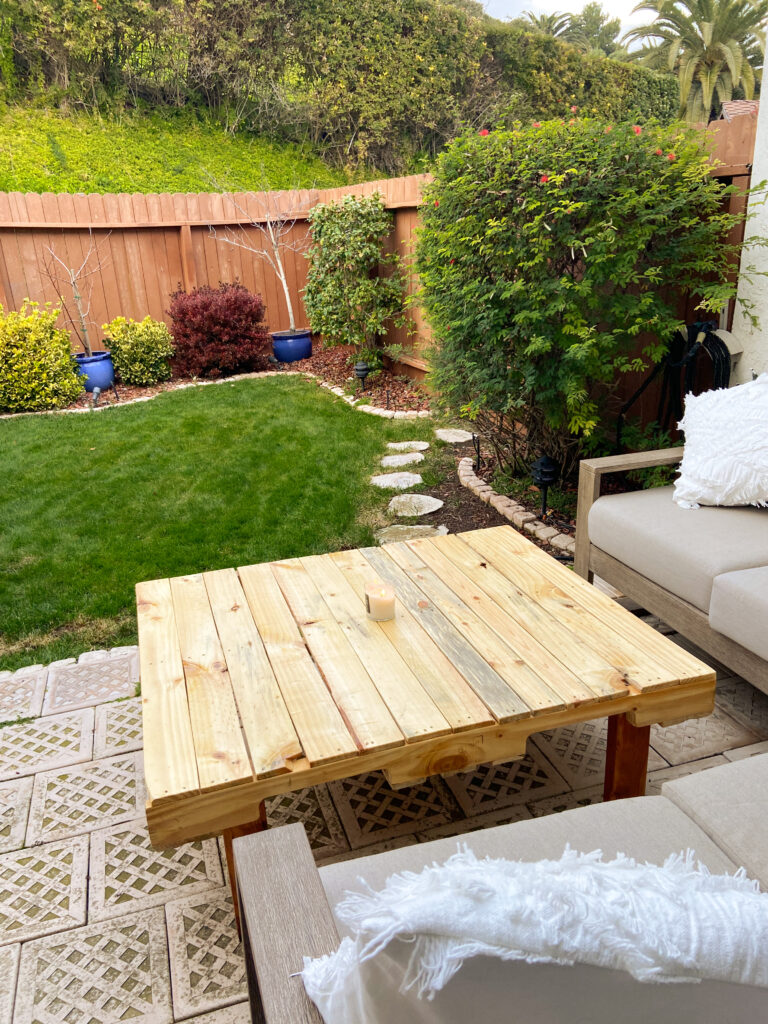
Here’s a list of what I compiled for the easiest DIY Pallet table:
- Pallet
- Electric sander
- 80 Grit and 320 Grit Sandpaper
- Clear Satin Polyurethane
- Paint Brush or Sponge
- Screws
- Electric Drill
The great thing about pallets is that they are pretty easy to find! I happened to snag one from my brother, but if you go to your local hardware store or flooring store, just ask to see if they have one you can take!
The boho table of my dreams
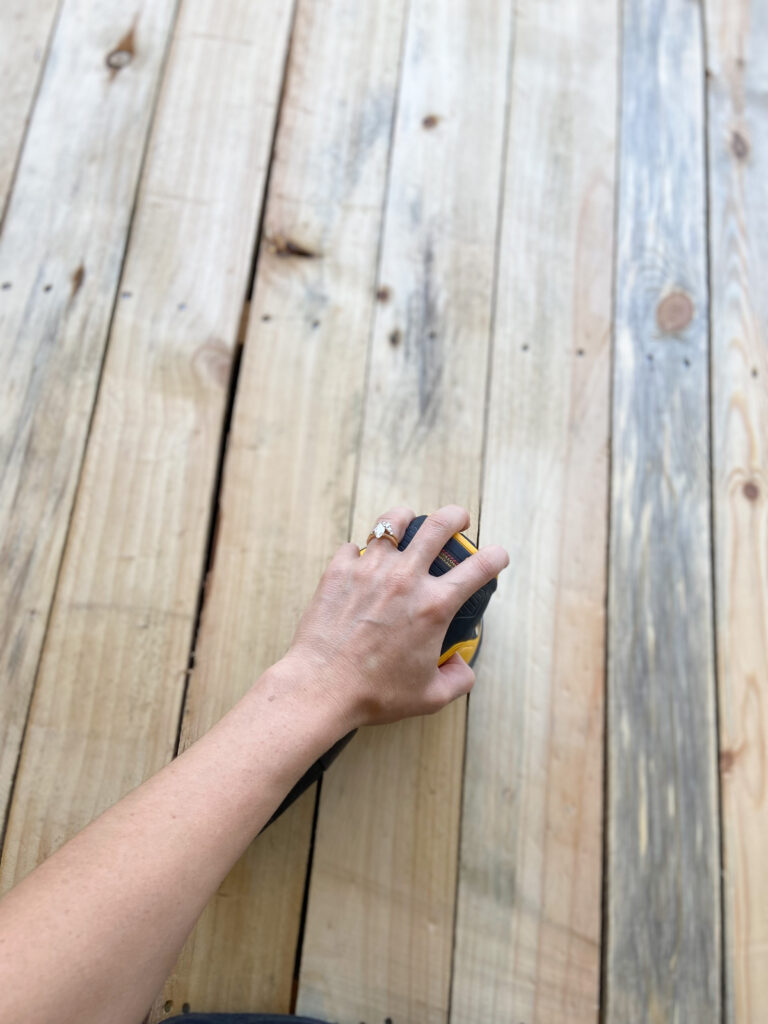
I decided to sand down the tops and edges to give them a smoother, more polished feel. Using the electric sander (which is a total life saver, by the way!) I sanded the pallet down with 80 Grit Sandpaper so that it didn't feel so rough and splintery. 80 Grit is a tough paper that will take out any big ragged edges or splits in the wood.
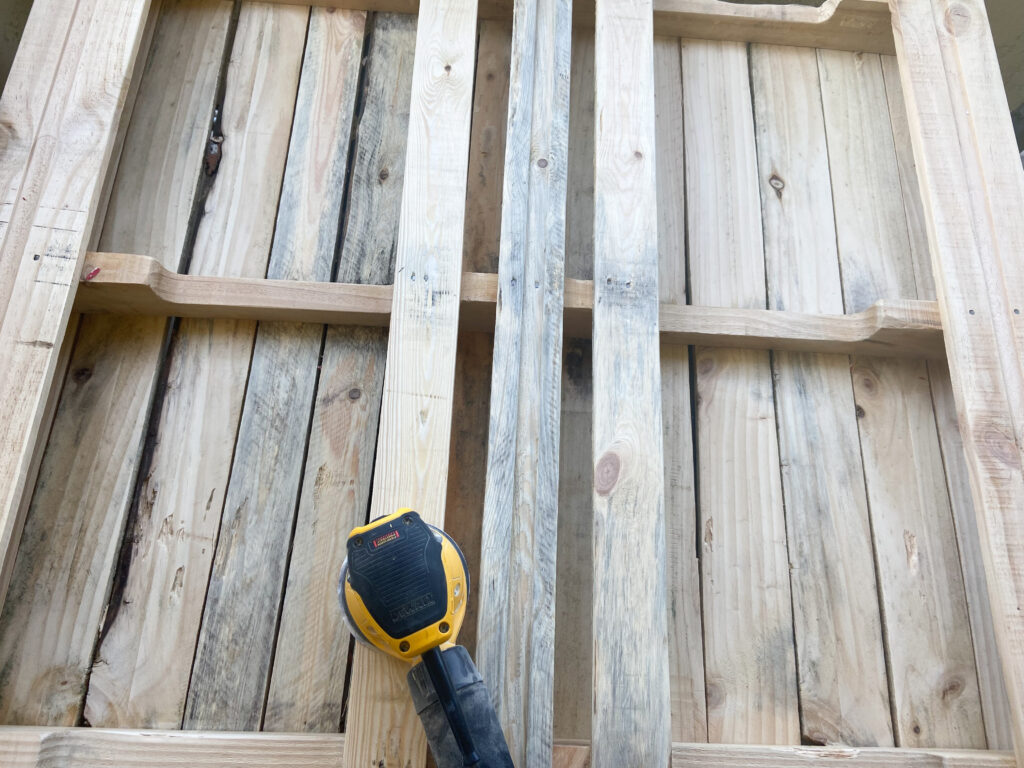
I sanded the entire thing, even the bottom of the pallet. So. Much. Better! After this I used the 320 Grit Sandpaper- which is a much finer paper and smoothed out the top of the table to give it a nice finished feel. I don’t have a method for sanding by the way, I just eyeball it and see how it feels to the touch! Tip: The larger the number, the finer the sandpaper is!


Staining the table
After wiping the pallet picnic table down to remove any sanding dust, I clear coated it with this Minwax Polyurethane in Clear Satin. I used the oil based stain because I find it the most durable, but it did give the table a yellowy tint. This didn’t bother me, but if you don’t want a yellow tone then just use a water based solution!

Table Legs for the Picnic Pallet Table
I knew I wanted to add a little height to the table, so it wasn’t quite as low to the ground. I flipped the table over and I cut 4 16 inch legs from a spare piece of 2x4 wood. Using the electric drill, I attached a leg on each side of the 4 corners with 3 screws. Note: If you want the legs to match the top, you can the side pieces from another pallet!
I hope you enjoyed this tutorial! It is so quick and easy!




Leave a Reply