This year has gone by so quickly, and I cannot believe it is already October! Each year I dress Penny up in a cute costume for halloween, and I have to tell you that I am obsessed with how this year's turned out. I decided to make her a Skye Paw Patrol dog costume and she is literally the cutest thing you will ever see! This DIY Paw Patrol costume is a no sew, easy option for any of your Pomeranian costume needs. This template will also work for any sized fur baby, so read on if you'd like to make one for your pet too.
If you aren't familiar with Paw Patrol, it's a cute kiddo show that features several pups with special skill sets that help solve problems in their town. It's really popular with toddlers and kiddos. So what could be more perfect for Penny to be for Halloween than a pup hero?
Looking for more Halloween fun?
- The Cutest Dog Cheerleader Costume
- Boo Bags- A Fun Halloween Game
- Cardboard Box Car- Delivery Van Costume
- S'more Dip- an Easy Halloween Peep Dessert Recipe
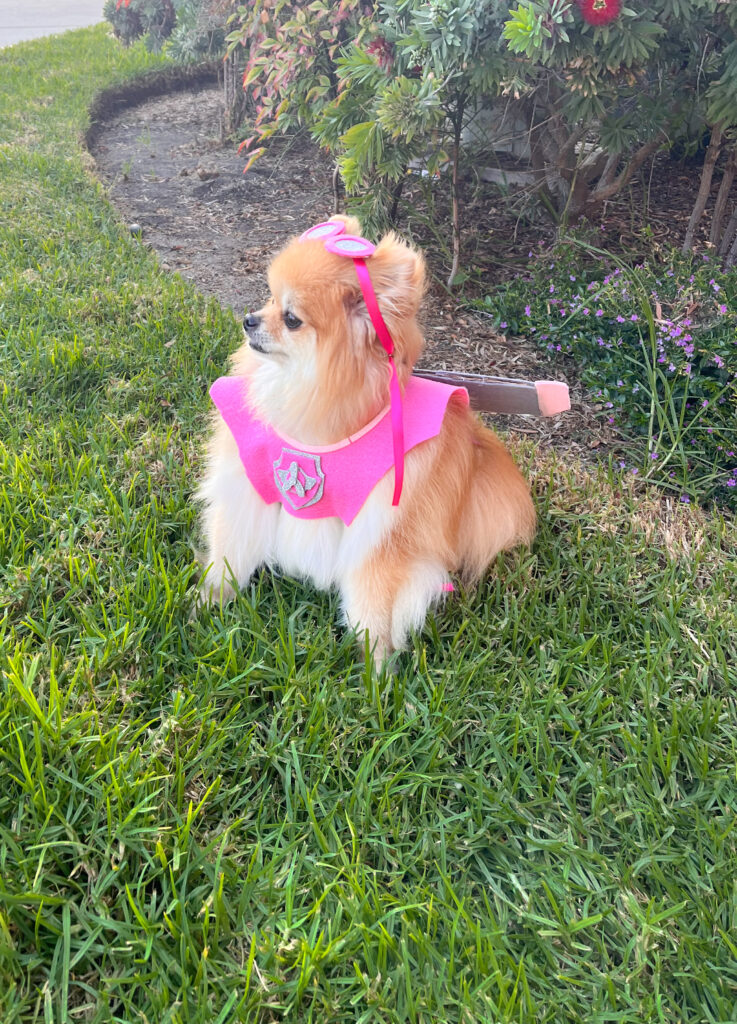
Supplies
- 3 sheets dark pink felt
- 3 sheets of light pink felt
- 2 sheets of gray felt
- 1 sheet of silver glitter foam
- craft scissors
- cardboard (I used a cardboard box)
- hot glue gun
- string for measuring pet
- ruler or tape measure
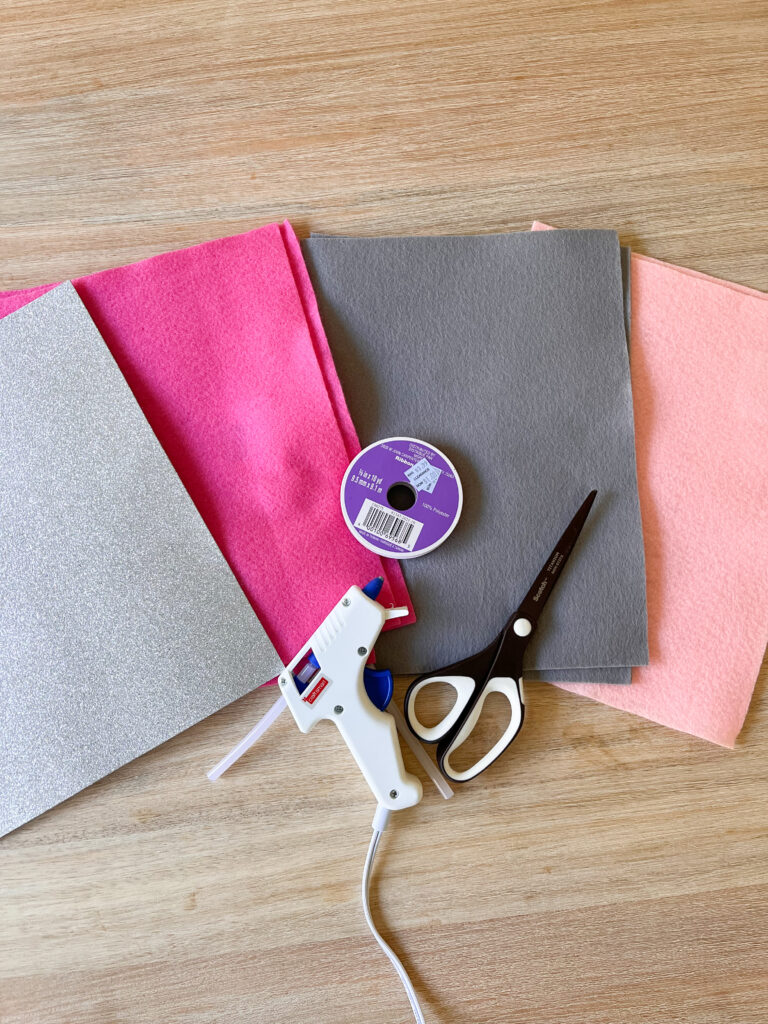
Steps for Paw Patrol Dog Costume
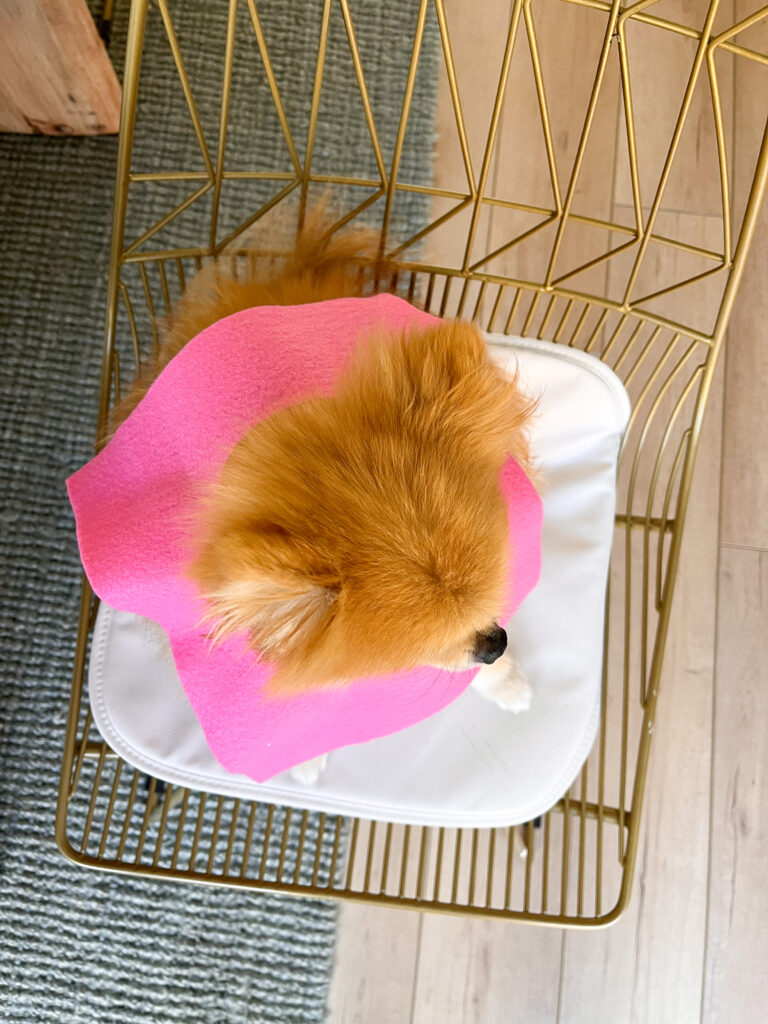
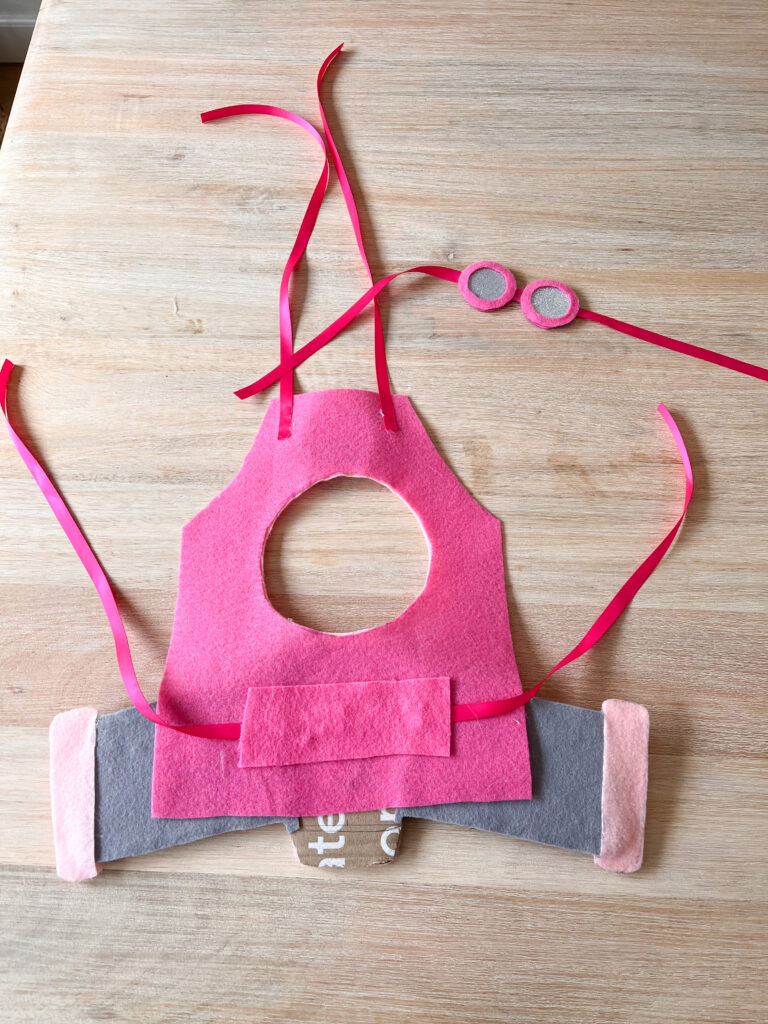
- Measure the circumference of pet's neck. My little Pomeranian, Penelope, is only about 7 lbs, so I took some string and measured around her neck and then cut out a hole in the dark pink felt (pictured below). I cut the hole about ⅓ of the way towards the top of the sheet, so that there was still room to cover her chest but also plenty of room for the wings on her back. This is the "jacket" piece that all of the other elements will be glued onto in later steps. I also cut the corners off of the chest portion, so that it fit nicely in between her legs.
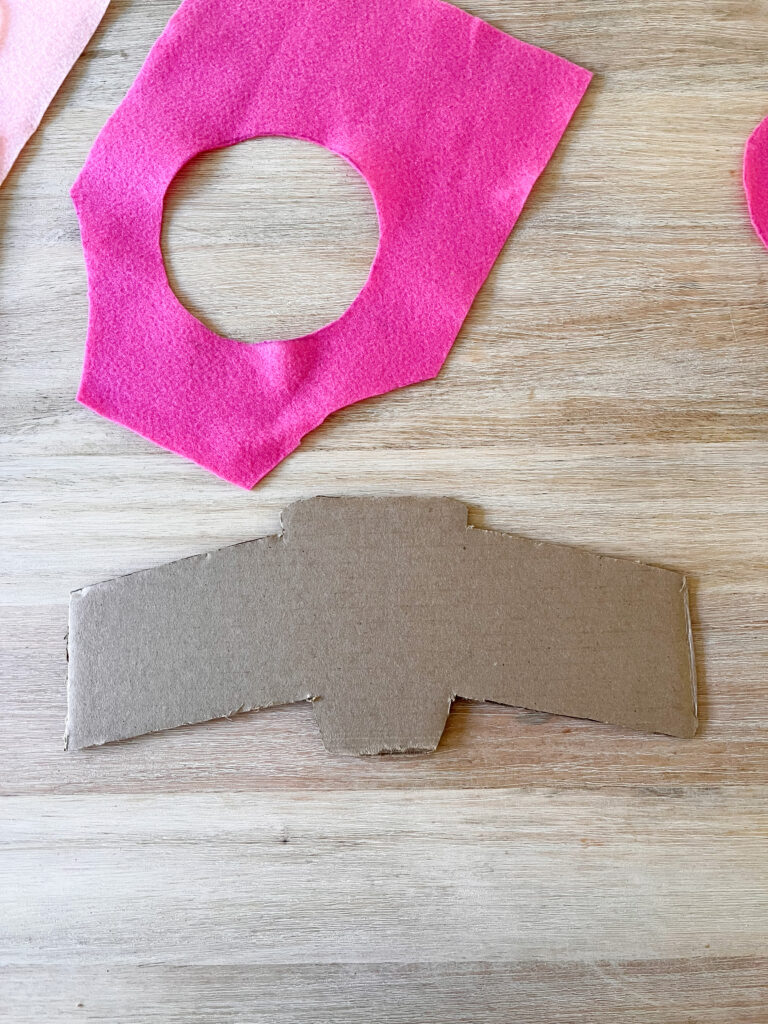
- Take cardboard or heavy stock paper and cut out the wings. I measured the width of Penny's shoulders (7.5 inches) so I made her wings a total of 13 inches in length. I am not a very detailed person when it comes to measurements (like, not at all haha) so I used a photo of Skye with her wings open, and based the shape of my wings off of that. The basic dimensions for these wings are 13 (L) x 4 (W). The "backpack" piece that the wings fold up into measured 6 (L) x 4(W) at the top and angled down to 2(W) at the bottom. There are quite a few inspo pics for a DIY Paw Patrol costume for kids on Pinterest that I browsed before making my final measurements. Make sure to note that the wings angle back towards the pet's tail slightly.
- Next, make the Paw Patrol Skye badges. Skye wears a smaller badge on her chest and a larger one on her wings. I made the larger badge overall dimensions 4(L) x 2(W) and the smaller badge dimensions 3(L) x 1 (W).
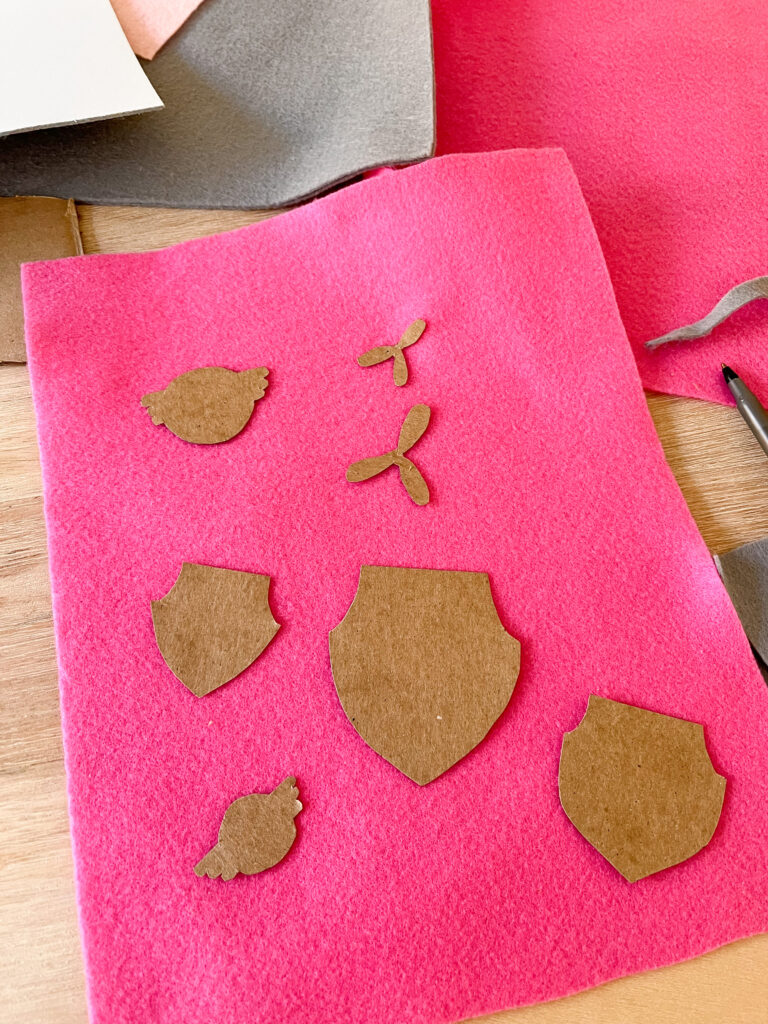
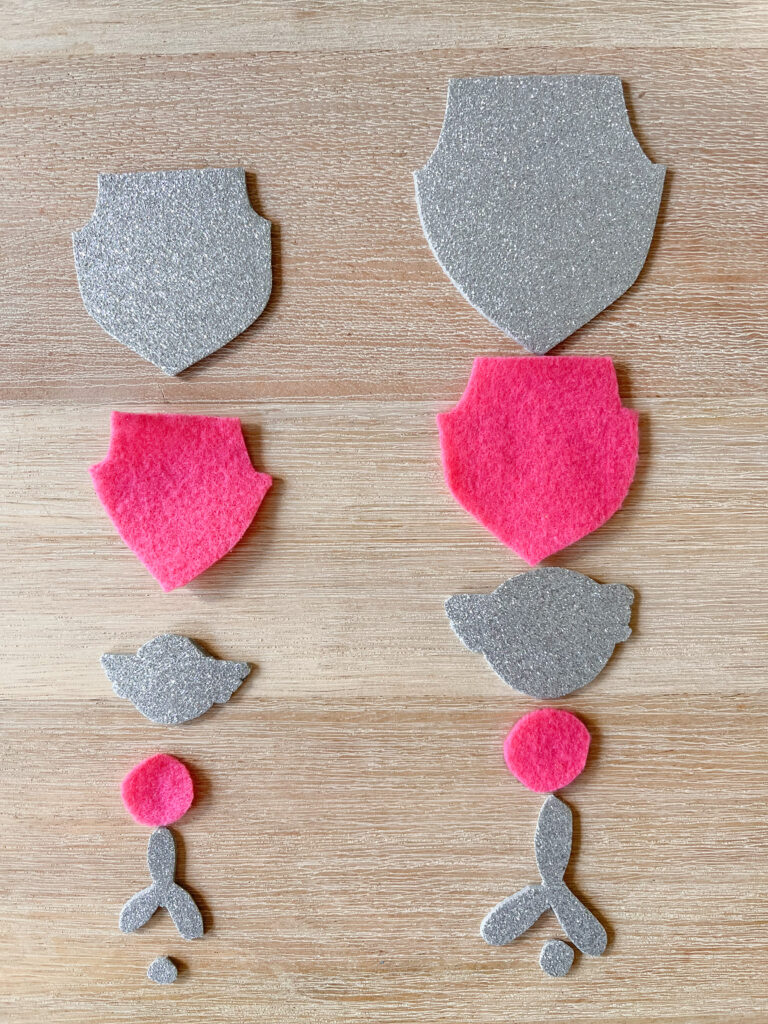
- Here are the pieces required for each of the Pomeranian costume badge cutouts (pictured below): Large badge shape in silver, slightly smaller badge shape in dark pink, logo outline in silver, small circle in dark pink, plane propeller in silver, smallest circle in silver. PHEW! It is a lot of cutting, I am not going to lie! I did not do specific measurements for this step, other than for the largest badge. I just kept comparing each size to make sure that it fit into the one that was bigger.
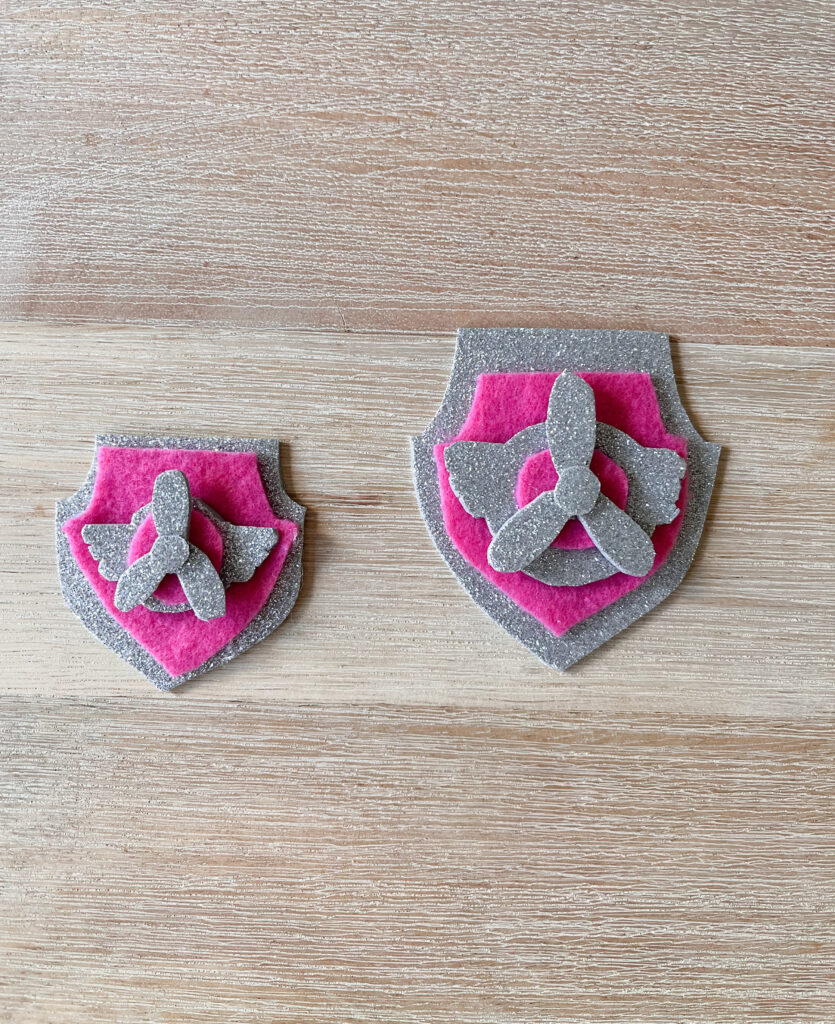
- Glue all of the elements of the badges together! I used hot glue to assemble them. Glue the smaller pink badge shape, centered, onto the largest silver badge. Next, center the logo onto the pink badge, and glue that together. After this, take the dark pink circle and glue that to the center of the silver logo, then finish with glueing the propeller shape to the middle of the pink circle, and the smallest silver circle in the middle of the propeller. See the picture below for a full visual of the completed badge. It turned out so cute! Again, I made two of these completed badges, one slightly smaller than the other for the chest area.
- We're getting so close to adding finishing touches! Cover the wings in the gray felt and glue them to the cardboard. I covered both sides of the wings, but if you are short on felt or time, the topside is just fine! The center of the wings, where the "backpack" is, should be in the lightest pink felt color. I also took the light pink felt and added it to the very ends of the wings. Lastly, glue the larger badge onto the very center of the pink "backpack."
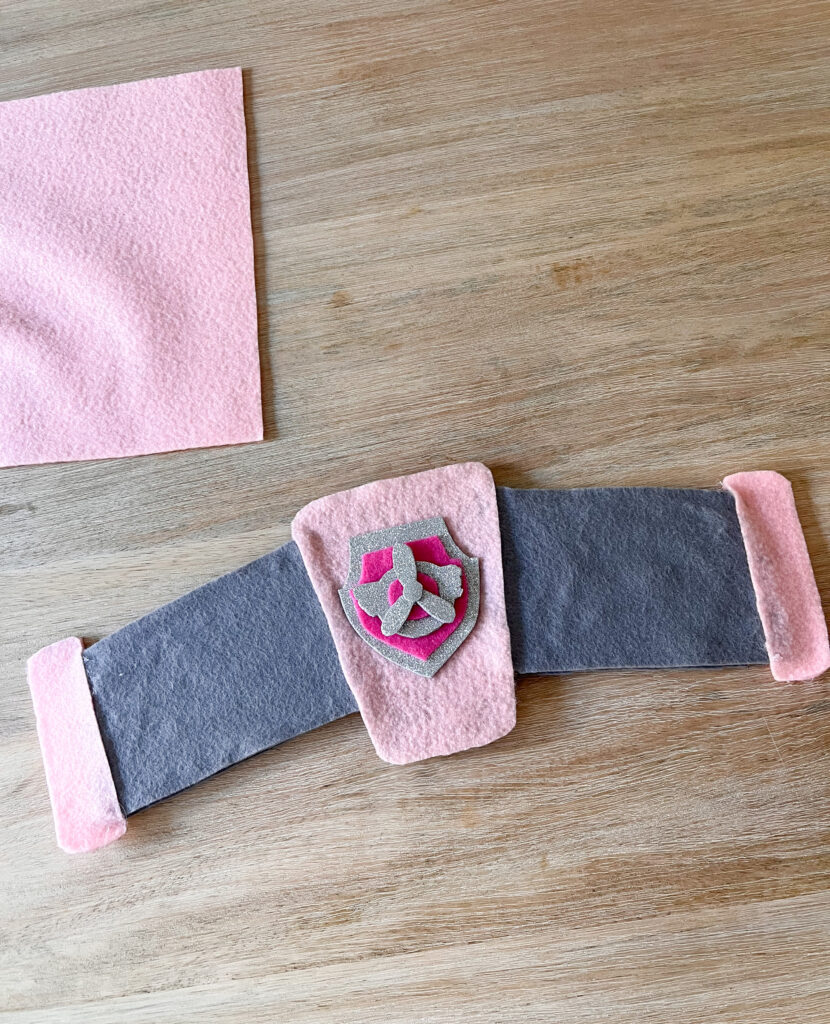
- Take the pink ribbon and cut it into 3 strips. Make sure that the ribbon is large enough to fit around your dog's waist and still have room to tie. Flip the wings over, and glue one piece of ribbon horizontally across the center of the "backpack" section on the wings. I took a scrap piece of felt and glued that over the top of the ribbon too, just so Penelope felt more comfortable. (See picture below for visual.)
- Glue the wings the back portion of the "jacket" centering it behind the neck hole. On the other side of the neck, glue the smaller badge to the chest area. Make sure that the badges and wings are glued in the correct direction, facing away from the hole! Take the remaining two pieces of pink ribbon, and glue them to the under side of the chest area. These will be used to tie the jacket together so it stays on the pet! See the picture below for a better visual!
- We've made it to the final steps! Yay!!! I took the light pink felt, cut it into a very thin strip, and glued a border around the neck hole. The very last step was making the goggles! These are so cute!!
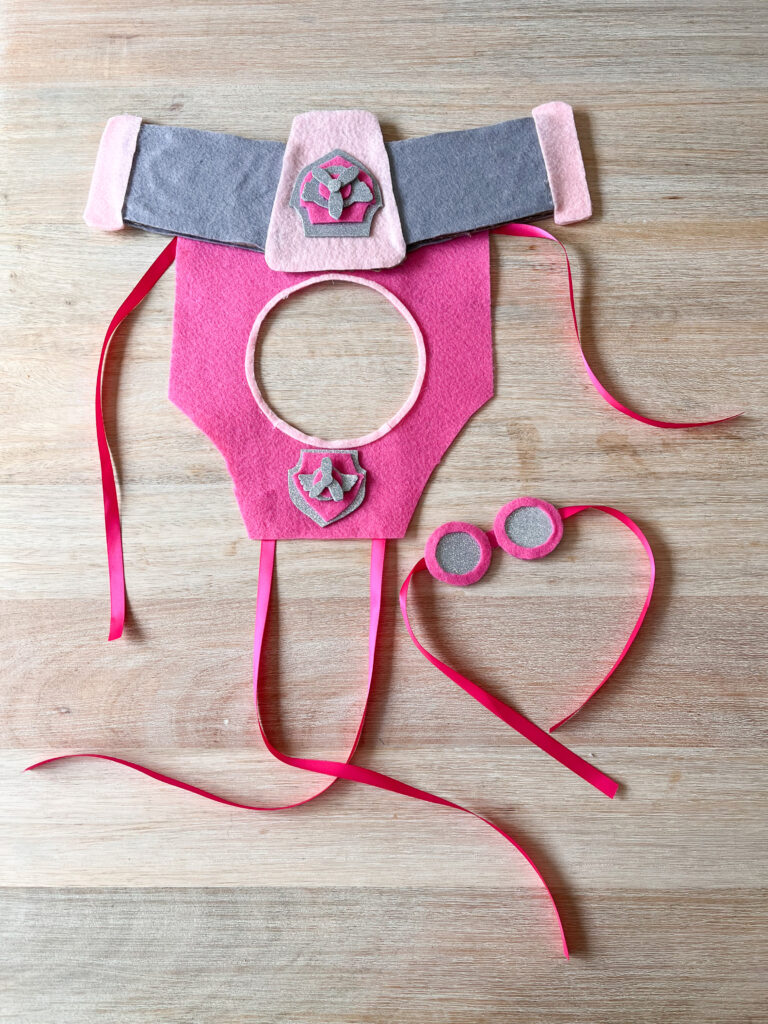
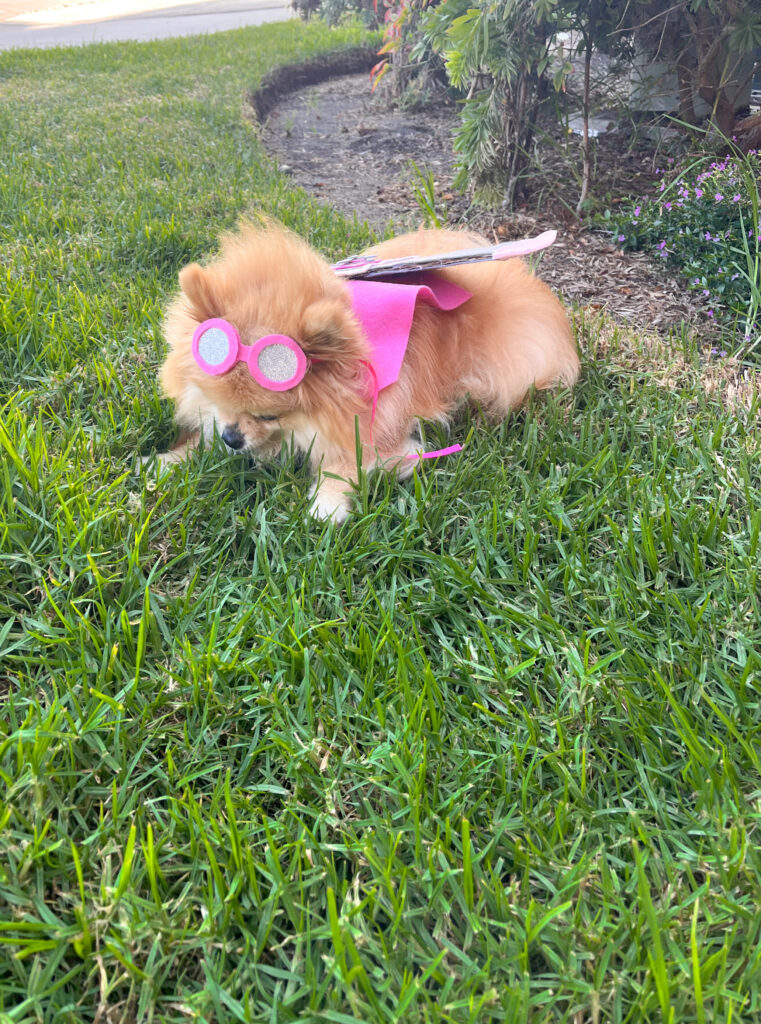
- How to make these adorable goggles: Measure the width of your dog's face. Cut out a glasses shape (two circles connected by a nose bridge in between) in the dark pink color. Cut two similar sized circles in the silver color. Finally, cut two more circles (same size) in the dark pink, but cut the middle out of these circles, so they look like the rims of eye glasses. Glue the silver circles to the middle of the dark pink glasses shape, then glue the rims on top of those. Take some ribbon (long enough to tie around your pet's head) and glue that to the back of the bottom layer. Voila! These goggles are probably my favorite feature of this entire costume!
Tips
- If you have a large breed dog, consider buying a cheap pink t-shirt instead of using felt to make a jacket!
- Plan to block approximately 5 hours for this project. It took me a few days to make!
- I tied the ribbon together under Penelope to keep the outfit on, but get creative with how you tie- it could be tied directly onto a harness first for comfort!
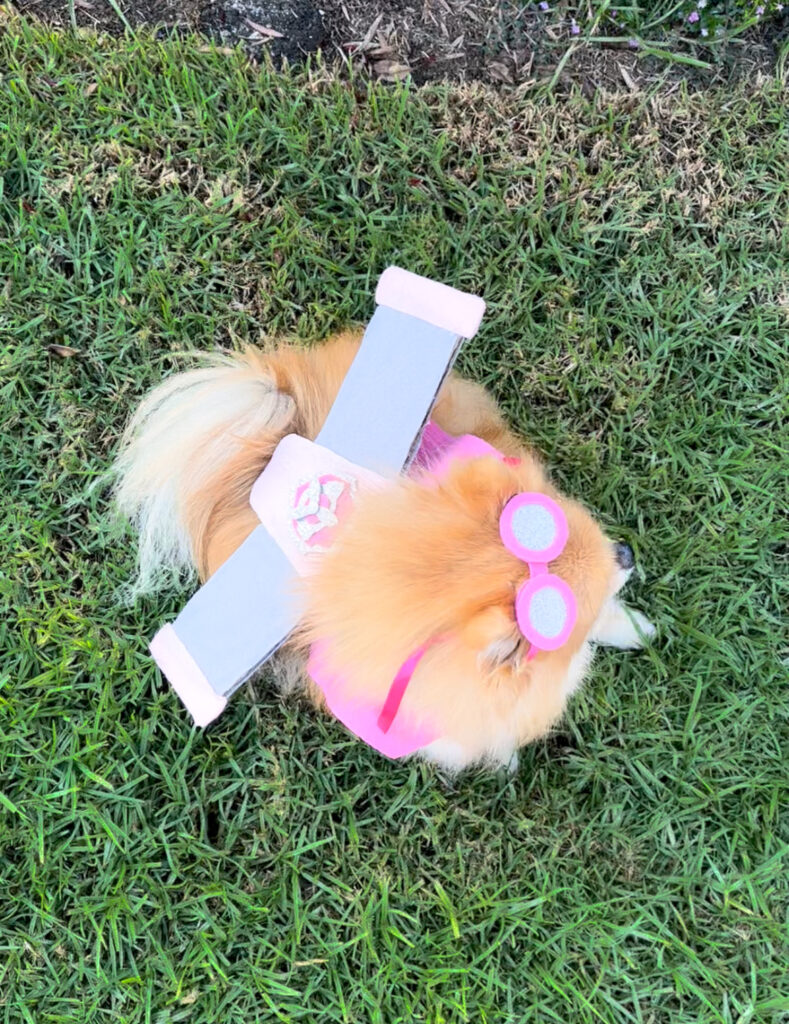
I hope you enjoyed reading about how to make this Pomeranian costume!! This Paw Patrol dog costume is one of the my very favorites that I've made for Penelope!! If you need more DIY Halloween costume inspo, check out our Dog Cheerleader Costume and our Toddler Top Gun Halloween Costume- complete with a DIY fighter jet!
Happy Halloween!!!
Melanie



Joan Schwan says
Oh my goodness your Pom looks just like mine.