
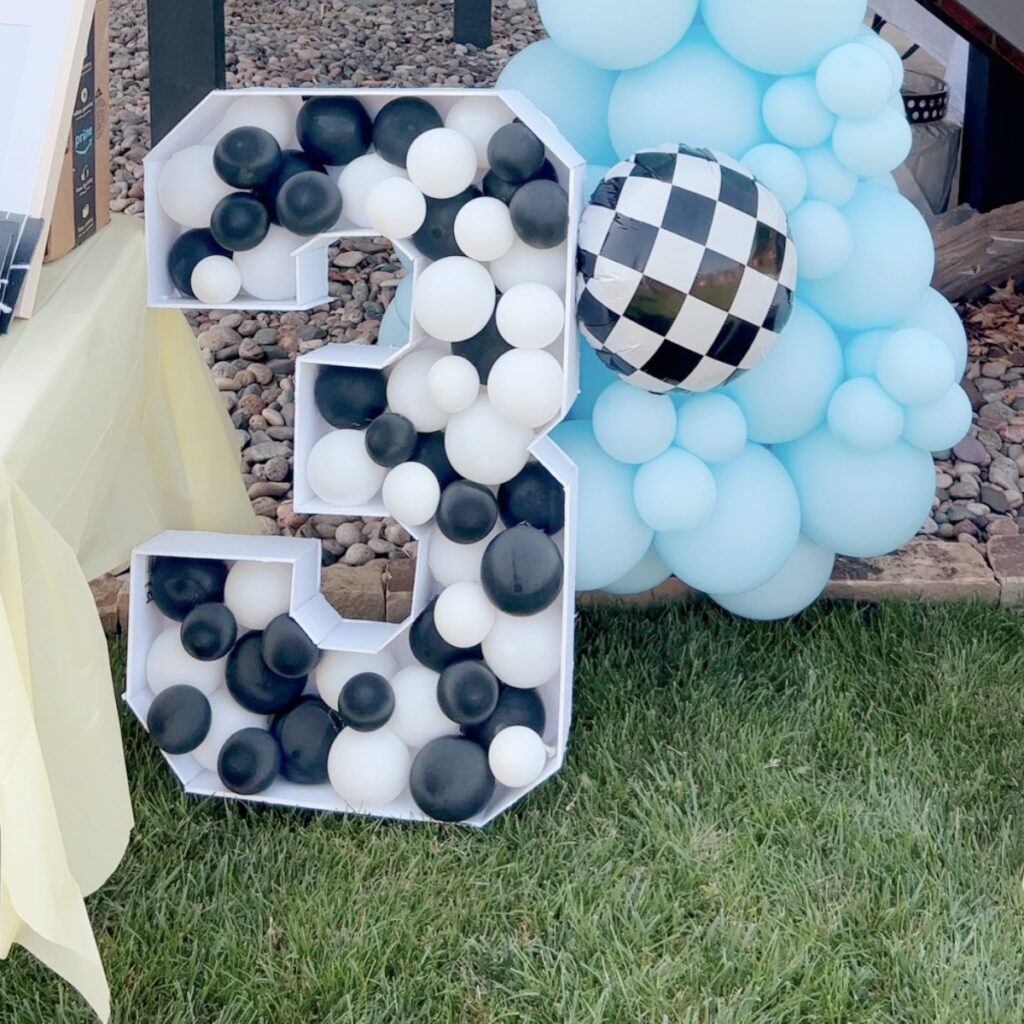
Making a foam board balloon mosaic number is an easy way to add a little sparkle to any party, shower or event. These easy displays work great as a photo backdrop or just as a stand-alone piece of decor. They're perfect for baby showers, birthdays and graduations too!
What's great about this project is how affordable and easy it is, the most expensive thing you'll need is probably the balloons. I would recommend investing in a balloon pump though if you're planning to make many of these or even garlands.
Looking for more balloon DIY's?
- How to Make a Balloon Garland-a DIY Tutorial
- How to Hang a Balloon Garland or Arch
- Our Barn Balloon Mosaic Photo Backdrop
- Hosting Friendsgiving
Supplies
- Template
- 5-inch balloons in a variety of colors
- foam board (the cheapest I've found is at Dollar Tree and Walmart)
- x-acto knife
- Cool temp glue gun and mini hot glue sticks or balloon dots
- white duct tape
Directions
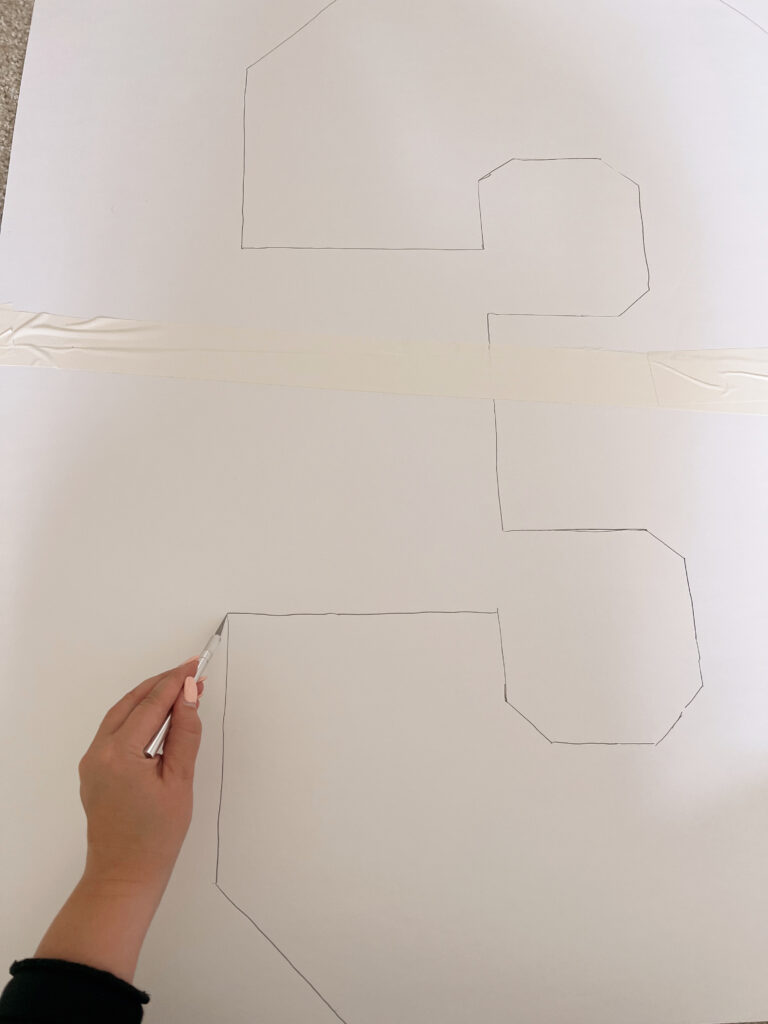
First, pick your template and print it out on normal printer paper. I used this one from Etsy. What's great about this is that it comes with a full 0-9 set of numbers so if you're needing multiple numbers or plan on making one for every birthday you'll have a set. There are template in all shapes and sizes, I used this barn one last year and it's one of my favorite projects to date.
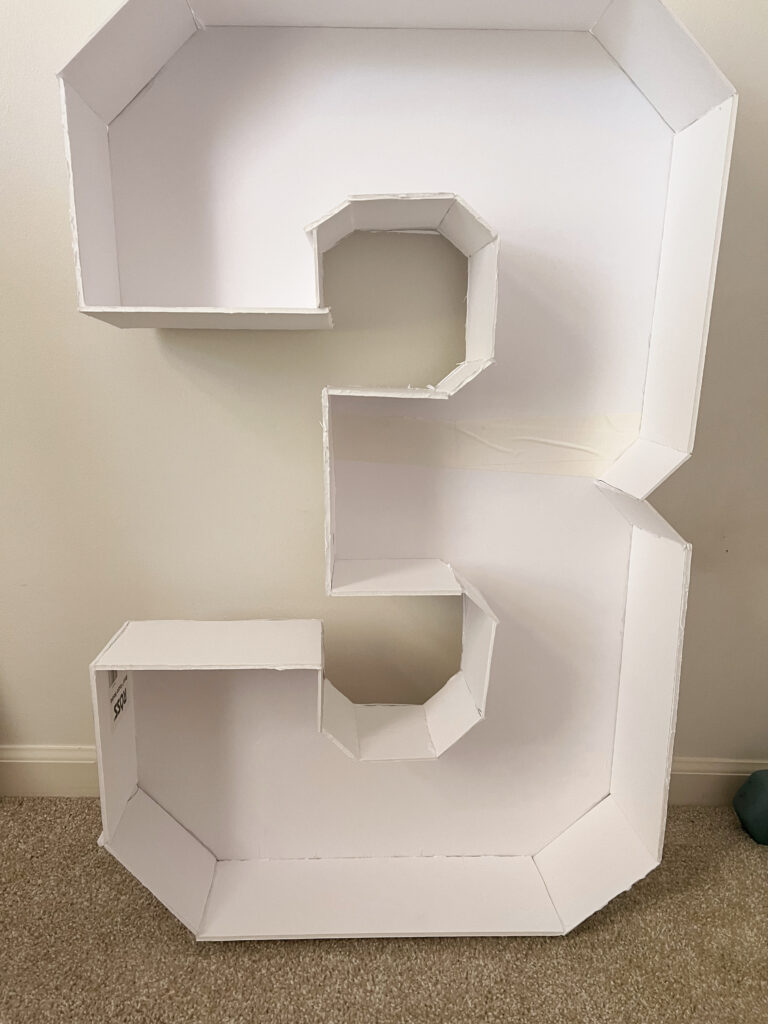
Tape together your sheets of foam board using white duct tape. After you've taped together your template, cut it out and lay on your sheets of foam board.

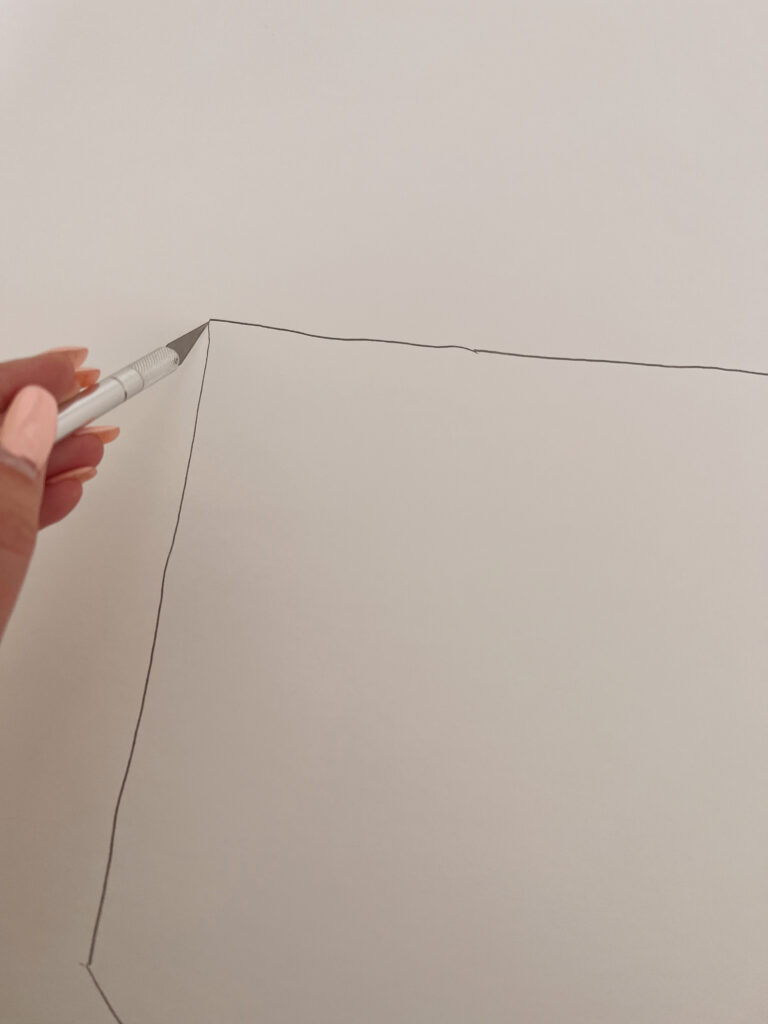
Using an x-acto knife, cut out the main shape from the foam board.
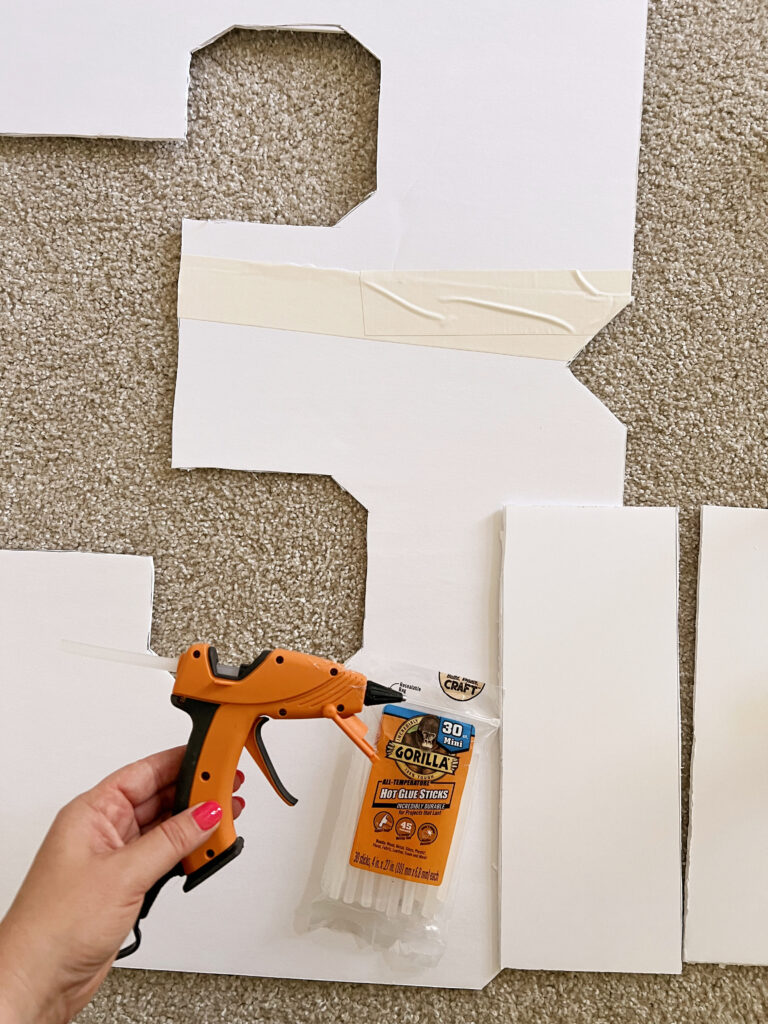
Next, you'll cut 5-inch strips from your remaining foam board. There are two ways you can do the next part and I'll walk through both. You'll use these to create the edges/marquee piece of the shapes. I like to cut several strips at once so you don't run out after getting halfway through making the shape.
After you have your strips you can line them up and cut per angle, or you can score them and shape them around any curves you have. Adhere to the base of the shape by running hot glue along the edge and holding to the foam board. This is what makes your balloon mosaic number.

Adding Balloons to your Mosaic
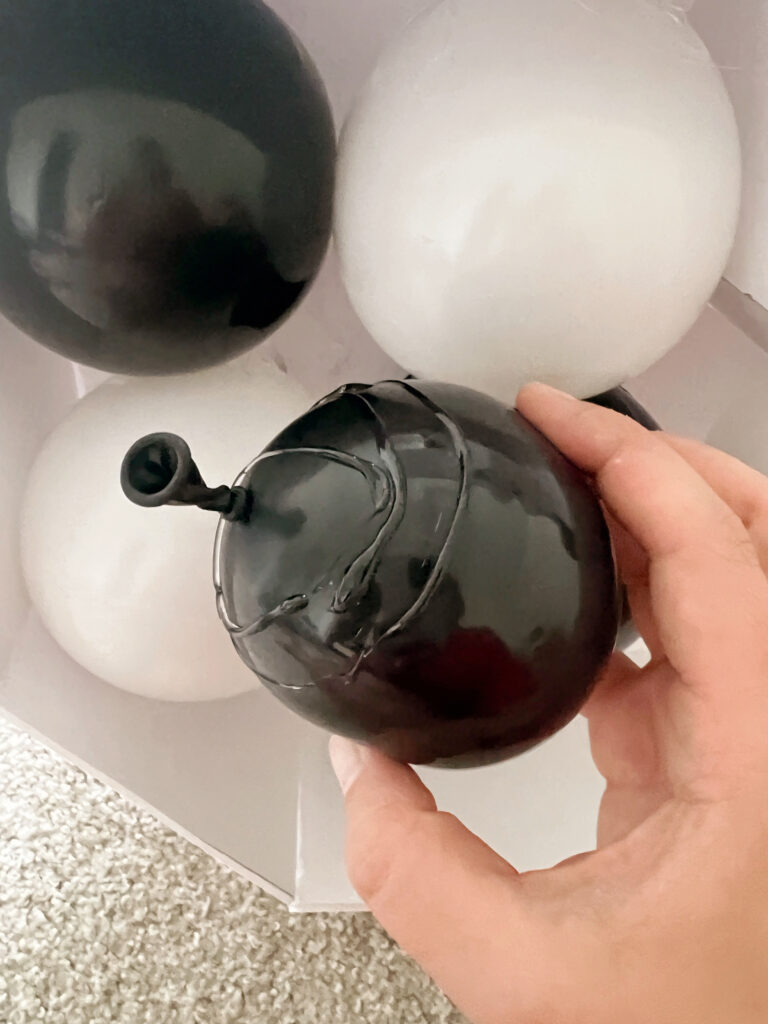
After you've built your balloon mosaic shape, it's time to fill it with balloons. Blow up the balloons in the color of your choice and start to attach to the marquee shape by using hot glue or glue dots. I like using hot glue gun, but it’s super important to use a cool temp one. Hot glue gun burns mixed with latex balloons are super painful. Ask me how I know! I did use about 20 glue sticks during this project.

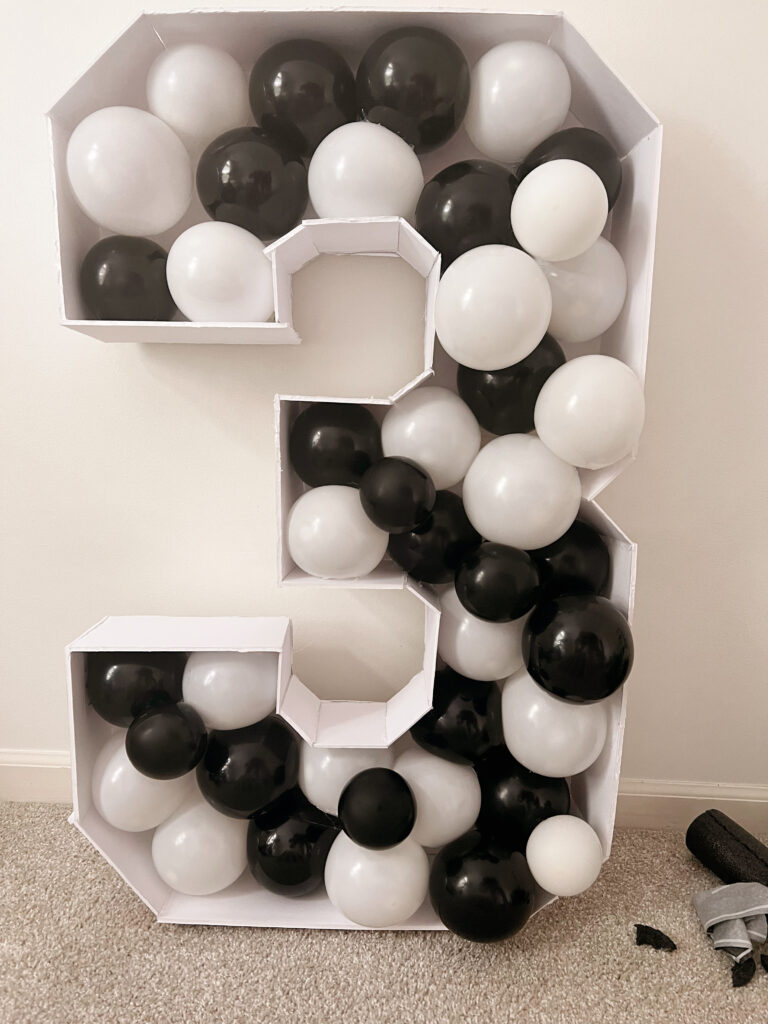
Fill the balloon mosaic and then add a few smaller ones to fill any gaps. Then you're ready to go! It does best when leaning against something, but you can attach it to a post or stake by using a command strip and long skinny balloons like in this tutorial for hanging a balloon garland.

Balloon Mosaic Tutorial
Equipment
- 1 Pair of scissors
- 1 xacto knife
- 1 hot glue gun
Materials
- 1 roll white duct tape
- 5-6 pieces foam board this will depend on how big of a template you're following, following provided instructions.
- 50-100 5-inch balloons in color of choice
- 20 single mini hot glue sticks
- 8 pieces printer paper
Instructions
- After purchasing or creating your template, print it and use to lay out your design.
- Following assembly instructions, tape together the back of your mosaic with white duct tape.
- Cut your remaining foam boards into 5 inch strips.This part can be tedious and is why I recommend cutting all your foam board strips before starting.
- You have to make additional cuts but you can work faster. Using hot glue, glue your edge to the base of your mosaic to create the fillable shape.
- Fill up your 5 inch balloons, do not overfill. I would fill a few and see how they look/fit on the structure before completely using all of your supply. You'll also want a mix of slightly larger and smaller balloons to give the mosaic depth and to fill in any holes in the design.
- Using your hot glue gun on it's lowest setting, apply to balloons and fill the display. Use your smaller balloons to fill in any gaps.


Claire says
Perfect addition to my son's birthday party!