
Making a Halloween paper chain is a fun way to decorate for the holidays. Paper chains are so nostalgic! Do you remember making paper chains as a kiddo? There was always some event or visit that we would be counting down the days until it'd arrive, and having a paper chain to pull off as we got closer and closer just made it a little more special.
Your supply list to make a paper chain consists of paper, scissors, and some way to adhere the strips of paper together. You could even eliminate the scissors and tear the paper into strips if you really wanted to. The point is this is a super simple craft for all levels and one that kiddos can definitely help with.
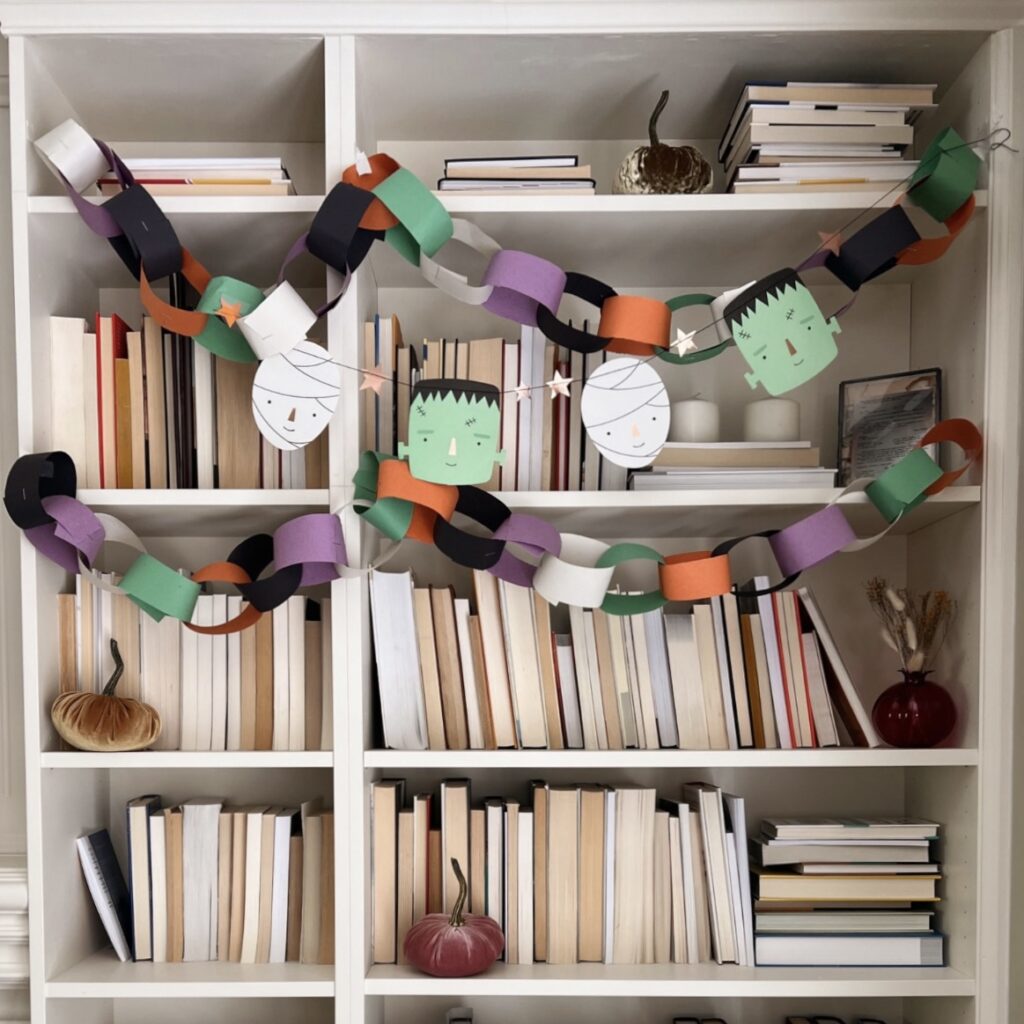
One thing I love about making paper chains is that you can customize them. For Halloween it'd be fun to add faces to the paper or mix up the colors even more. I used traditional Halloween colors, purple, white, black, orange and green. Then I added this fun garland around it for a little extra spooky touch.
Supplies
- Construction paper- you can use regular printer paper, color it, cardstock, 12x12, really whatever works!
- Scissors
- Stapler- if you don't have a stapler you can use glue or tape too.
Directions
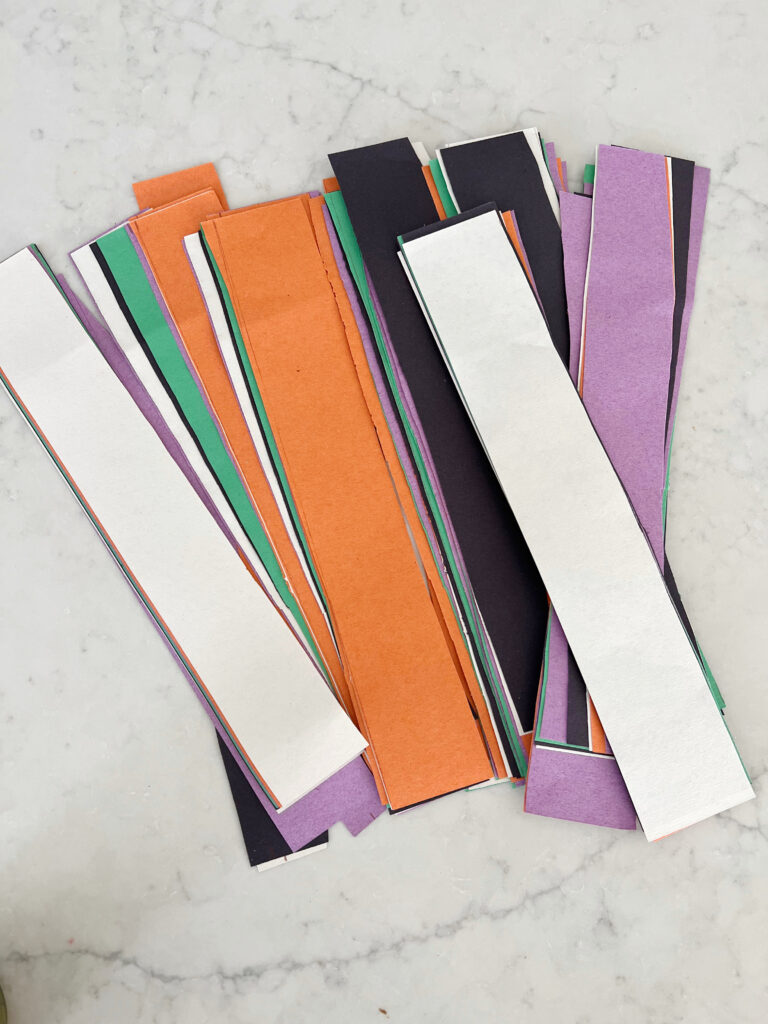
- Cut your paper into 1-2 inch strips, depending on what size of chain you want. This is also something kiddos can help with so it doesn't have to be uniform!
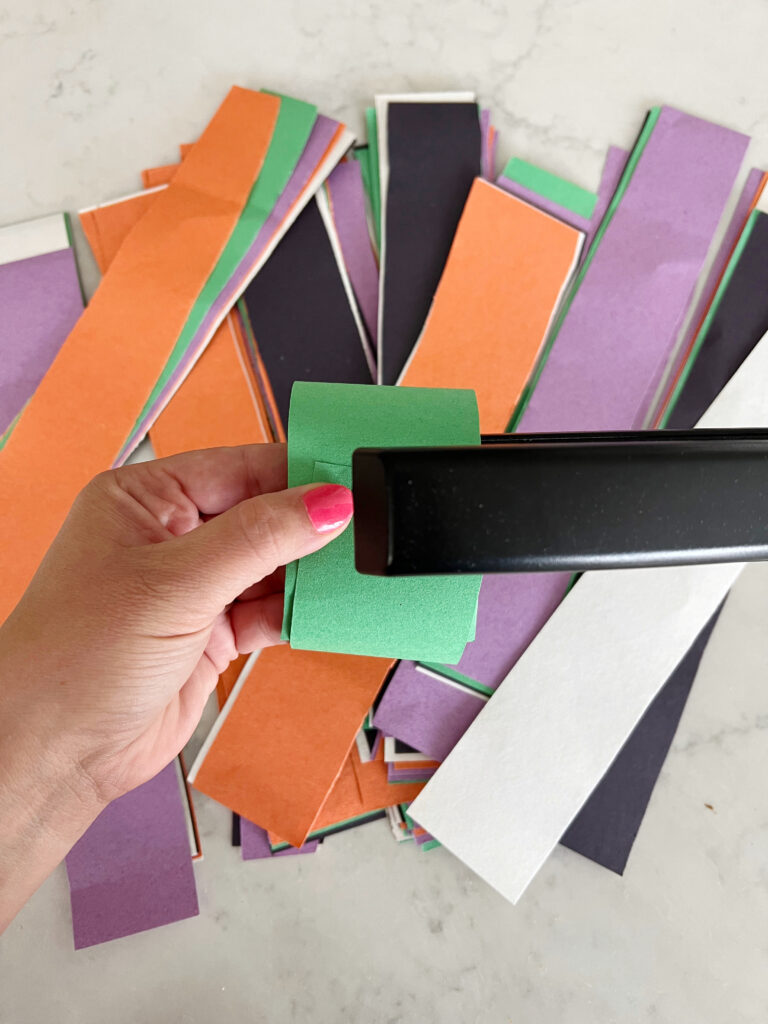
- Wrap a piece of paper in a circle and staple the ends together.
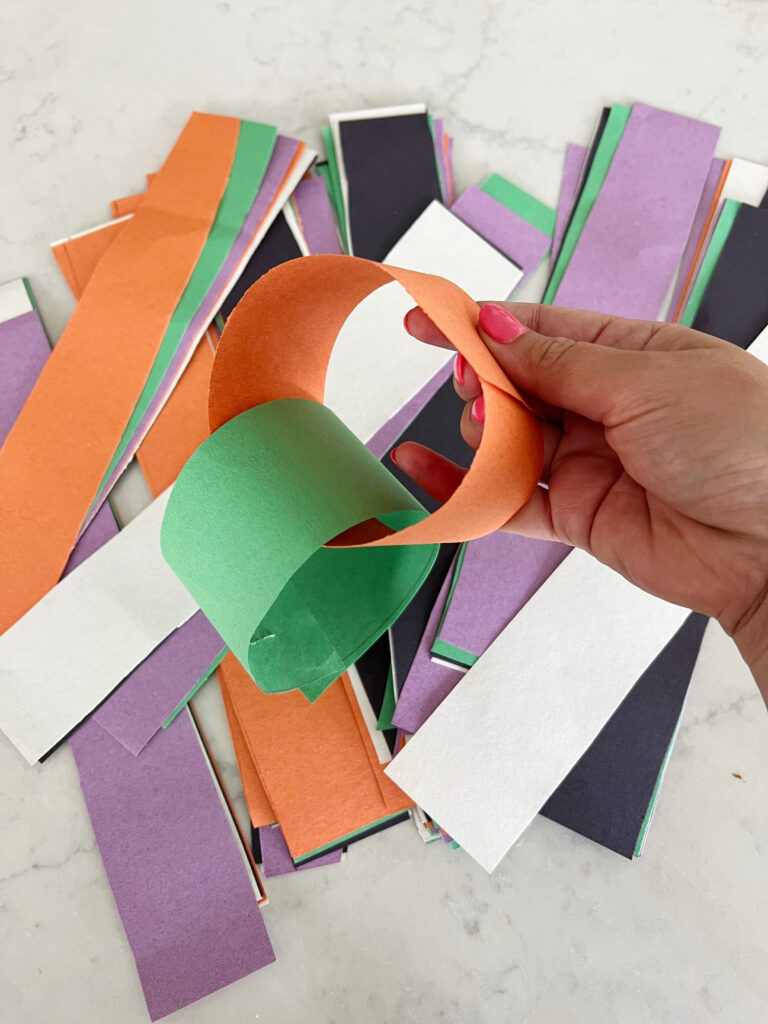
- Thread your next strip of paper through the stapled circle and staple the second strip of paper, creating a ring/loop.
- Repeat the process until your pattern is complete or your paper chain is as long as you're wanting. You can always add more!

Tips
- Pre-cut your strips. If you want a uniform look, measure and mark your strips of paper. Then cut them all at the same time.
- Measuring the window, mantle or shelf you want to hang your garland from can help you make sure you have enough strips of paper ready.
- If you're going to do a pattern, count how many of each color strips you have to plan ahead. I did a typically red, white, blue pattern but you could customize this easily by changing the order, number of each color, etc. based on what paper you have available.
- You can use plain printer paper for a paper chain garland or countdown, no problem. I'd recommend it for a countdown if little hands will be tearing the paper. For my garland I used construction paper but in the past have used cardstock too.
More Halloween Ideas
- Halloween Sugar Cookies-5 Design Ideas
- Boo Bags- A Fun Halloween Game
- S'more Dip- an Easy Halloween Peep Dessert Recipe

Halloween Paper Chain DIY
Equipment
- 1 Pair of scissors
- 1 stapler and staples
Materials
- 8-10 pieces construction paper in colors of choice
Instructions
- Cut your paper into 1-2 inch strips, depending on what size of chain you want. I did 2-inch strips. This is also something kiddos can help with so it doesn't have to be uniform!
- Wrap a piece of paper in a circle so the ends touch and staple the ends together.
- Thread your next strip of paper through the stapled circle and staple the second strip of paper, creating a ring/loop.
- Repeat the process until your pattern is complete or your paper chain is as long as you're wanting. You can always add more!


Leave a Reply