Plastic Pumpkins are not just for trick or treating. They're such a classic and nostalgic accessory. Using plastic pumpkins to decorate a porch is a fun way to incorporate a family-friendly and cheesy element to your porch, home or party.
This Halloween activity is not super expensive or time consuming, but it does help to have a few people involved. My dad helped knock out the drilling and it only took him 10-20 minutes. All in it's about a 2 hour project, including adding the lights. Looking for another porch idea? Check out our Halloween wreath DIY!

Supplies
- 18 8-inch plastic pumpkin buckets (Check store inventory, not usually available online.) Or estimate what you'll need in your space.
- 18-20 zip ties (I used the 36" size)
- Wire cutters (I love this pair!)
- Drill and large drill bit, large enough for whatever size zip tie you pick.
- light timer- not required but super fun and even comes with a remote.
- These are the lights I used, and these are the little pumpkin head stakes.
Directions
- Clip the handle off your plastic pumpkin buckets with your wire cutters.
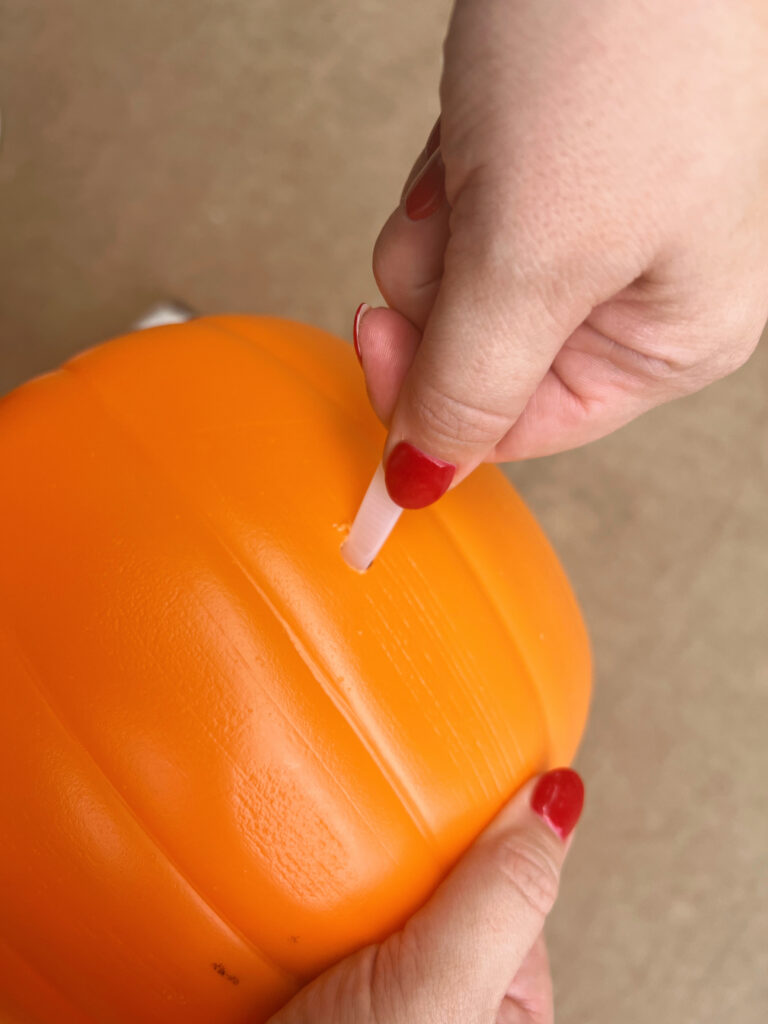
- Drill two holes about halfway down your plastic pumpkin, and then a few holes in the bottom of the plastic bucket. That's for drainage.
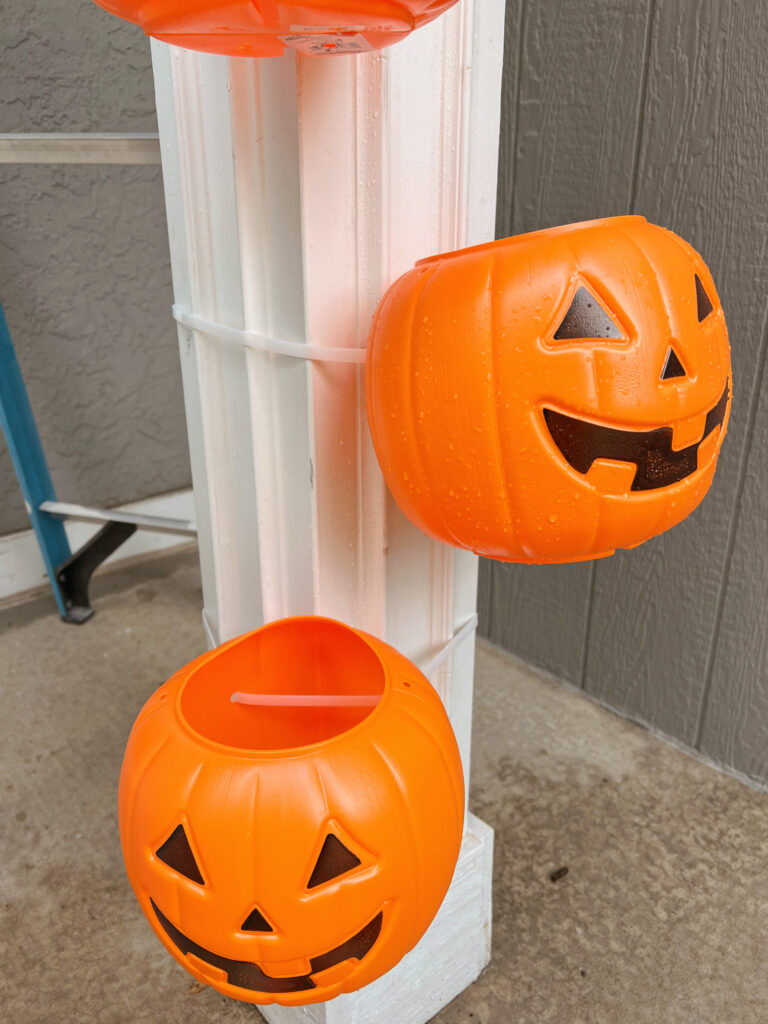
- Run your zip ties through the holes in the back of the plastic pumpkin.


Next, secure your zip tie around the column or stairwell. I ran lights down the pumpkins and it gave it a really fun look!


Tips
There are a few things we learned along the way that made this even simpler!
- Check the size of the column or structure you're securing the pumpkins to. I thought I could use 24in zip ties but needed the 36" to be able to tighten it enough.
- Drill holes in the bottom of the plastic buckets. You don't want them to fill with water!


Leave a Reply