I love how arches have become a staple party and shower decor item. They're beautiful, can designate a space and can be a really fun focal point. The only downside of a plywood arch is you usually have to rent or build one, which can be costly and time consuming. The biggest pros of making a foam board backdrop is that it's affordable and easy to make. No power tools required and it's about $5.
It is worth calling out that this is not the sturdiest piece of decor, especially compared to wood options! Foam board can be flimsy and you'll want to take in account where you'll be displaying it. I did make it with a stand but it can be good to lean it against a solid structure or secure it somehow. You may need to add a few extra pieces a backing or even to the front to secure it/help keep it stable.
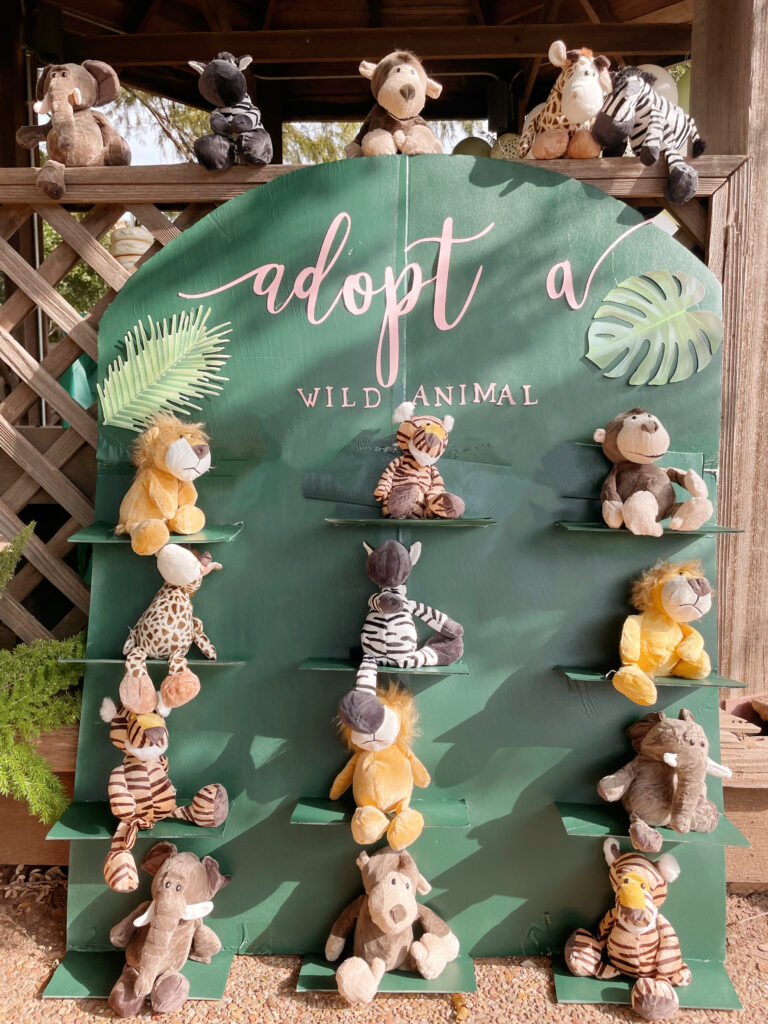
I started using foam board more when I was making balloon mosaics for my son's birthday parties, and I realized it could be the perfect tool for my friend's 'Wild and Three' themed party. We wanted to create an 'Adopt an Animal' board for the party favors, and these stuffies were the perfect size!
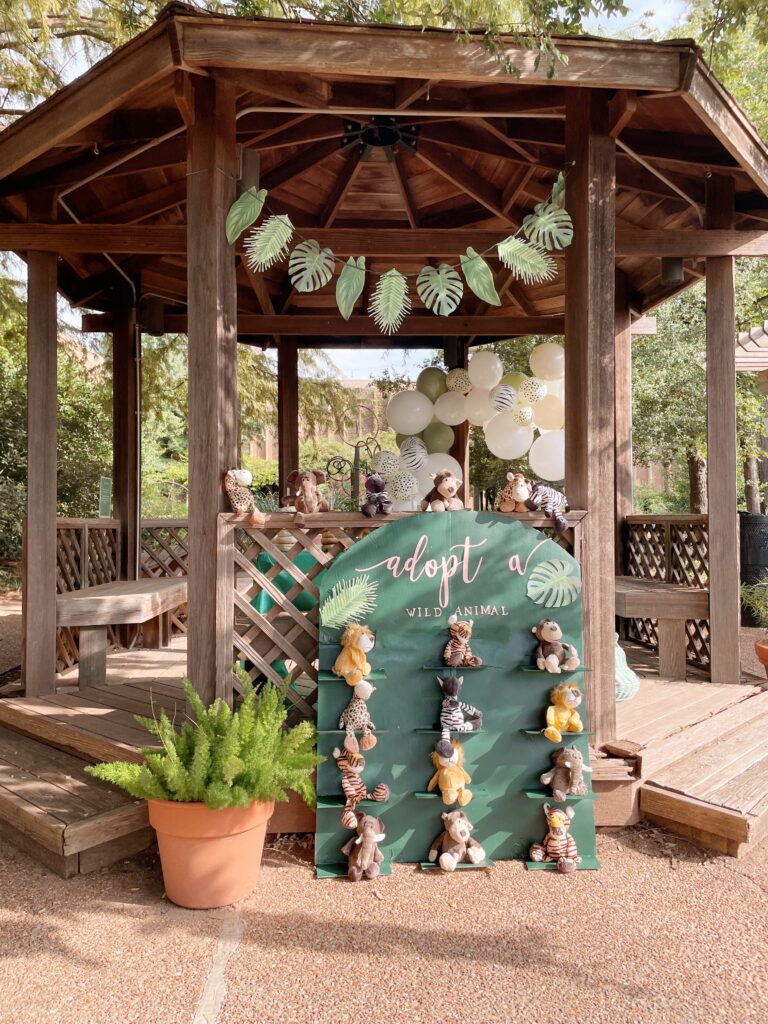
Supplies
- 4 pieces of foam board
- white duct tape
- craft knife
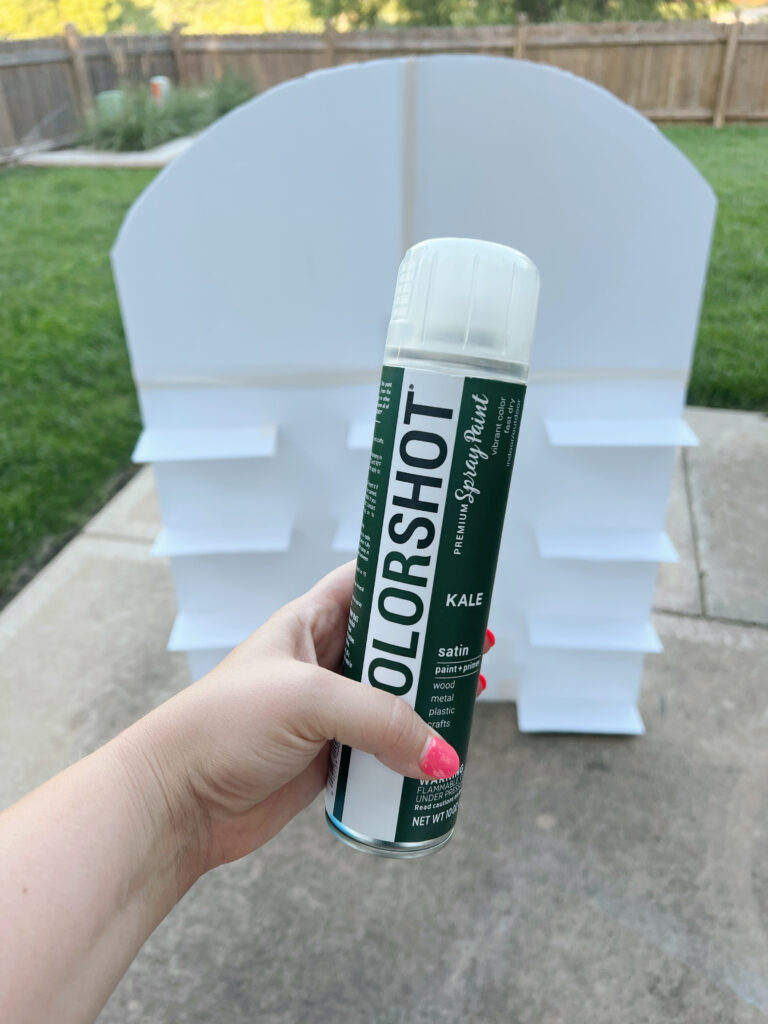
- spray paint (in color of choice, I used Color Shot 'Kale')
- Hot glue gun and glue sticks (if adding shelves, I used about 15-20 of these)
- Cardstock in color of choice (for text)
- Cricut and Cricut design space (you can also trace and cut out by hand.)
Directions
- Start by taping together your foam board pieces. I taped them vertically to achieve the desired height for the foam board backdrop. Use white duct tape, but then cut it pretty close to the edge of the board to try to minimize the look of it.
- Cut one edge of your curve to make an arch, then use the cut off piece to trace/mirror where you'll cut the other side.

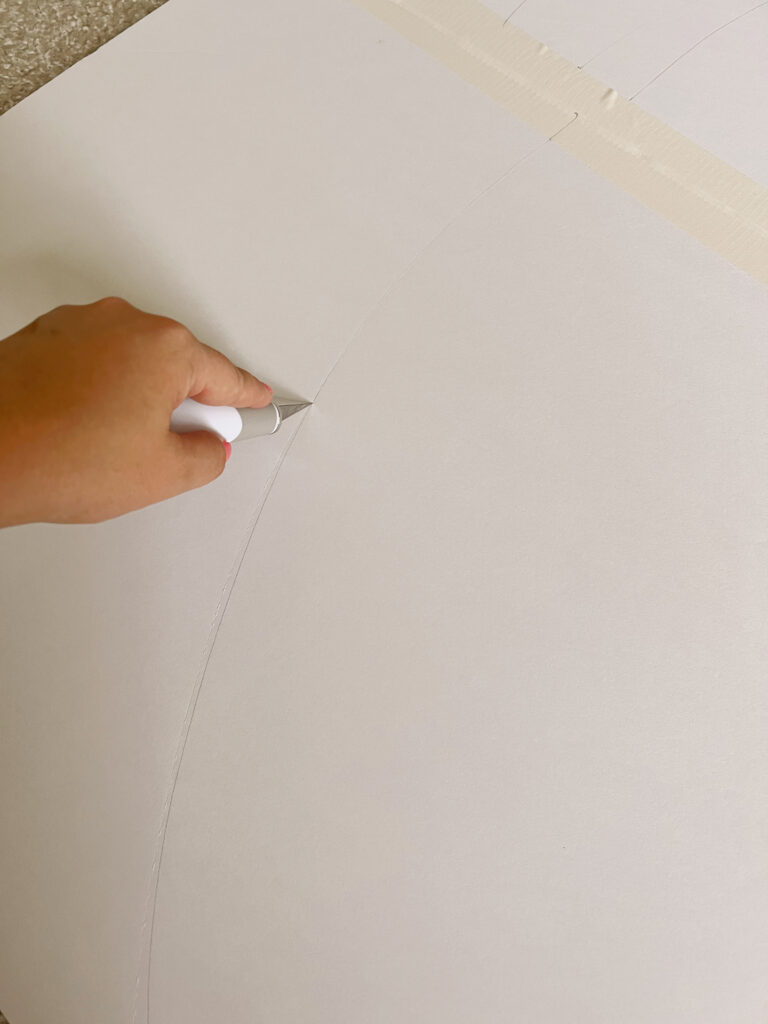
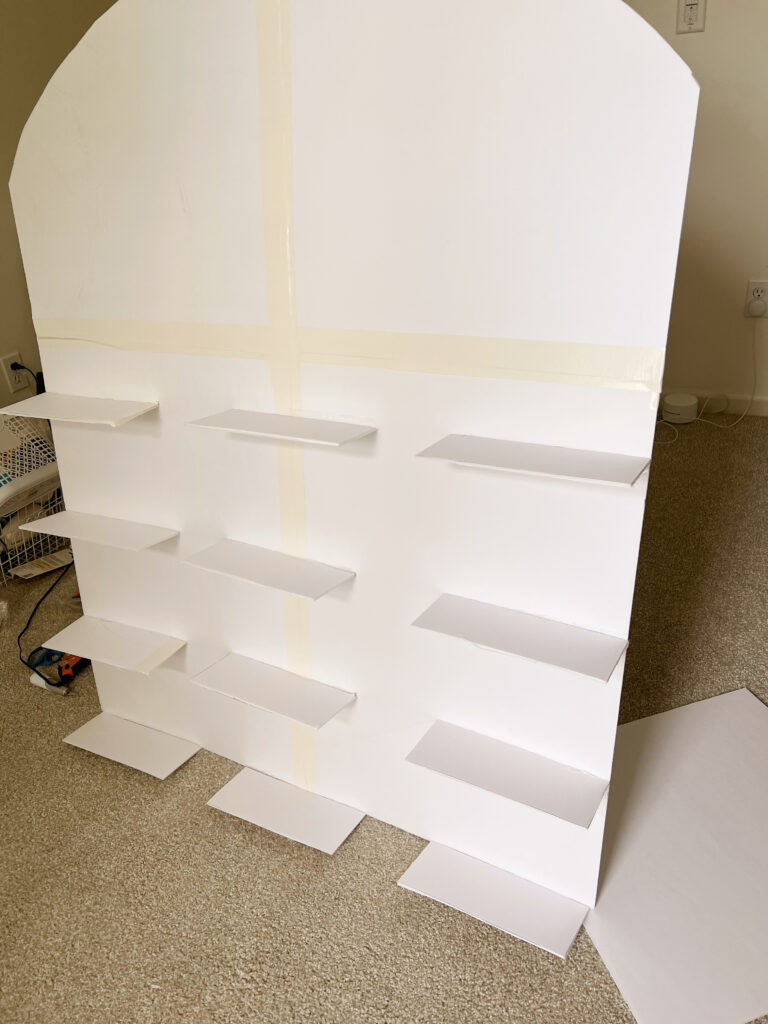
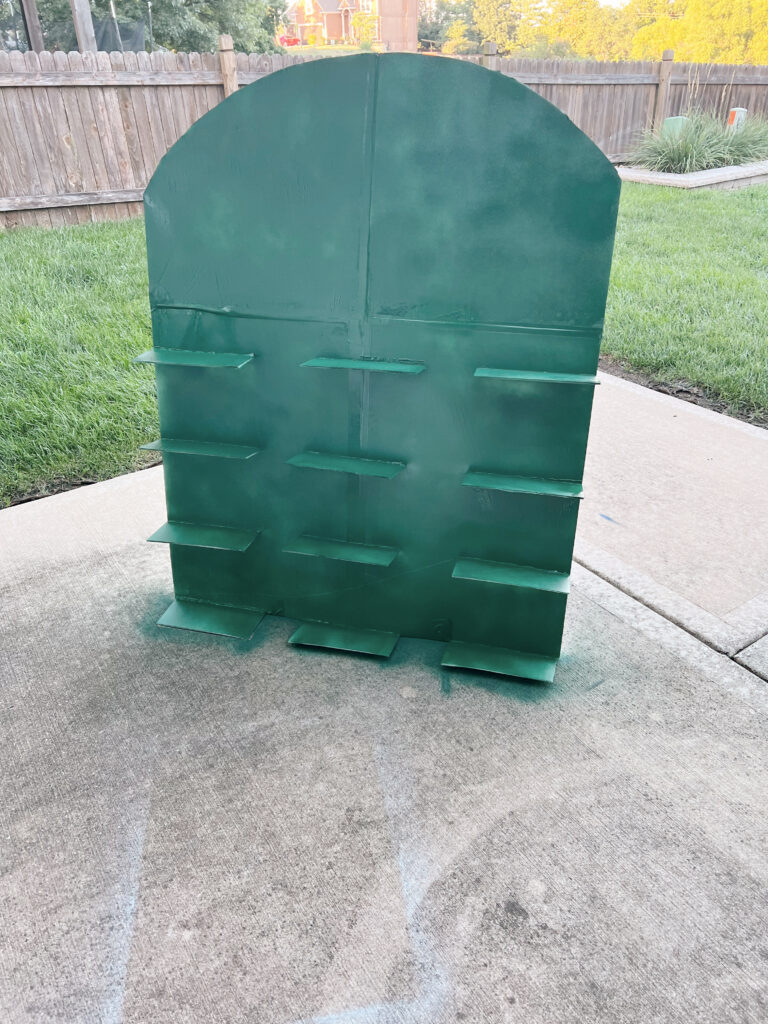
- To make it a stand where you can put stuffies on it, you'll want to create little shelves. I made 5 inch strips and cut them into thirds to use as the shelving. These are the stuffed animals I bought, they sit well on the ledges.
- To secure the ledges, hot glue the foam board strip to the arch structure. You can take underneath if any seem shaky/unstable.
Painting the Backdrop and Adding Details
- Next, it's time to paint your foam board arch! I used a green color to match the theme of the party, and it took about a can and a half to have really good coverage. You can see that the tape lines are still somewhat visible, but the stuffed animals do help cover those up.
- To make your text, I bought a file from this Etsy shop and then dropped it into my Cricut design studio. Play with the sizing a bit to find out how the letters will fit. I ended up using 4-5 inch letters.
- Hot glue them onto the painted arch.


After the foam board backdrop has been built, you'll decide if you want to add a stand to the back or if you'll be leaning it against something. To make a stand to prop it up, I added to pieces of 5-inch foam board across the back, (where the 4 pieces of foam board met to help secure it) and slid another long piece of foam board in right under it.
It's important to test this with anything you want it to be holding, just because it is foam board and not the most secure. You can see in the pic below I tried a few things before landing on the longer back stand. It held up for about a week at my home as a test.
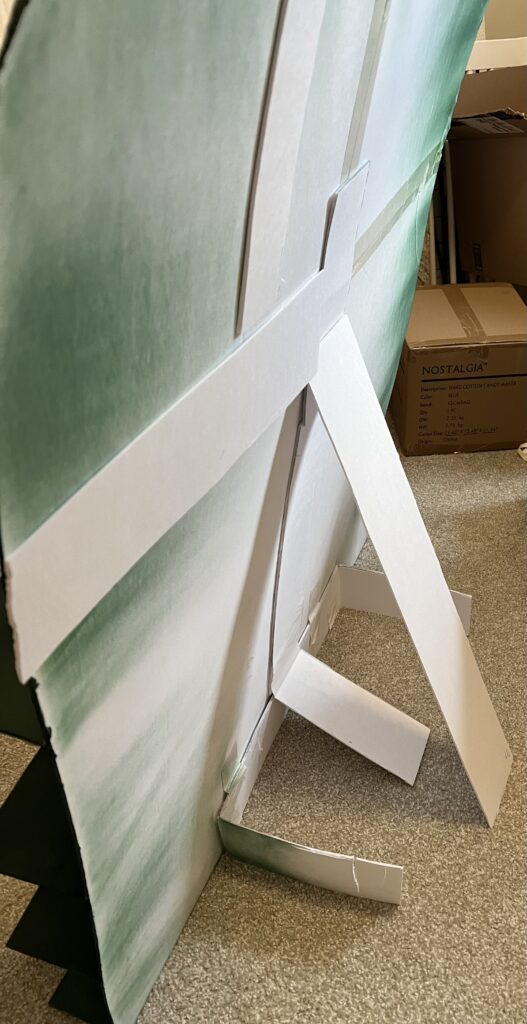
It held up decently at the party, but if it had been windy it probably would have been knocked over fairly quickly if not secured. And if kiddos go rogue grabbing stuffed animals you'll probably have some breakage. The biggest pros of this project are the affordability and ease to make, but it's not the sturdiest piece of decor, especially compared to wood options!
Tips
- Make this where you'll be hosting the party. It did travel to my friend's home, but it is not built for extensive travel.
- Keep in mind it's made from foam board. You may need to secure it or be creative with how you display it to keep it safe, stable, and all in one piece.
- After taping the boards together, trim the duct tape as close to the edges as you can. This will minimize how visible the tape is.
- Keep an extra few piece of foam board handy in case you need to add additional support.



Melanie says
Love this! Such a great, affordable option!
Mackenzie H says
What material did you use to cut the letters out?
Claire says
Hi! I used normal cardstock from Michaels! And my cricut to cut out the font. Then I hot glued it on.