Happy Christmas week everyone!! If your week is going anything like mine, it's full of chaos, Christmas shopping and wrapping gifts, lots of parties and family time. Today I am going to show you how to make the cutest gingerbread Christmas wreath to take to parties and events, bake as a gift, or to use as a centerpiece on any dessert table. This edible Christmas wreath is really easy to put together and anyone can do it!
Looking for more Christmas treats?
Try these!

Supplies
- gingerbread dough- chilled and ready to roll out
- 9 inch round baking pan
- 6 inch round baking pan
- snowflake cookie cutter set- this tutorial calls for 3 sizes of cookies
- royal icing
- piping bags
Make the Gingerbread Dough
This gingerbread wreath can be made with any recipe- in fact I used a gluten free recipe to make mine since it was for an event with quite a few friends who follow a gluten free diet. You can find the recipe here, and I highly recommend it for anyone who bakes gluten free! I followed the recipe exactly as it was written, the only difference being that I used maple syrup instead of molasses. Everyone loved these cookies!
There are also quite a few gingerbread pre-made mix options for anyone on a tight timeline (or if this is your preferred way to bake!) I recommend this one.
Once the dough has been made and chilled, read on to learn the easy steps to make an edible Christmas gingerbread wreath.
Make the shapes for the gingerbread wreath
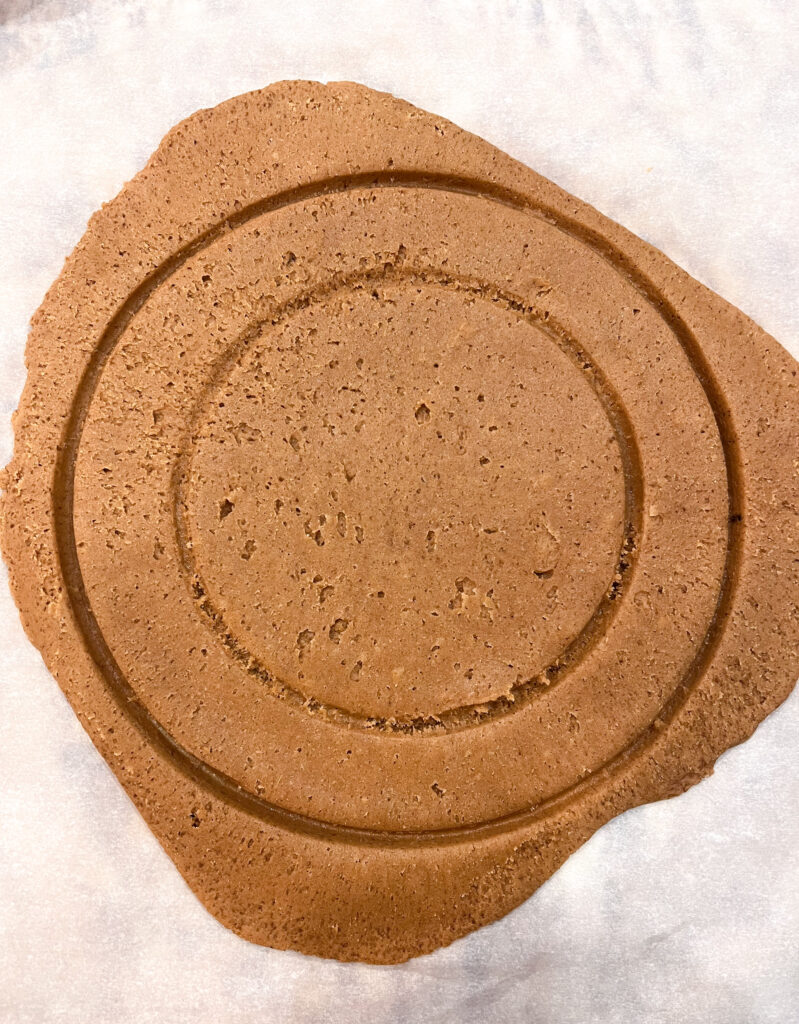
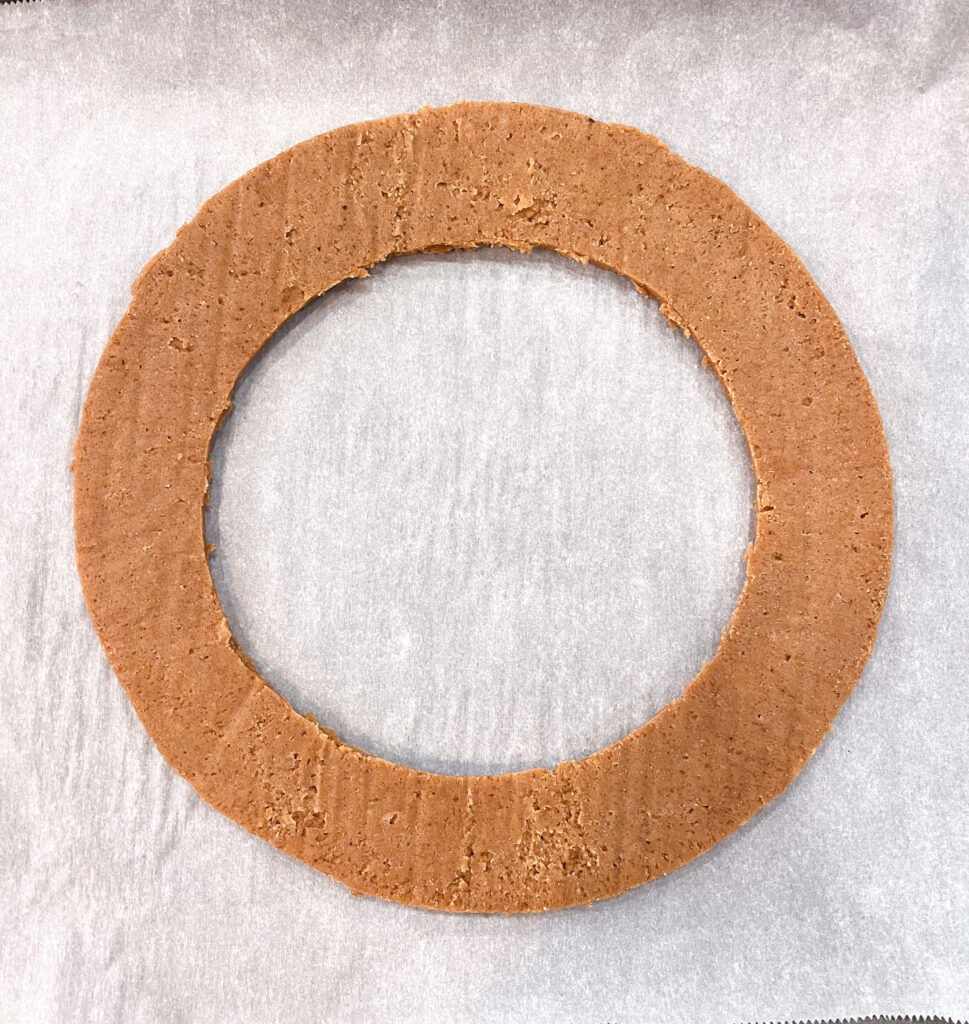
Roll out the dough about a ¼ inch thick. Place the 9 inch round baking pan (or anything circular like a bowl) in the center of the dough, with the top side down, and press firmly into the dough. This is the outer edge of the wreath. Next, take the 6 inch round baking pan and center it inside of the 9 inch round shape, top side down. Once centered, press firmly on the bottom of the pan. If needed, take a knife a trace around the two circle markings, making sure that the wreath shape has been fully cut out. Remove all of the excess gingerbread dough around and inside of the wreath shape and place aside. Bake the wreath according to your recipe's directions.
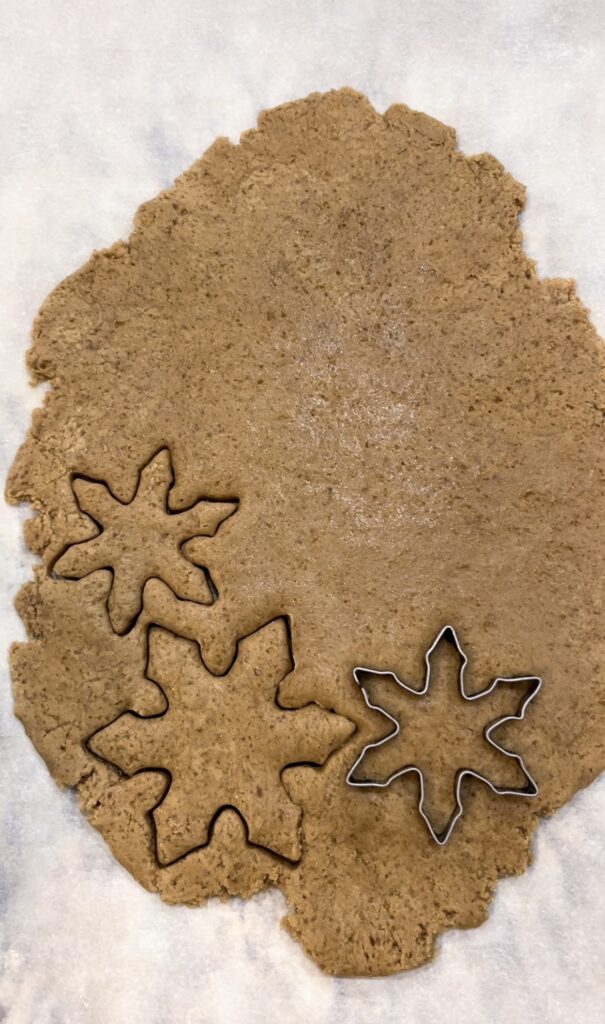
While the wreath is baking, roll out the remaining dough and use the cookie cutters to make the snowflakes. For this edible Christmas wreath I used 3 large snowflake cookies, 2 medium and 4 small. I made quite a few more cookies with my dough though- can't let that go to waste! Bake the cookies according to the recipe used.
Decorating the gingerbread Christmas wreath
Now to the fun part! Once the cookies are baked and completely cooled, start decorating the snowflakes. I love doing different designs on each cookie since technically every snowflake is unique! We have an amazing royal icing recipe that I recommend using for this step! Take the piping bag and fill it with icing, and then cut just the tip off- this limits the flow of the icing so that the snowflakes can be decorated with thin lines and details.
Pro Tip: knot the end of the piping bag so that the icing doesn't come out the wrong end! I keep my decorating simple with white icing only, but the sky is the limit with how detailed or colorful you would like to make them. Allow the icing to harden once the decorating is finished- this shouldn't take too long but it helps when handling the cookies in the next part.

Assembling the edible Christmas wreath
Place the wreath shaped piece on a flat surface (it's easier to do the least amount of transfers once the wreath is assembled, so this is a great time to put it on the serving platter or storage container that you are going to use). Tip: use a few spatulas to move the wreath piece so that it is supported underneath in from a few different sides.
Next, decide the layout of the snowflakes on the wreath. Like previously mentioned, I used 3 large, 2 medium, and 4 small. I like to place the cookies on the wreath and move them around until I'm satisfied with the look of the piece.
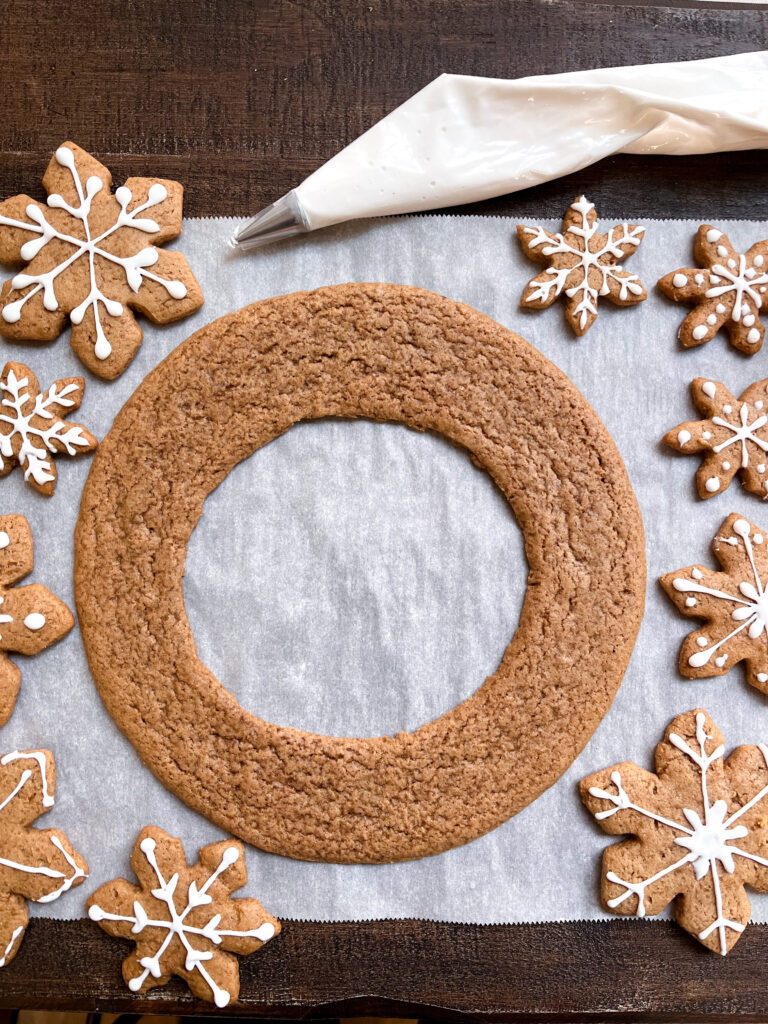
Lastly, glue the snowflakes onto the wreath! Take the remaining royal icing and pipe a pea sized amount onto the back of the decorated cookie- where it will be directly touching the wreath shaped piece. Then place the snowflake onto the wreath and gently press (try not to break anything! It's easy to do that- trust me). Follow this last step until each snowflake cookie has been glued down to the wreath. Allow the royal icing "glue" to set up, about 30 minutes.
Display the wreath!

That wraps up this easy gingerbread wreath tutorial! The wreath is ready for any holiday table- use it as a centerpiece or as a pretty edition to the desserts table. Every time I make one of these it gets gobbled up quickly! This gingerbread wreath also makes really sweet gifts for loved ones and friends. Please let me know if you make this and how it turns out!!!
FAQs
I've kept mine in an airtight container for up to a week! I usually bake it a day before the event I am taking it to.
Absolutely not! I love the look of the snowflakes- but any cookie cutter will work. A star shaped or gingerbread man or even random shapes to make an eclectic wreath would all be really cute!
Some of this will be based on the recipe that was used, BUT I've found that if the dough is chilled before I roll it out and cut the shapes, and then put in the freezer BEFORE baking to firm up, produces the best shaped cookies!
Merry Christmas!
xoxo,
Melanie
📖 Recipe

Easy Gingerbread Wreath Tutorial
Equipment
- 9 inch round baking pan
- 6 inch round baking pan
- snowflake cookie cutter set need at least 3 sizes of cutters
- piping bag
Ingredients
- 1 batch of gingerbread cookie dough chilled
- 1 batch of royal icing
Instructions
- roll out the chilled dough to approximately ¼ inch thick
- place the 9 inch round baking pan on the dough, top side down
- press the baking pan firmly into the dough, creating a circular shape in the dough- this is the outer edge of the wreath
- place the 6 inch round baking pan top side down in the center of the previously made 9 inch circle, and press firmly to create the inner edge of the wreath
- take a knife and trace around each circle marking, making sure the dough is fully cut
- remove the excess dough from the middle and outer edges of the wreath shaped dough cutout.
- bake the wreath according to the gingerbread recipe used.
- roll out the remaining dough to ¼ inch thick
- use the snowflake cookie cutters (in a small size, a medium size, and a large size) to make snowflake shapes out of the remaining dough. I needed 3 large, 2 medium, and 4 small to make the final wreath
- bake the snowflake cookies according to the gingerbread recipe used
- once all of the cookies have baked, allow them to cool completely
- while the cookies are cooling, fill the piping bag with the royal icing
- knot the piping bag and cut the tip off- the smaller the cut, the thinner the icing will pipe out of the bag, which allows for more detailed thin lines when decorating
- decorate the snowflake cookies in fun designs!
- allow the icing to firm up on the cookies before handling them- approximately 30 minutes
- transfer the wreath shaped cookie piece to a platter or storage container- it's best to only move the final wreath as few times as possible!
- using all 3 sizes of snowflake cookies, arrange them on top of the wreath until satisfied with the design
- once the design is decided, pick up each snowflake cookie and pipe a pea sized amount of royal icing onto the back of every cookie
- press the cookie gently onto the wreath piece and allow the icing "glue" to set up- about 30 minutes. do this part carefully so the cookies don't break!
- the wreath is ready for display and munching on!! enjoy!





Claire says
This is such a fun display and treat!