Making sugar cookies is a tradition that I love. They can be the perfect addition to a holiday party, a simple and thoughtful gift or just a fun activity with your kiddos. I made sugar cookies and decorated them with royal icing for a few years, and I worked on my recipe to make sure I could offer a cookie that was worth selling! I'm not taking orders anymore, at least for now, so I’m going to share this easy recipe with you! This recipe makes around 2 dozen medium sized cut out sugar cookies. Cut out cookies just means that you're using cookie cutters for making your cookie shapes.
Jump to Recipe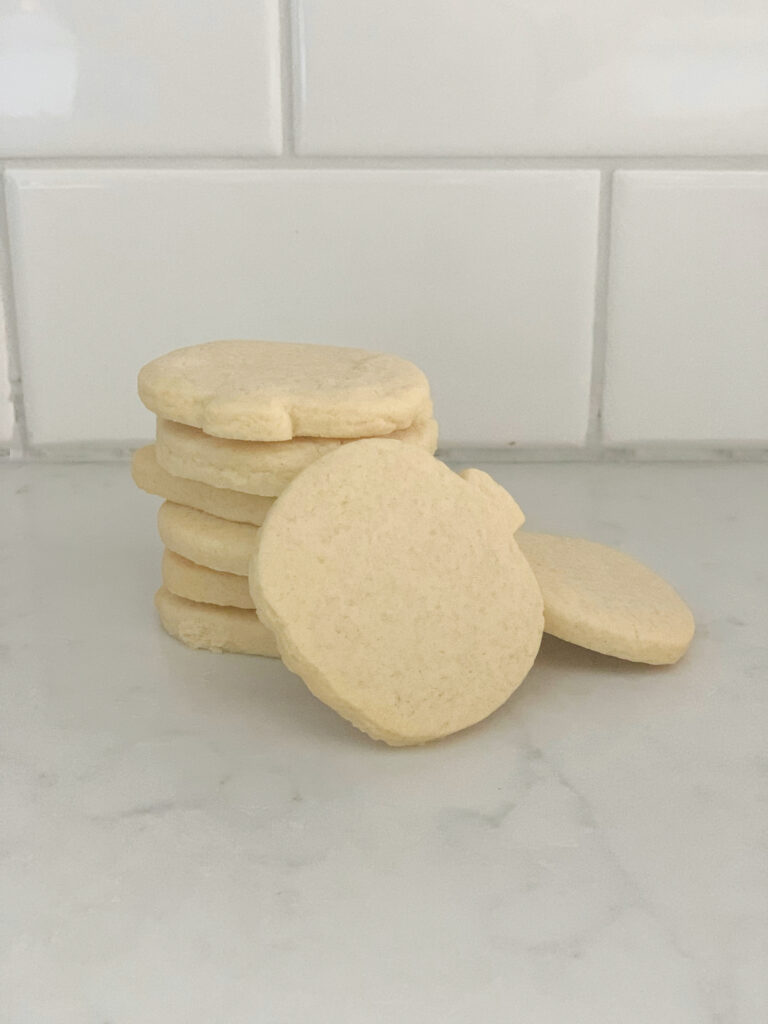
The great thing about sugar cookies is that once you have a recipe you can go as simple or complex as you want. These are a hit around holidays or big life events, but they’re also a great way to customize any party or occasion. You can personalize them with royal icing or use a delicious buttercream and they’re sure to be a crowd pleaser. My family makes Christmas cookies every year and it’s so much fun to have a batch ready for my nieces to decorate. They are the official designers and taste testers! I’m sharing my tried and true cut out cookie recipe below along with some tips I’ve picked up via trial and error. If you try the sugar cookie recipe I would absolutely love it if you’d leave us a review. And be sure to follow along on Instagram and Pinterest for more cozy ideas.
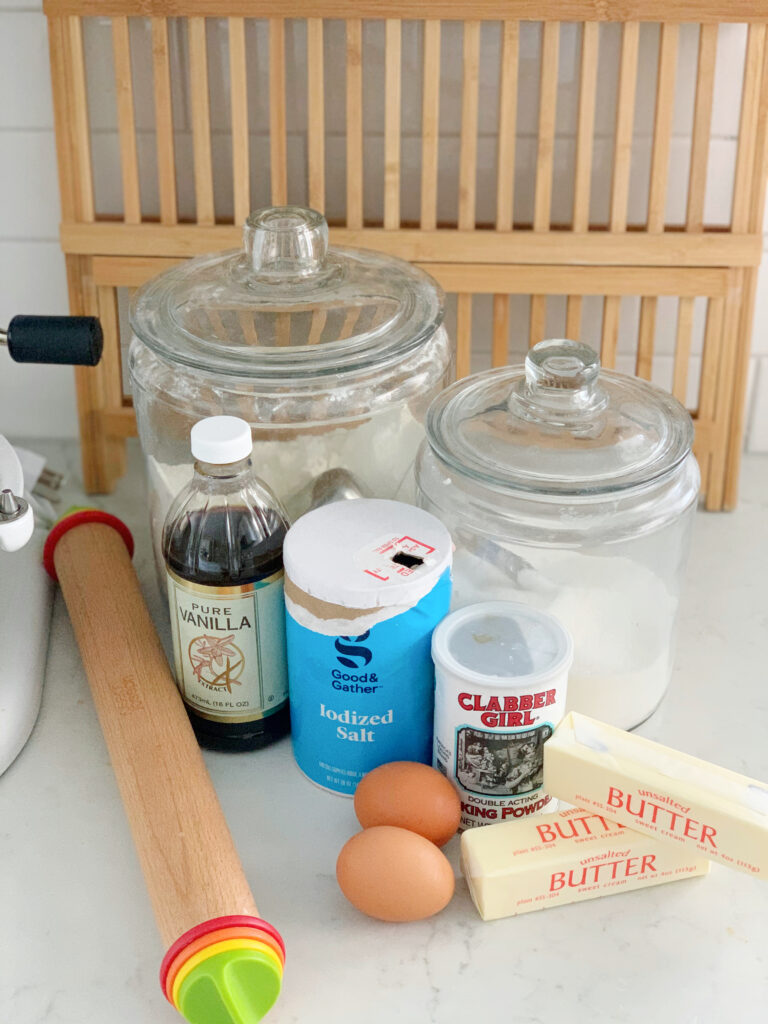
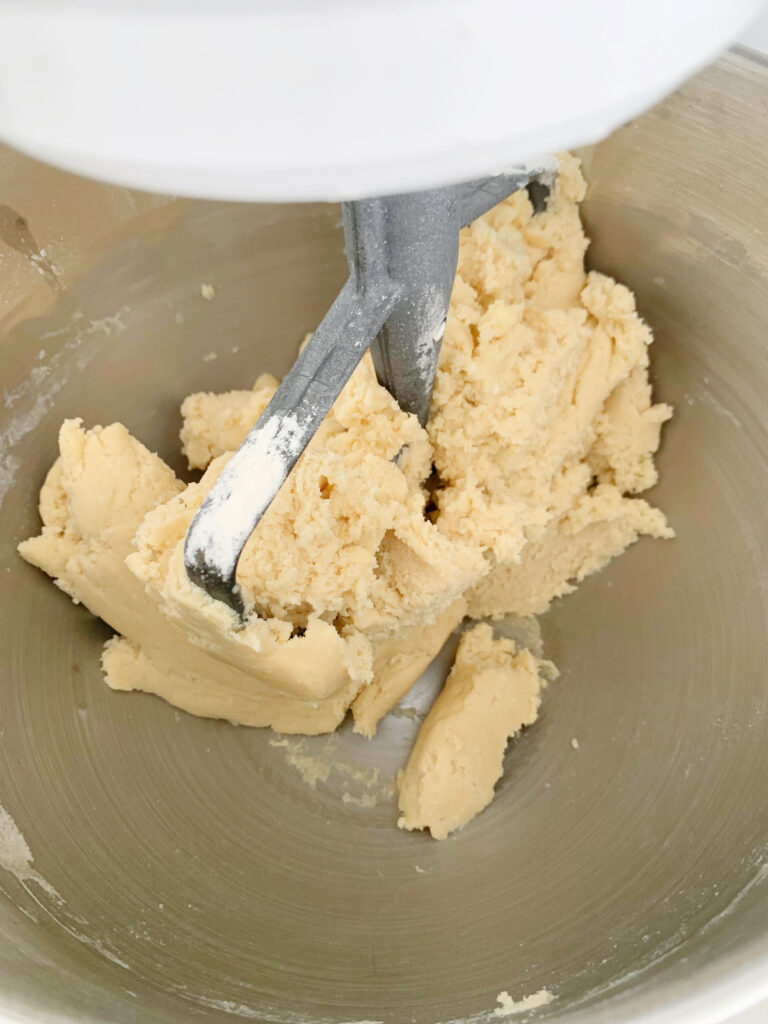
Let's get started! When you first add your sugar cookie ingredients to your mixer, it's ok if they're clumpy/coming apart. Start with your dry ingredients and then begin to add the wet ones.

As the dough is mixing it will start to come together, eventually the paddle will pull it off the edges of the bowl. That's how you know it's ready to roll out your sugar cookies!
Tips for Simple Sugar Cookies
- Crack and add your eggs to a separate bowl before add them to the rest of the ingredients. This will eliminate having to pick eggshells our of your dough. 🙂
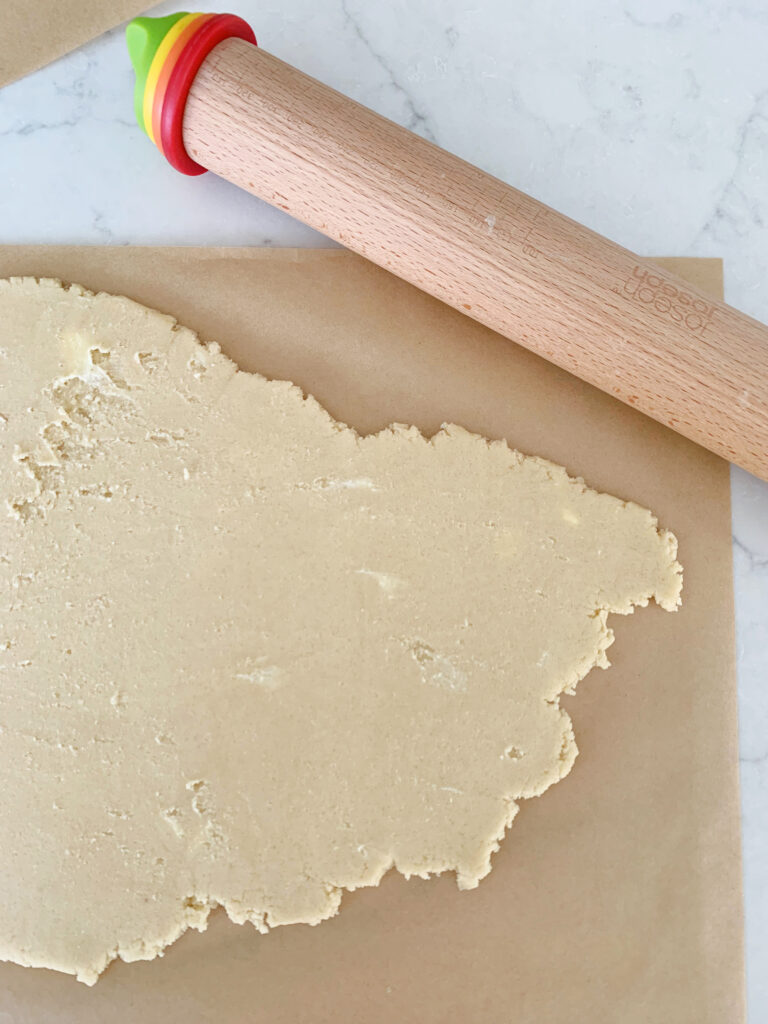
- Using a rolling pin with guides is a great way to help ensure an even bake and to help decide what thickness you like in a cookie. I use this rolling pin from Joseph Joseph. I like it because it helps guide your dough and you can set what thickness you want the cookies to be. Put your dough in between two sheets of parchment paper and it's a lot easier to roll.
- Chilling your sugar cookies is super important, don't skip that step! A lot of times while chilling I wash dishes or prep my icing.
- If you’re going to freeze your cookies after they’ve baked and cooled, layer them in wax paper and store in an air-tight container.


- Use a silicone mat or parchment paper. My personal preference is parchment paper- this is the unbleached parchment paper I use.
- After baking your cookies let them cool on the baking sheet for 10-15 minutes. They'll finish baking right on the sheet and will be ready to decorate with royal icing!

FAQ’s
This is the best way I've found to guarantee they hold their shapes and sizes. If you don't mind a little spread you can skip it.
I don’t know the science behind it, but it helps when cutting out the cookies to get sharp edges and the dough pops right out of the cutter. 100% worth it in my opinion.
I typically like to bake, decorate and deliver cookies within a week. If you heat seal them they will last quite a bit longer and stay fresh, the longest I’ve given them is 2-3 weeks. But, unless you’re working ahead for some reason these cookies are delicious enough to eat right away! J
If you do try it with salted butter, remove the ½ teaspoon of salt from the recipe. You may need to adjust the amount of butter used too.
Happy Baking! And if you're looking for another creative idea with cookie cutters, check out this post about making pancake shapes with them. Or if you want to see them for a party check out my football helmet cookies. If you try these cookies or have any questions please leave a comment!
📖 Recipe

Simple Cut Out Sugar Cookies
Equipment
- stand or hand mixer
- measuring spoons
- measuring cups
- baking sheets
- oven+timer
Ingredients
- 1 cup sugar
- 1 cup unsalted butter two sticks or 16 tbsp
- 2 eggs
- 1 teaspoon baking powder
- ½ teaspoon salt
- 3 teaspoon vanilla pure vanilla extract, not imitation
- 3 cups unbleached flour
Instructions
- Beat together your sugar and butter until combined. You can use your stand-mixer or a hand-mixer
- Add your eggs and combine.
- Add remaining ingredients and stir for 1-2 minutes for the dough to really come together. It should stick to the paddle of your mixer attachment when it’s ready and not be sticking to the bowl. *If it is sticking to the bowl you might need to add a bit more flour. It should come off easily with a wooden spoon
- Divide into two parts and roll out your dough. I use two cookie sheets for this amount. Stack them with parchment paper in between the layers
- Put in the fridge for a minimum of 30 minutes. Allowing the dough to chill will help it set up and hold the shape of your cutouts.
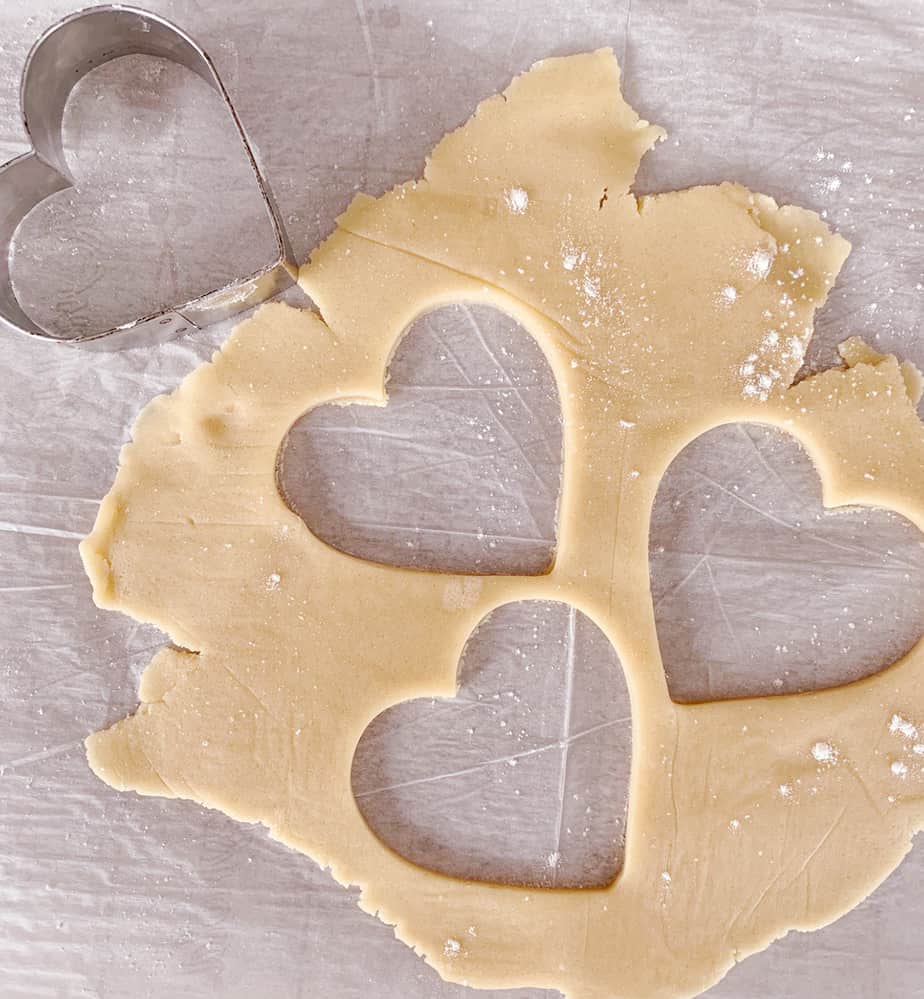
- Once the dough has chilled, cut out your shapes and preheat your oven to 350 degrees. Take the first cookie sheet full of shapes and place in the freezer for 7-10 minutes. This minimizes spread.
- Bake for 9-12 minutes. This is a variable that’s really determined by your oven temp and cookie softness preference. Play with it a bit to see what works best for you.
- Allow the cookies to cool on the cookie sheet, the cookies will finish baking directly on the sheet.
- Decorate and enjoy! If you want to learn more about royal icing that’s a great way to customize and decorate, or butter cream icing is another option.


Lynne says
Thanks for a great tasting recipe. And all the tips are so helpful.
Claire says
My go to recipe!