
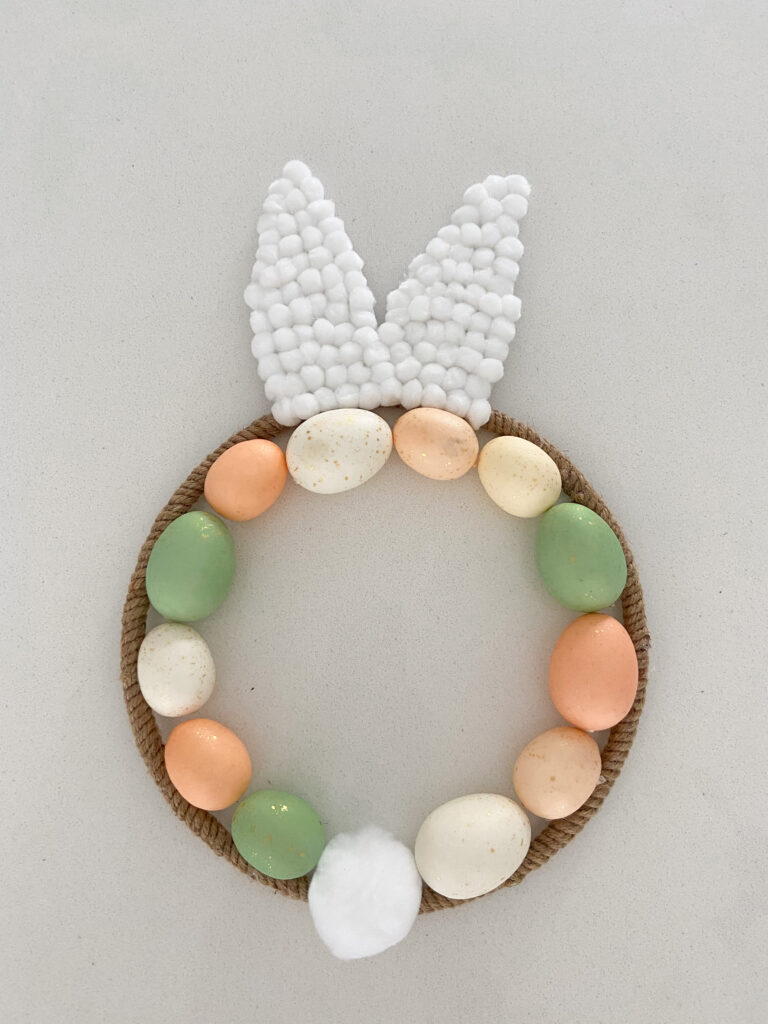
Hoppy Easter everyone! It's so hard to believe that it's already April and Easter Sunday is just a few days away! Today I want to share this simple Easter bunny wreath with you! It's a quick + fun craft to make with kiddos or just to get your front door in the Easter spirit!
Wreaths are such a fun addition to any entryway, one of my favorite tricks is to hang not only one on the outside of the front door, but to put one up inside too! That way you can see it as you move around your home.
More Easter Ideas
Bunny Wreath Supplies
- jute wreath
- ½ inch pom poms
- 2 inch pom poms
- assorted easter eggs
- white poster board
- glue- I used a hot glue gun!
- scissors
- pencil
Steps
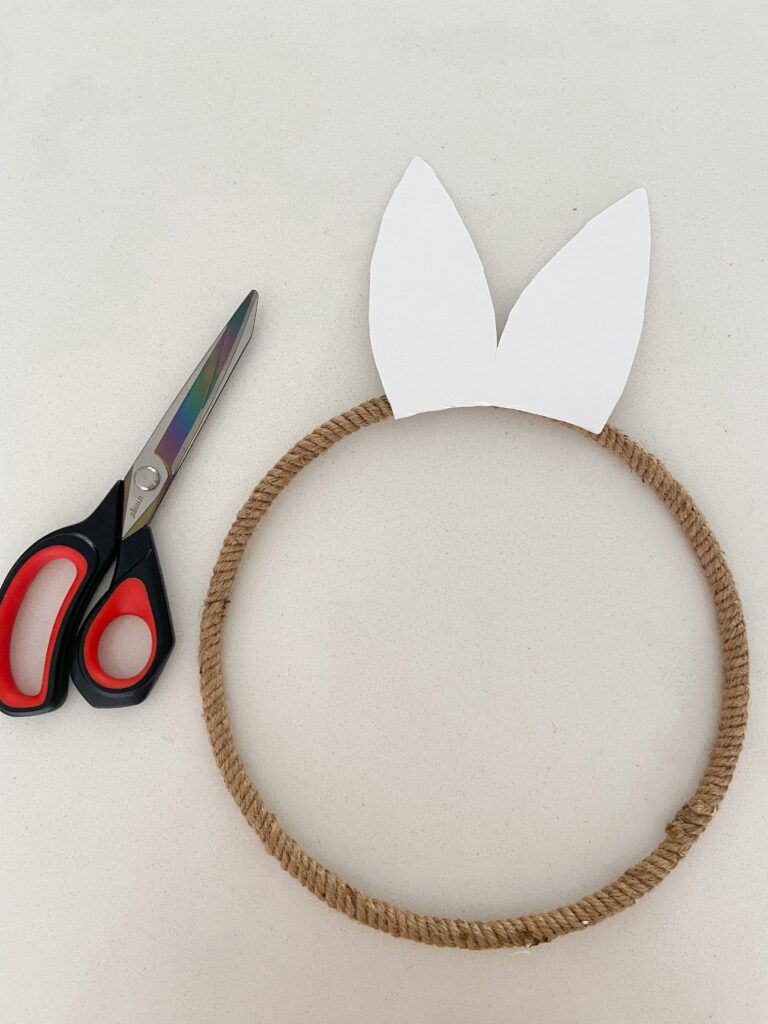
Take the poster board and draw out ears for the Easter bunny wreath. I freehanded it and my ears were about 5 inches tall and about about 4 inches wide at the base. Once the ears were the size and shape that I liked, I cut them out with about 2 inches of base (cut the base straight across). The ears should be one piece, connected at the base.
Once the ears are cut out, place the wreath on the base of the ears and trace the arc of the wreath. Next, cut the base of the ears along the tracing.
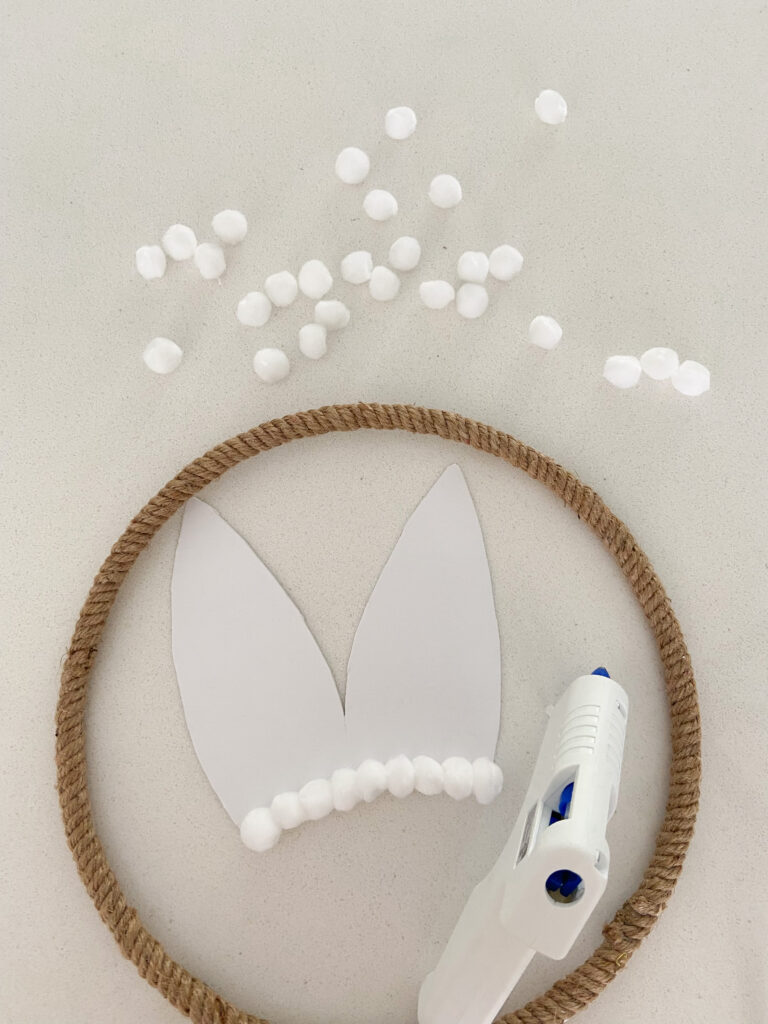
Once you are happy with the shape of the ears, take the ½ inch pom poms and glue them to the front side of the bunny ears. I used hot glue for this step, but any kind of glue would probably work for this part in order to make it more kid friendly! Cover the front side of the bunny ears completely in the pom poms!
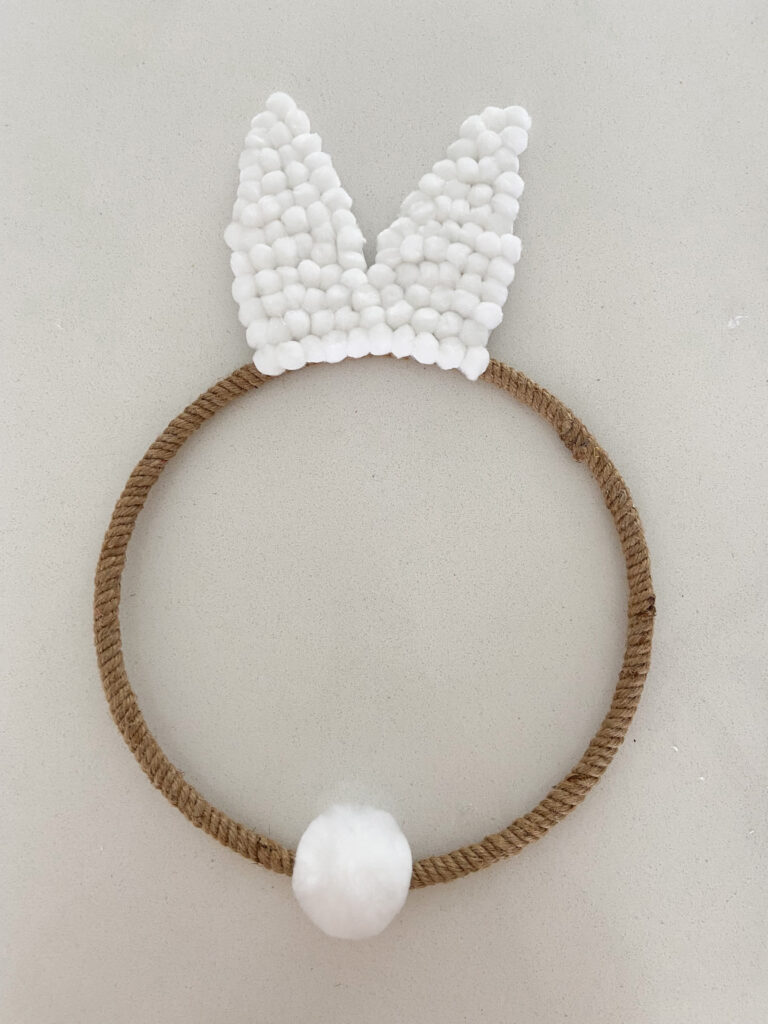
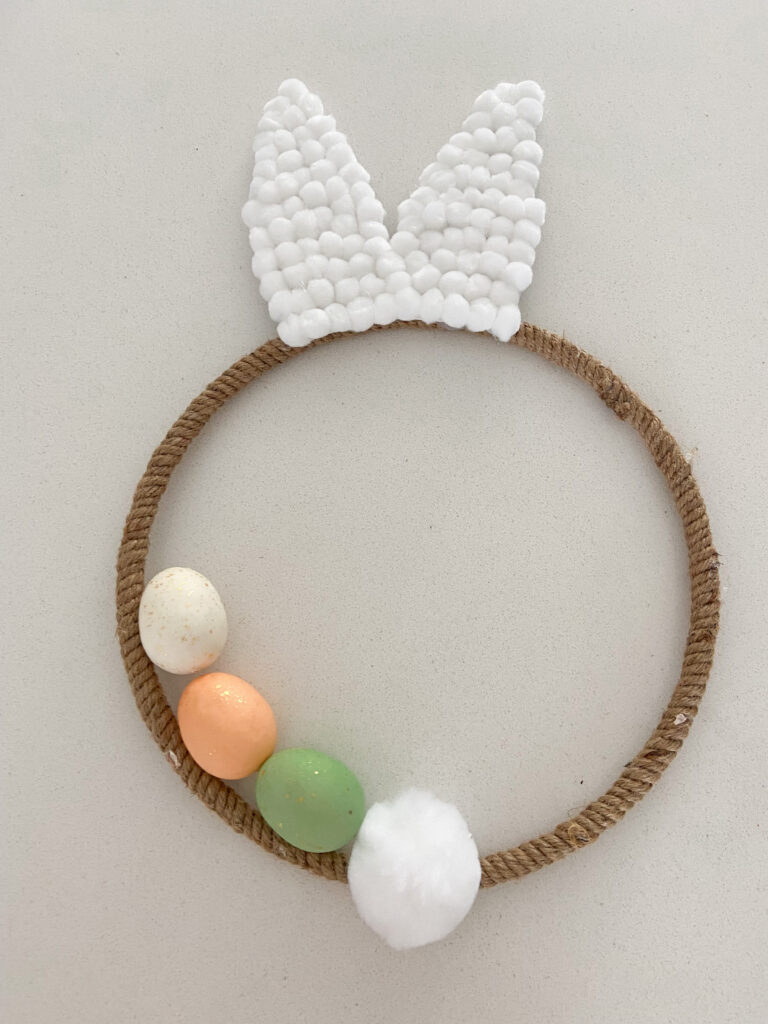
Now that the bunny ears are fully covered, glue the back of the ears to the top center of the wreath. The curved base of the ears should follow the same arc as the wreath.
Next, take a 2 inch pom pom and glue it on the bottom center of the Easter bunny wreath. So easy!
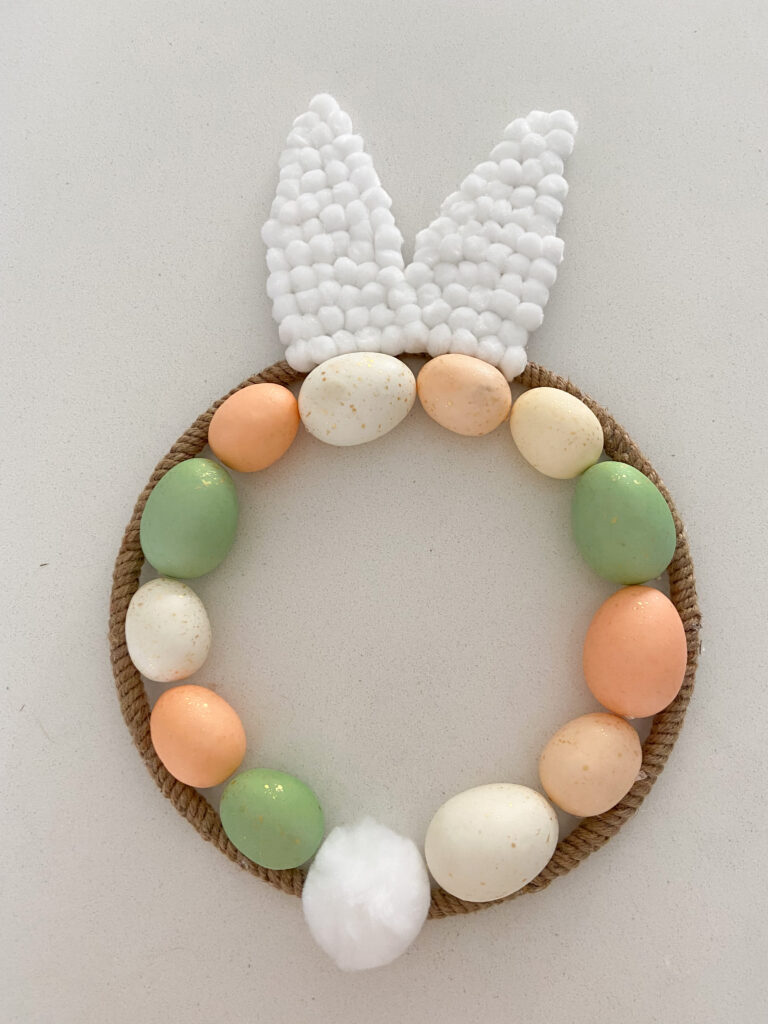
Finishing Touches
The last step is decorating the rest of the wreath. I chose to pick up some Easter eggs in fun colors and line the inside of the wreath. I made a pattern of alternating colored eggs and hot glued each piece to the inside of the wreath-almost like forming an egg wreath inside the twine wreath!
There are so many different ways to decorate it, so feel free to get creative or let your kids have fun with it! I suggest using a stronger glue or hot glue when sticking the different pieces to the bunny wreath to make sure everything stays in place when finished.
I hope you enjoyed this quick Easter bunny wreath tutorial! Let me know if you made this and how it turned out!
xoxo,
Melanie


Inisha says
So cute!!