
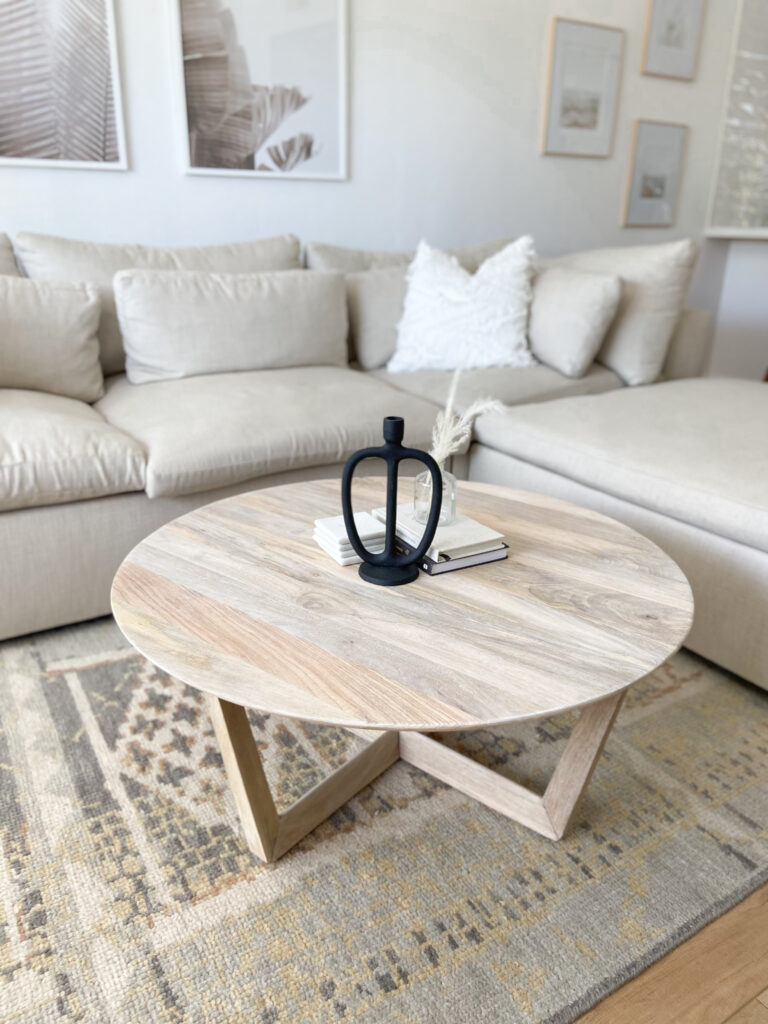
I've been working on different elements of our house for months now, but the one thing that has constantly bothered me was the dark stain on our coffee table! I bought this coffee table from the West Elm Outlet (literally my favorite place!) a few years ago, and it really suited the style of my old living room. Now that we are in our new place, I've really embraced the look of natural colored wood! So today I'm going to share how I put a ceruse finish on my coffee table! I am loving the look of the white wax on raw wood, and I hope that you do too!
Removing the old stain
After taking apart my table, I had to remove the dark stain using an electric sander and 80 grit sandpaper. This step was by far the hardest. I gave myself so many pep talks to get through it haha. The stain was so set into the grooves and grain of the wood. I had to sand all of that down because the purpose of a ceruse finish is to have those grooves filled in white!
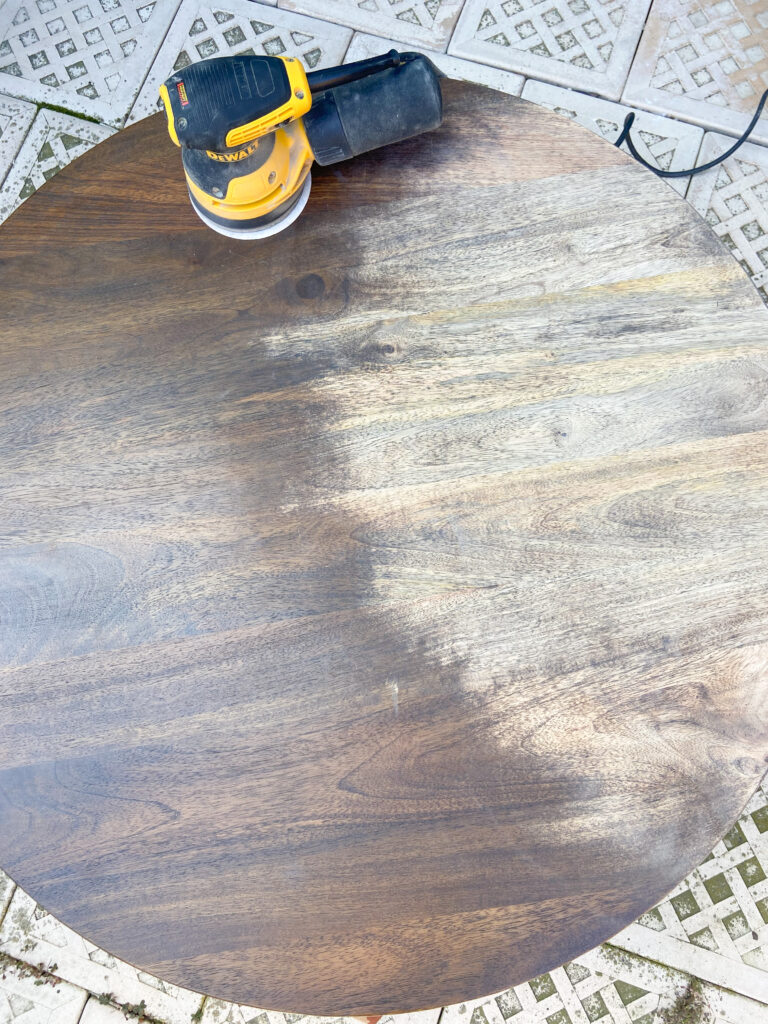
Also PSA- sanding down coffee table legs is challenging! But hey, I did it and so can you! The last step of this stage is going over the table with a finer grit sandpaper, I used 150 grit! This makes it smooth and soft to the touch!
Ceruse Finish Technique
I did a bit of research on the ceruse finish, and apparently its was originally used as makeup in the 16th century! However, ceruse as we know it now, has been used by furniture makers for centuries. It is traditionally a white based paint that is filled in the grooves and grain in wood. Instead of paint, I to use a white wax on raw wood that I picked up at home depot. The reason I decided on wax is because I thought it would coat AND finish the table in one step! But back to the import part, prepping the wood for the ceruse finish!
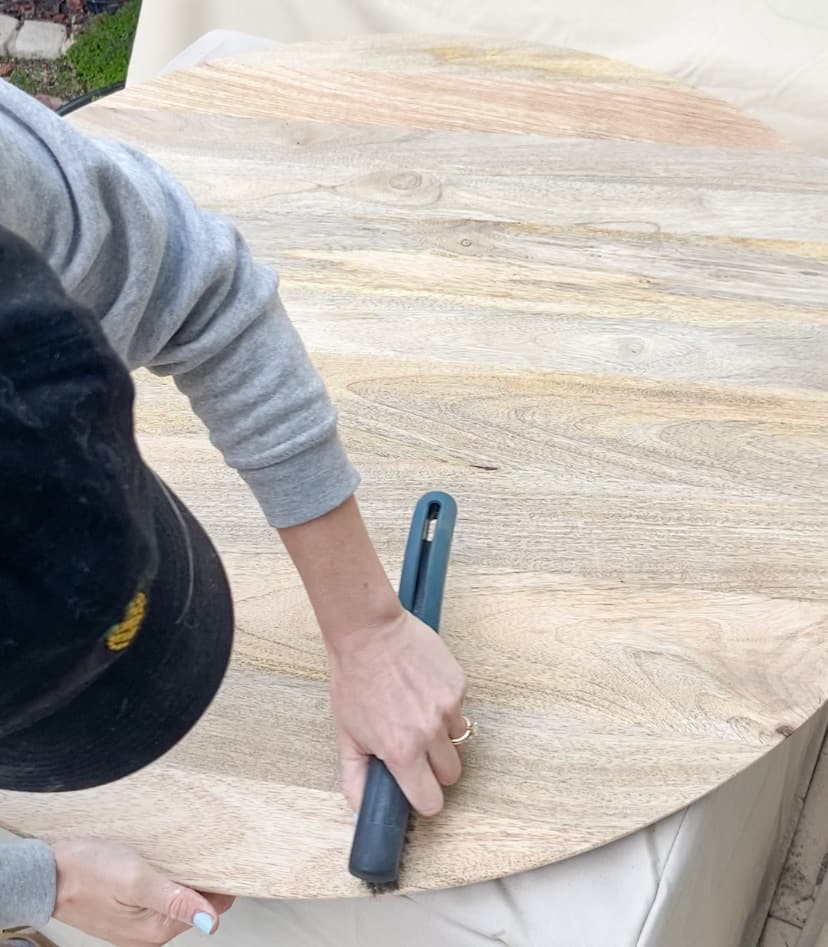
I took a wire brush to etch grooves into the table, following the grain of the wood. It's really important to follow the grain because it will open up of the pores of the wood for maximum absorption of the white paint or wax. Continue this step until satisfied with the look of the etches. I passed over the top of my table about 3 times, but did much less on the legs because they aren't as visible!
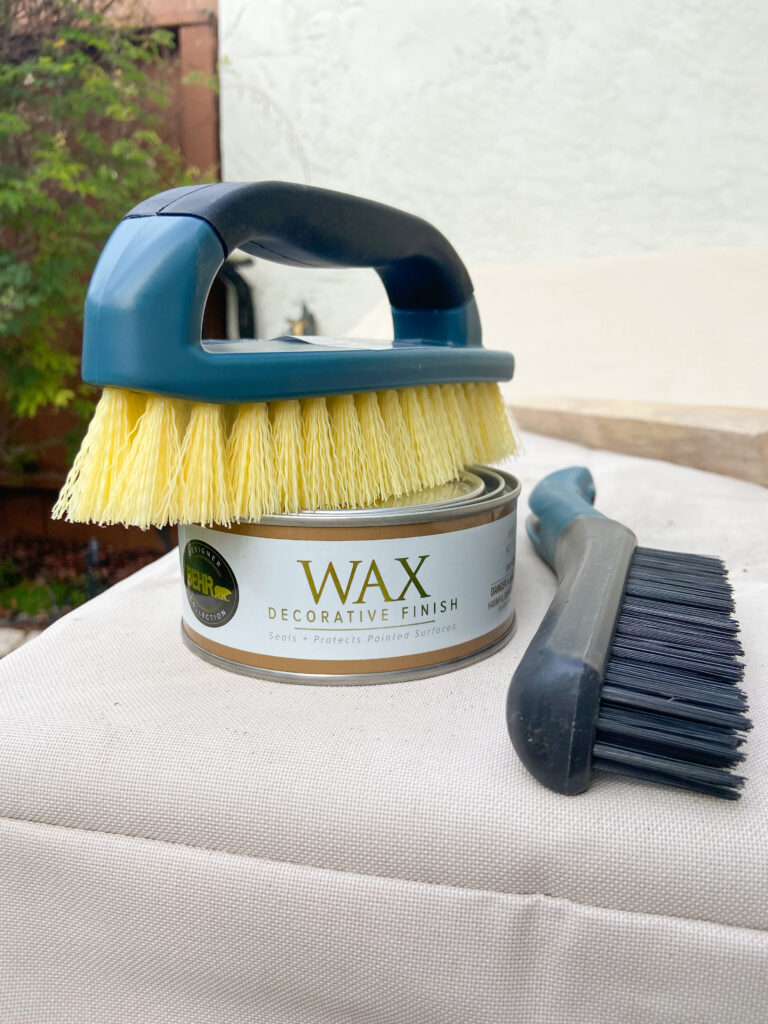
Adding White Wax
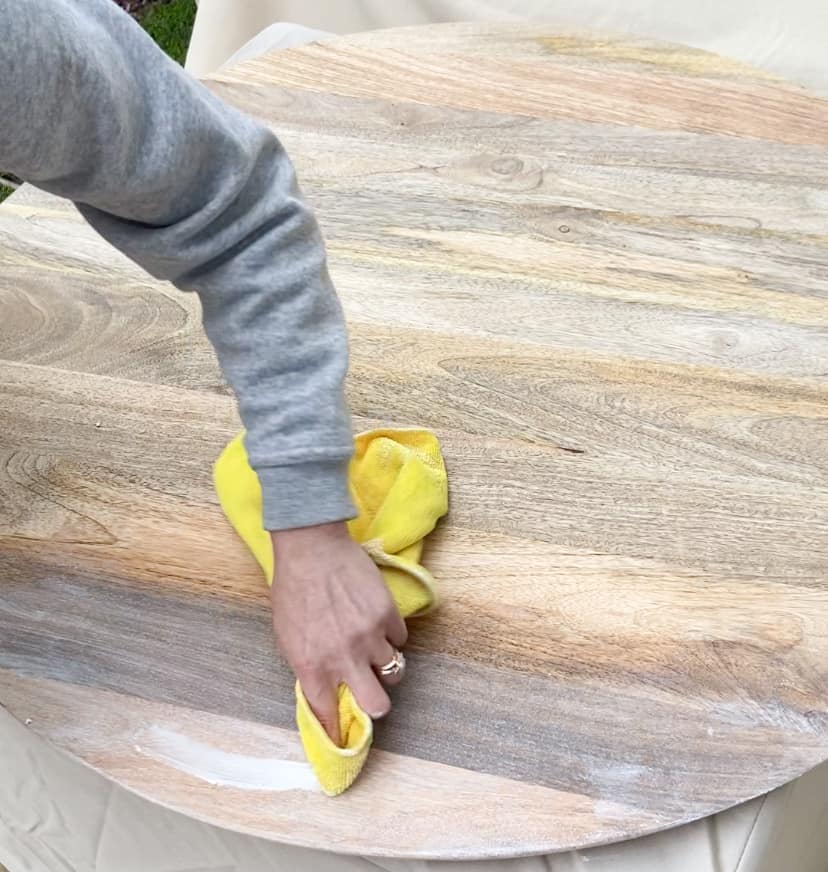
I used this Behr Decorative Finish Wax in white for the ceruse finish. At first I tried a scrub brush to fill the wax into the groves, but I found that using a microfiber towel worked best for me. I played around with the drying times of the wax before wiping it off, but honestly found out very quickly that it was hard to buff out. The wax dried SO QUICKLY! So my game plan became getting a nice thin coat of wax smoothed onto the surface of the table, and letting it dry. If there were any thicker places that I didn't love after about 30 minutes of drying time, I took my rag and buffed them out.
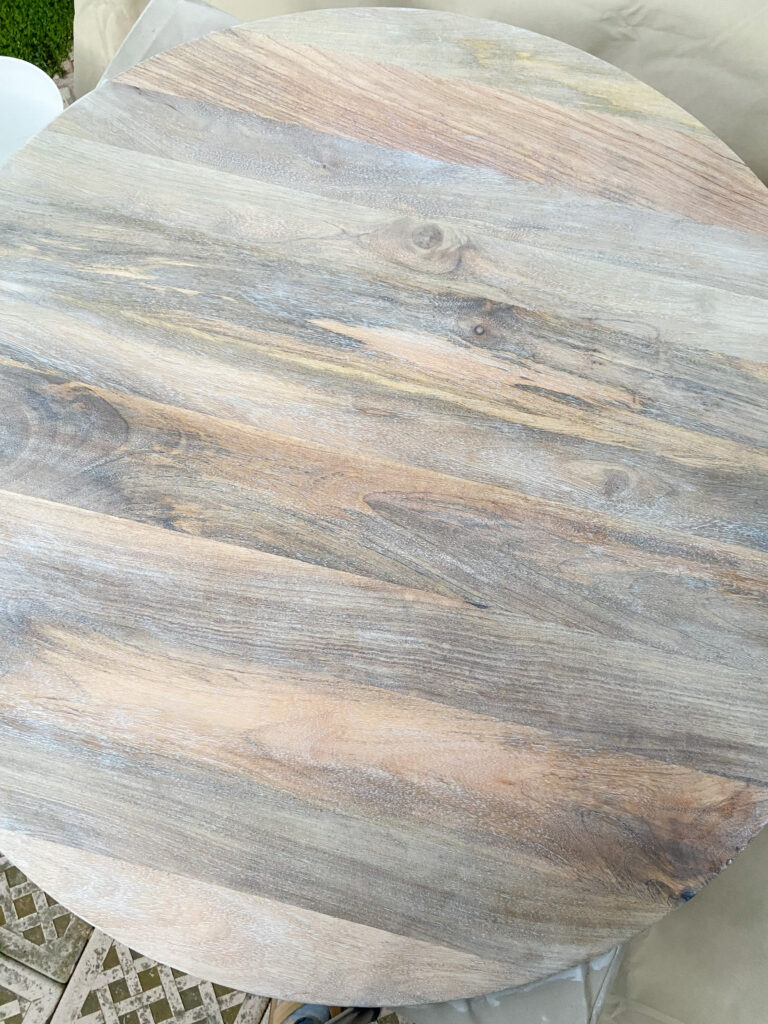
I knew that this project would only require a thin coating of the wax because I wanted a subtle white wax on raw wood look. The ceruse finish can be very dramatic, but I wasn't looking for a drastic contrast. If this is the look you're going for, I would suggest making really deep grooves with the wire brush and then doing multiple coats of white wax.
Finishing Steps
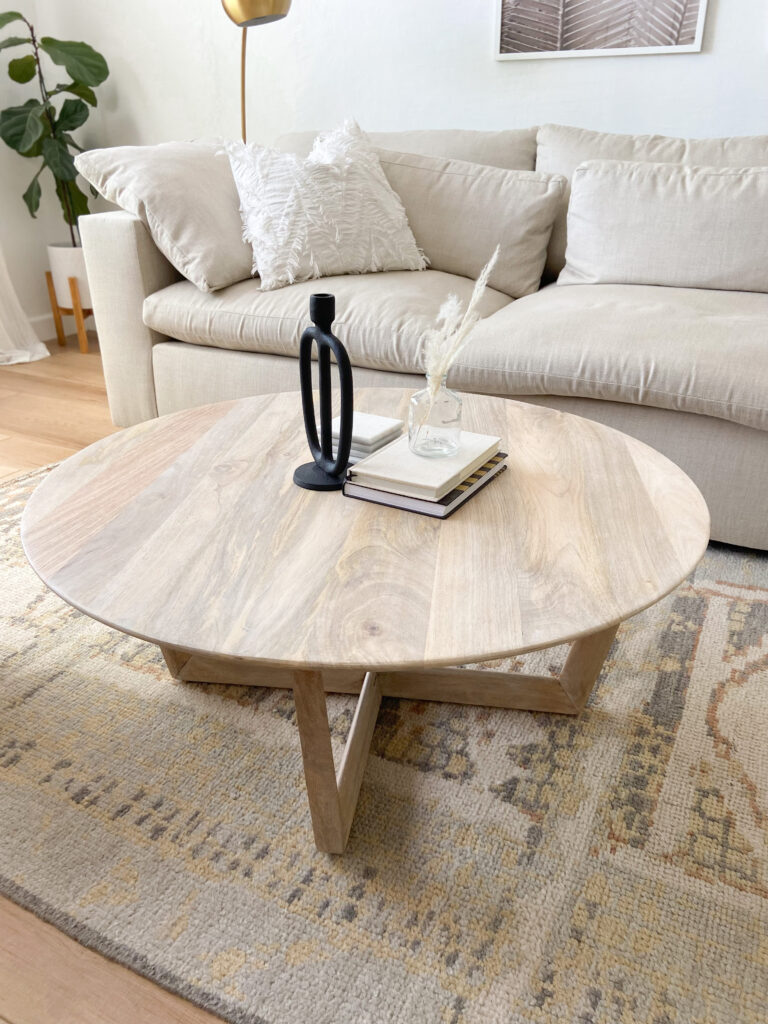
I put my table back together and we have been loving the look of it! However, after a few weeks of living with the table, I do think it needs a polyurethane coating on it. This coating will better protect the table against spills and stains. So that is going on my todo list! For this step I will coat the table with a water based polyurethane (using a sponge brush) and then let it dry, and sand it with a 600 grit sand paper. I will most likely use 2 coats of this to protect the top of the table since we use it so much. I will update this post when that is finished!
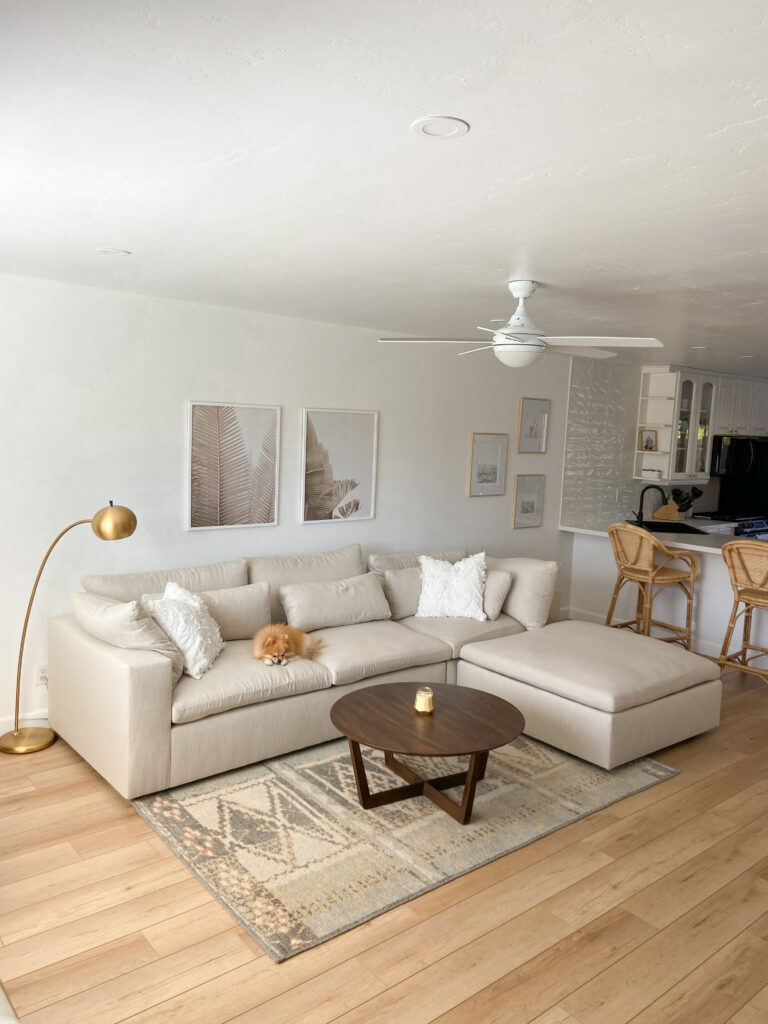
If you have any other questions about my ceruse finish coffee table, please let me know in the comments! Here's a photo of the table in our living room before I refurbished it, and holy cow it looks totally different!
If you're interested in more of our DIY projects, here are a few to check out!
xoxo,
Melanie


Claire says
This project is epic!!! So impressed with the before and after!!! 💛
Carol says
I love the “after” look so much better!!