
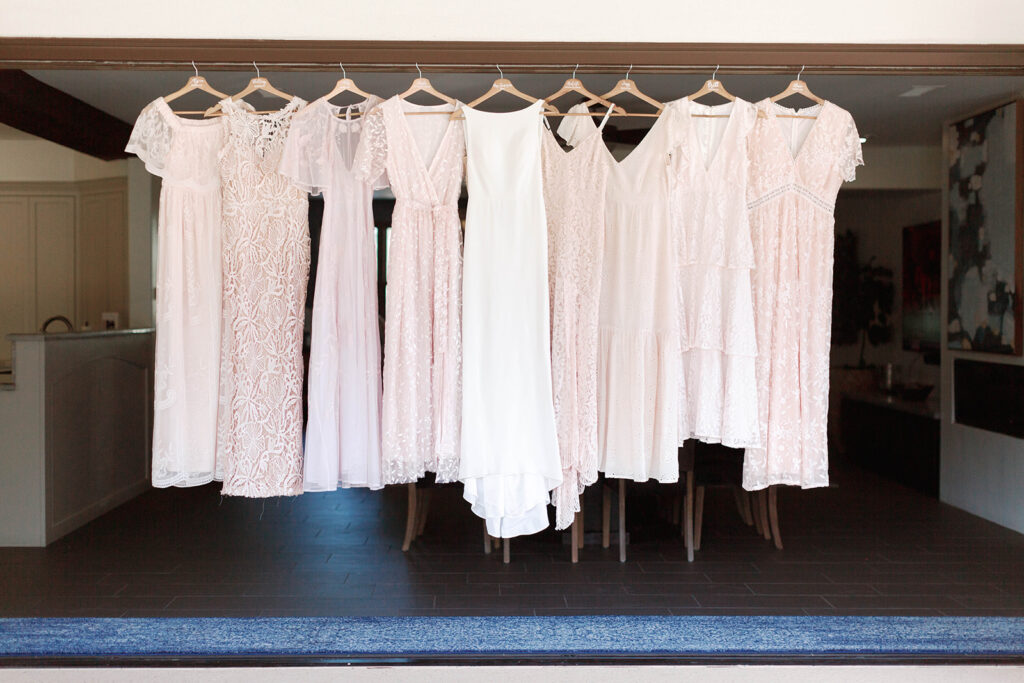
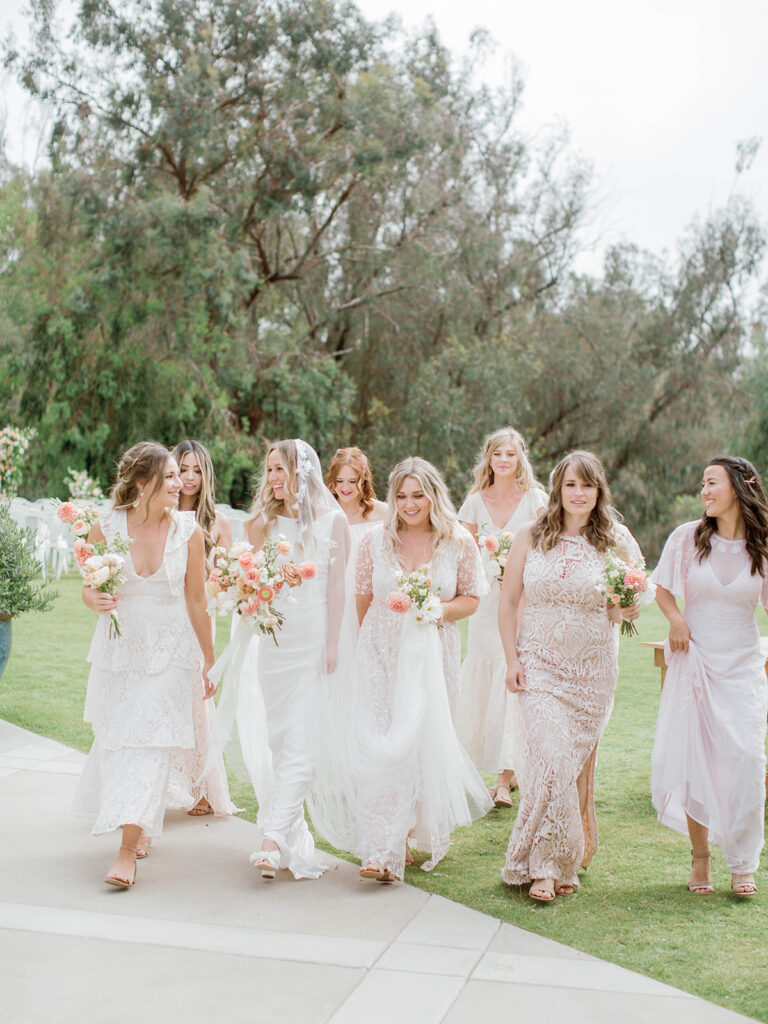
Today's post is a special one and I am so excited to share it with you! One of the larger projects that I attempted for our wedding was hand dyeing my bridesmaid's dresses. My other "big wedding project" was our DIY Wedding Arch Backdrop Panels! My inspiration was blush dresses in all different styles and all different types of lace! In order to achieve this look, I found white lace dresses and used avocado skin dye to make them shades of blush! Dyeing the first dress was by far one of the most nerve wracking experiences of my life. But I stuck to my vision and I am so so happy with the results! Natural dyeing with avocado is much easier than I expected, and so today I am going to share the process I followed using this adorable baby onesie for my new niece! Also, If you're interested in taking a peek of our wedding day, check out my blush wedding post!
Picking the perfect avocado
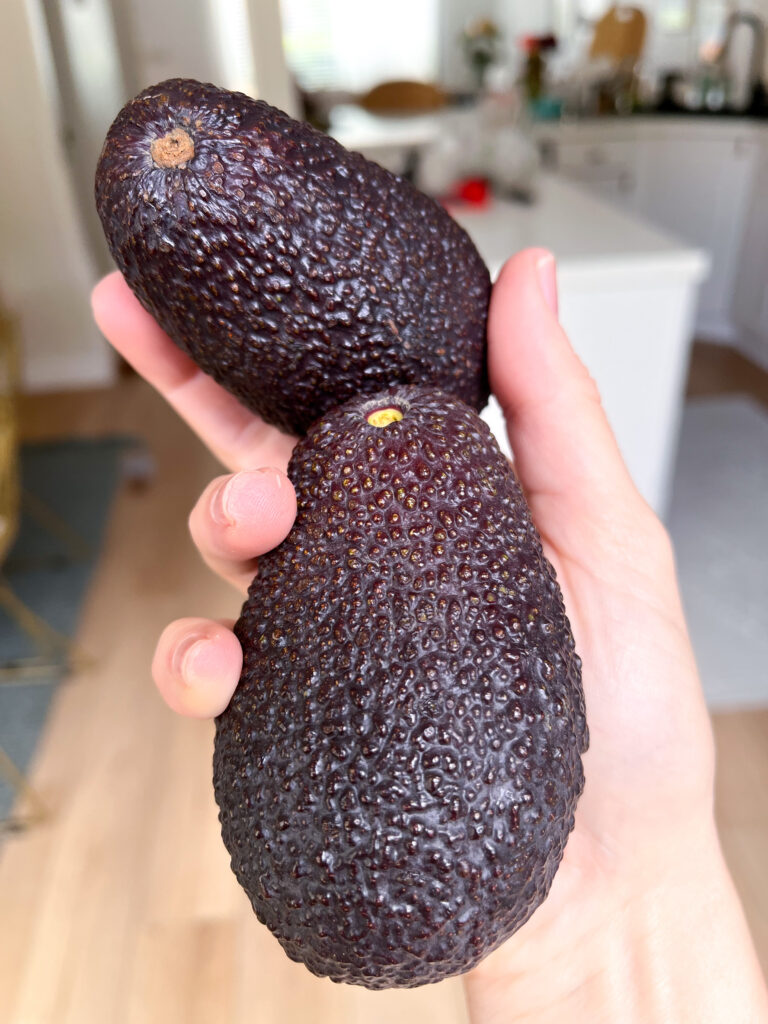
Choosing an avocado may seem pretty straightforward, but if you look carefully, you should be able to see that avocados skins differ in color and tone. When picking avocados to dye, the most important quality to look for is a ripe color (brownish skin) with a purple or a reddish hue. These skins give the avocado skin dye solution that beautiful deep reddish/pink color! I have personally never attempted to dye with an unripe avocado that is still green, so I don't know what results that would produce, but after dyeing 8 bridesmaid dresses, I've found that each batch differs slightly based on the avocados! I loved that my bridesmaid dresses were not all perfectly matching in color!
Steps for dyeing with avocado
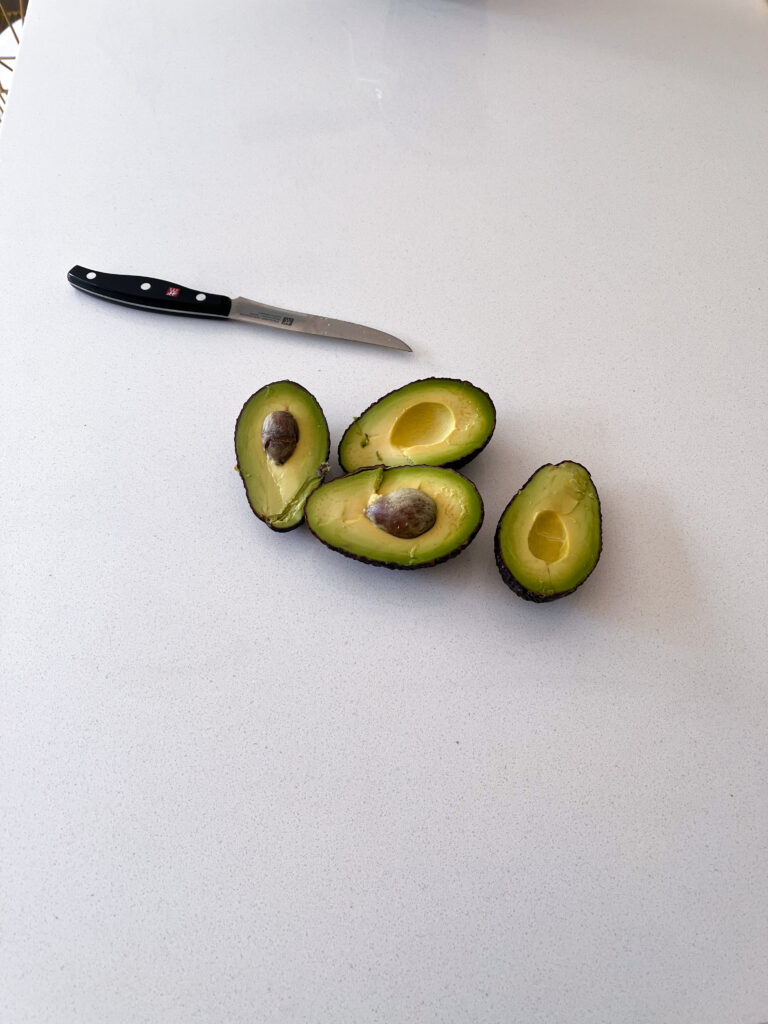
Cut each avocado in half and spoon out all of the flesh into a bowl. I usually make myself a bowl of guac or save it for salads or avo toast. Yum! Prepare to eat a lot of avocado if you plan to dye multiple pieces!!!
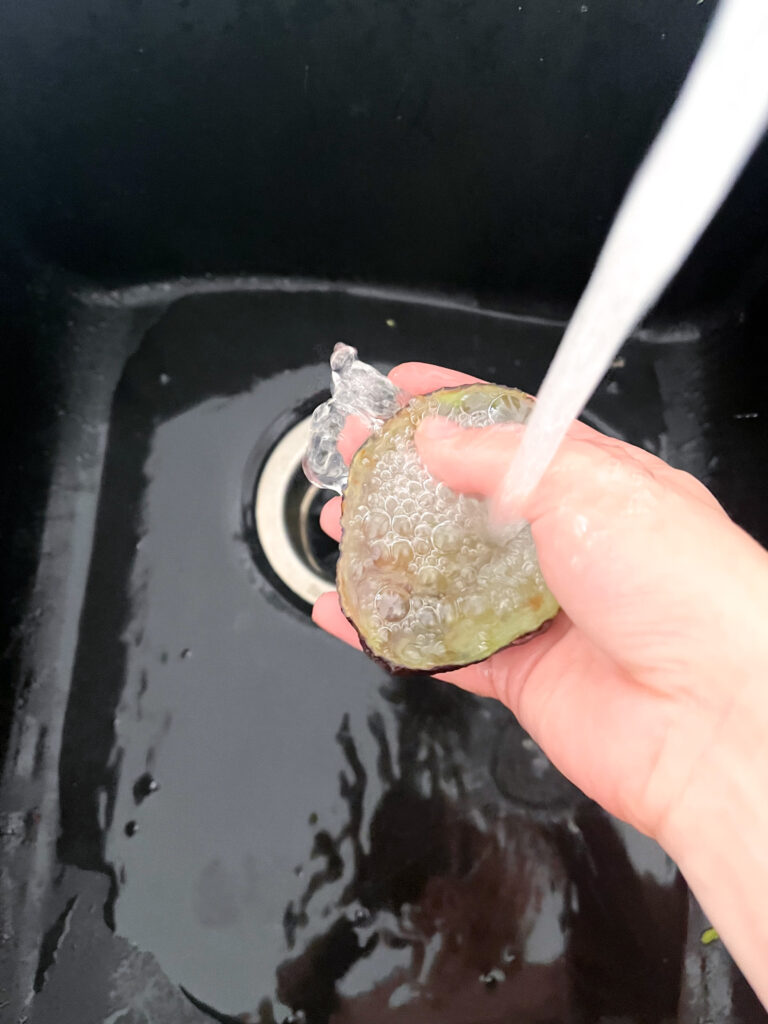
Next, rinse the avocado skins out as much as possible. I take a soft sponge or brush and clean out as much as of the flesh as I can. This should be done carefully, especially when the avocado is really ripe. I've found that the riper the avocado, the more delicate the skin is and will be prone to tearing. If there are bits of the flesh that will not come out of the skin, don't worry. If anything, there may be some pieces of avocado swirling around in the avocado dye but this will not affect the process.
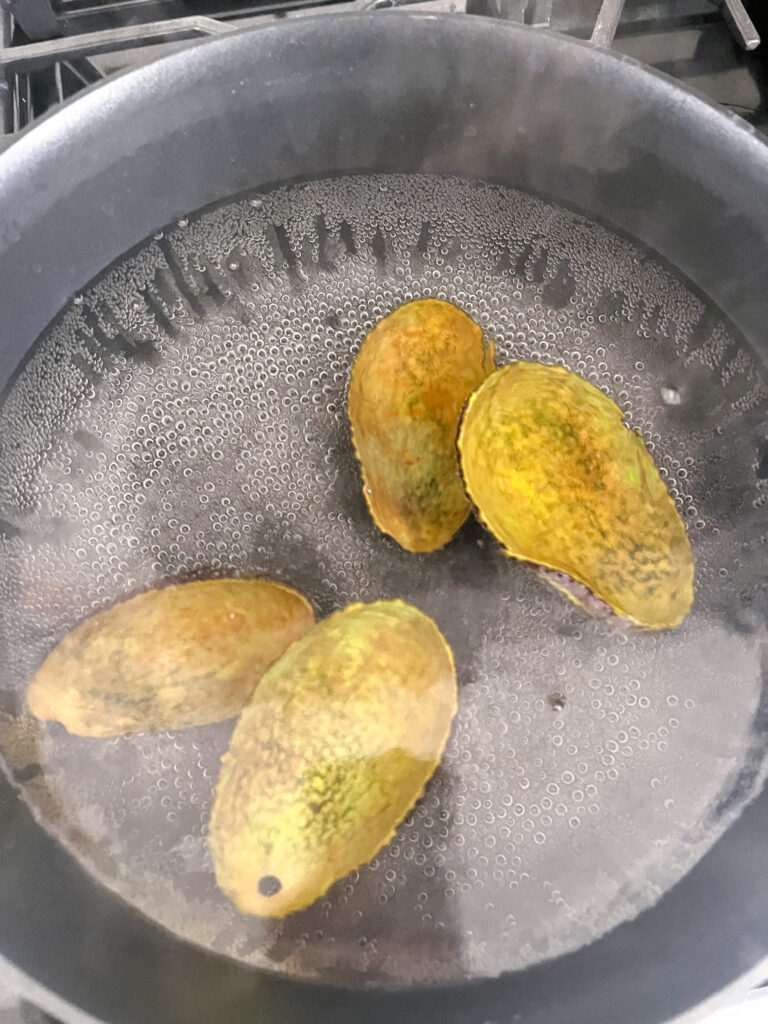
Fill an 8 quart stock pot halfway with water and get it to a simmer on the stove top. Drop the avocado skins into the water and stir occasionally. It is very important to keep the pot at a simmer and not a true boil! My batches of avocado dye have always turned out better with a longer simmer than trying to speed up the process by boiling them. Allow the skins to simmer for about 25-35 minutes. Check the liquid regularly until it reaches the desired color.
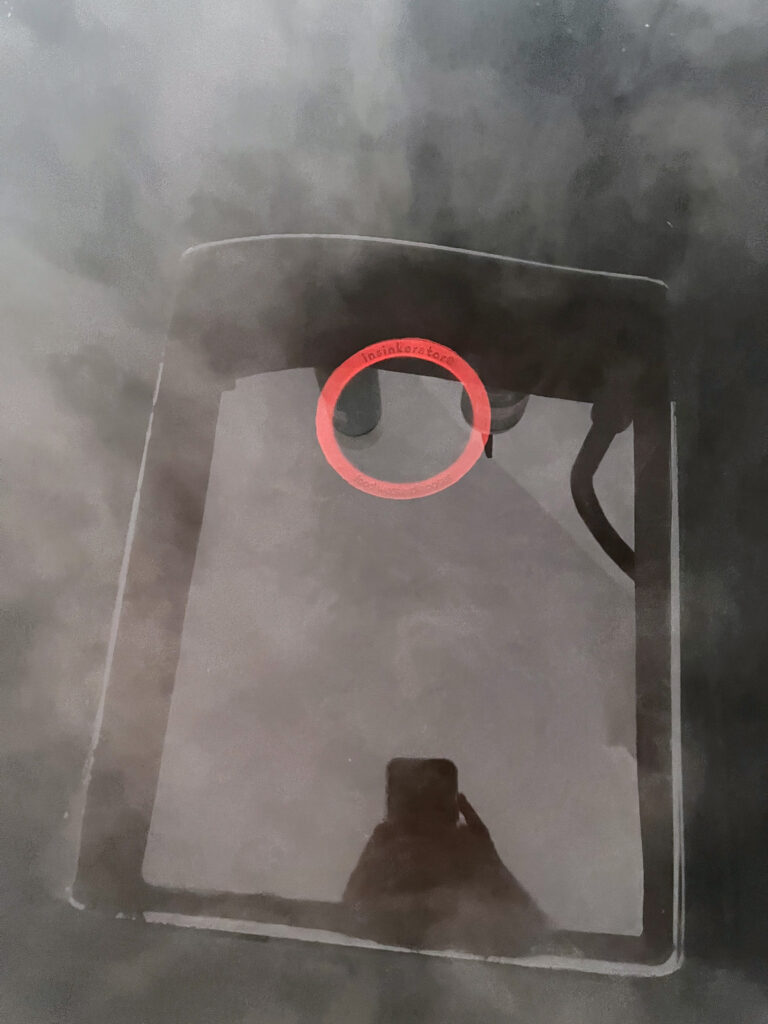
The photo below shows the dye approximately 10 minutes in and the water is starting to change colors but it is not quite dark enough!
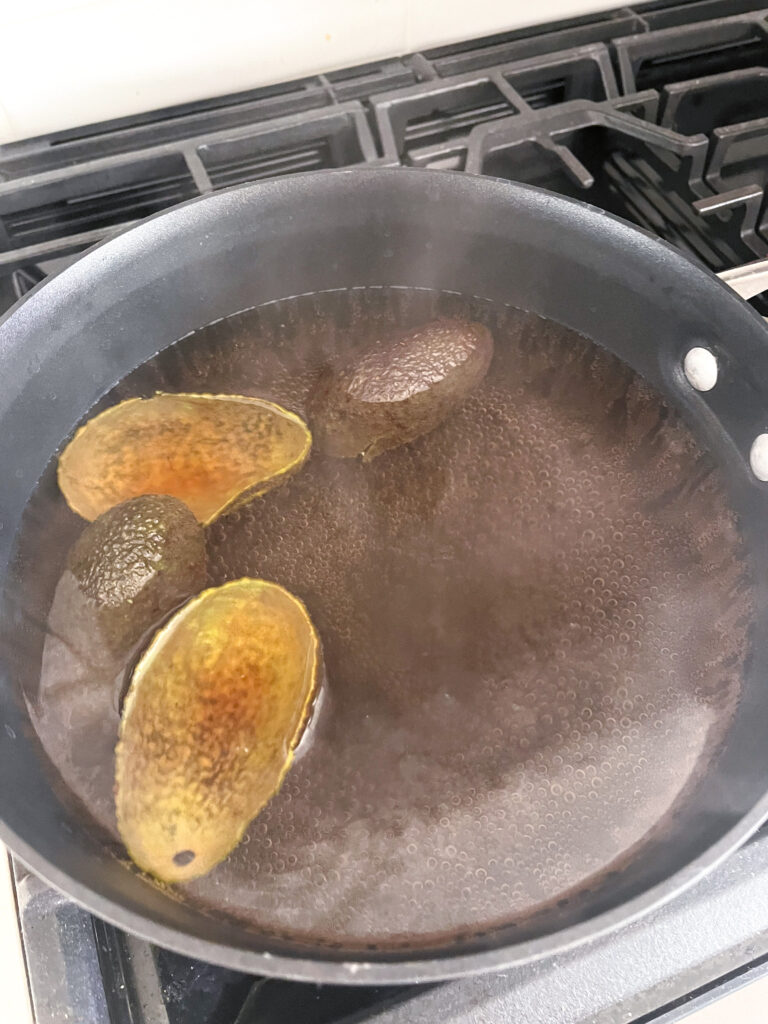
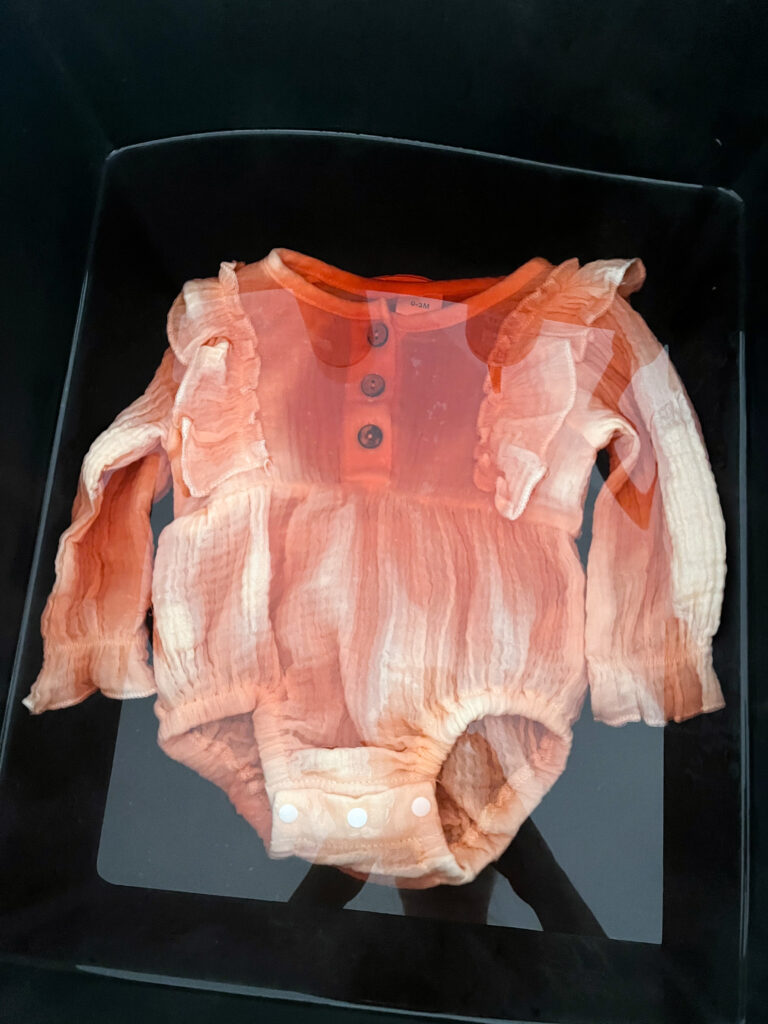
After about 25-35 minutes the color of the water should turn into a pretty reddish-pink color! When avocado skin dye reaches this tint (photo shown below) I turn the burner off. Don't be discouraged if the process takes a little longer because each batch is unique. Some may take longer to get to the desired color tint!
Dyeing with avocado skin dye
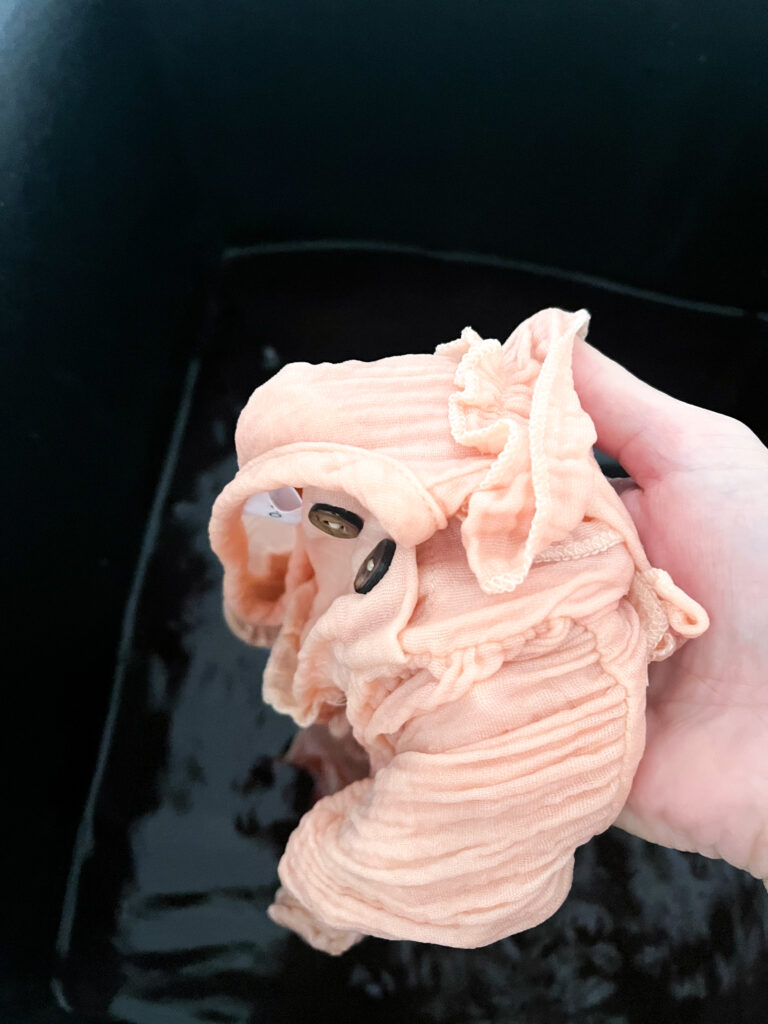
While the avocado skins are simmering, soak the garment in room temperature water. This is an important step! The reason being is that the dye will take more evenly when the garment is pre-dampened. Wring out the excess liquid and set it aside.
Next, pour the avocado dye into a container or sink. Tip: the dye will tint the container, so use one that you don't mind the color change! I used my kitchen sink because it is black. It's possible to get the dye residue out of a lighter colored container but it will require a good scrub session after the dye.
Add just enough water to cover the garment. Saturate the garment completely after putting it in the sink.
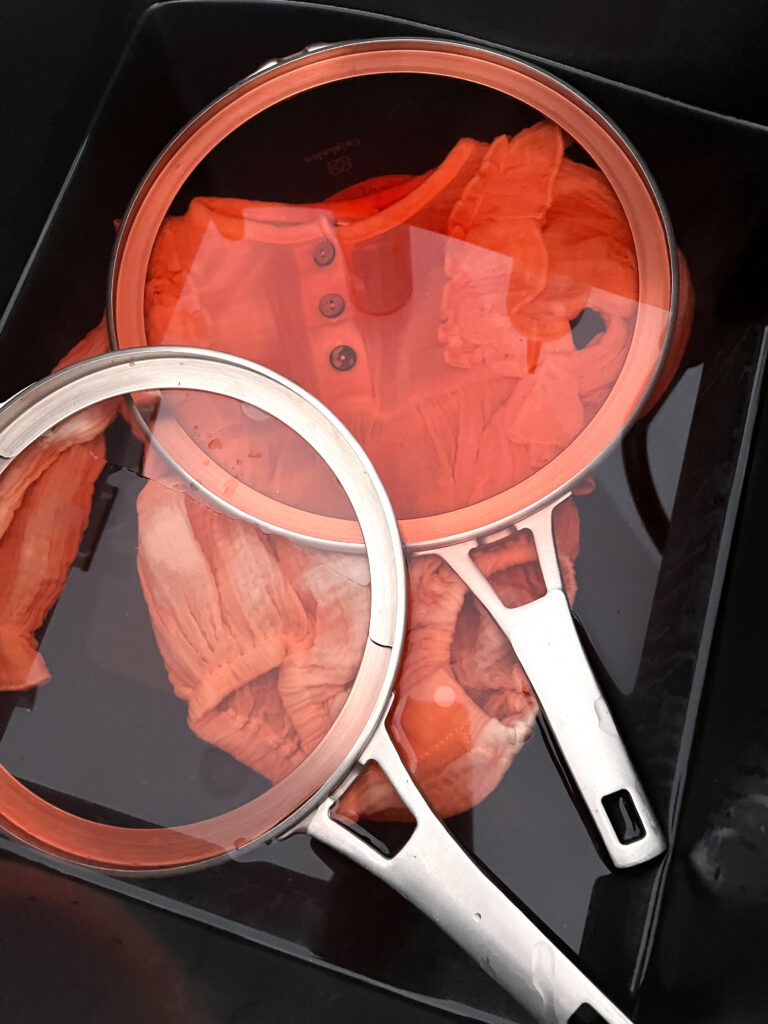
This next step is totally optional, but I do it because I worry about getting an even dye. Place a few saucepan lids on the garment so that it is fully submerged in the water... Now let the avocado dye do its job!
After 15 minutes, check the garment! If it still needs time, place the lids back on it and give it more time. The timing for this really depends on the desired color you are looking for. I let the onesie in these photos dye for about 40 minutes.
When it came to my bridesmaid dresses, however, the timing really fluctuated! I had one bridesmaid dress that was ready within 15 minutes and one that took an hour and half. It really depends on the material that you are working with, as each will take the dye differently.
Final Steps
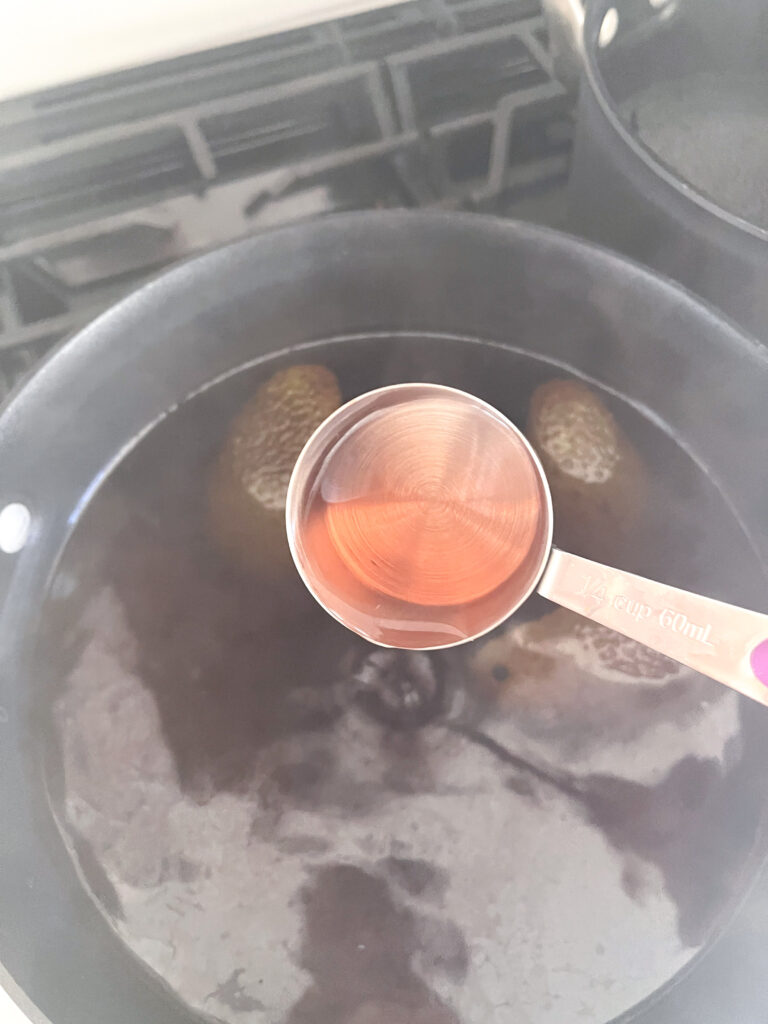
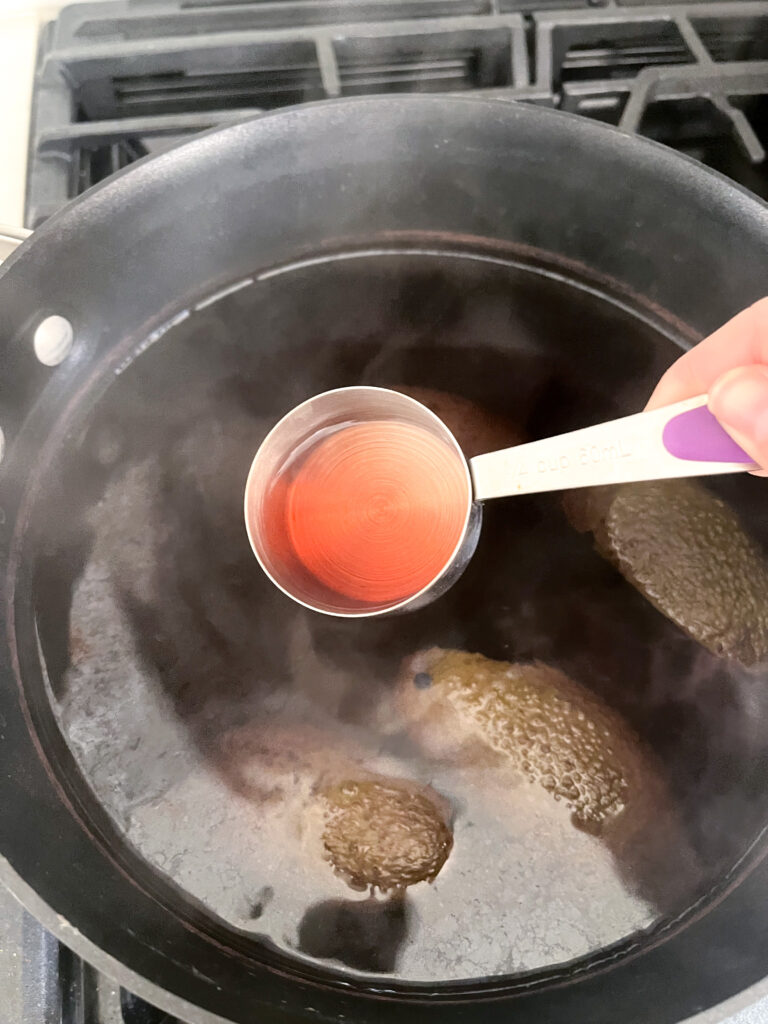
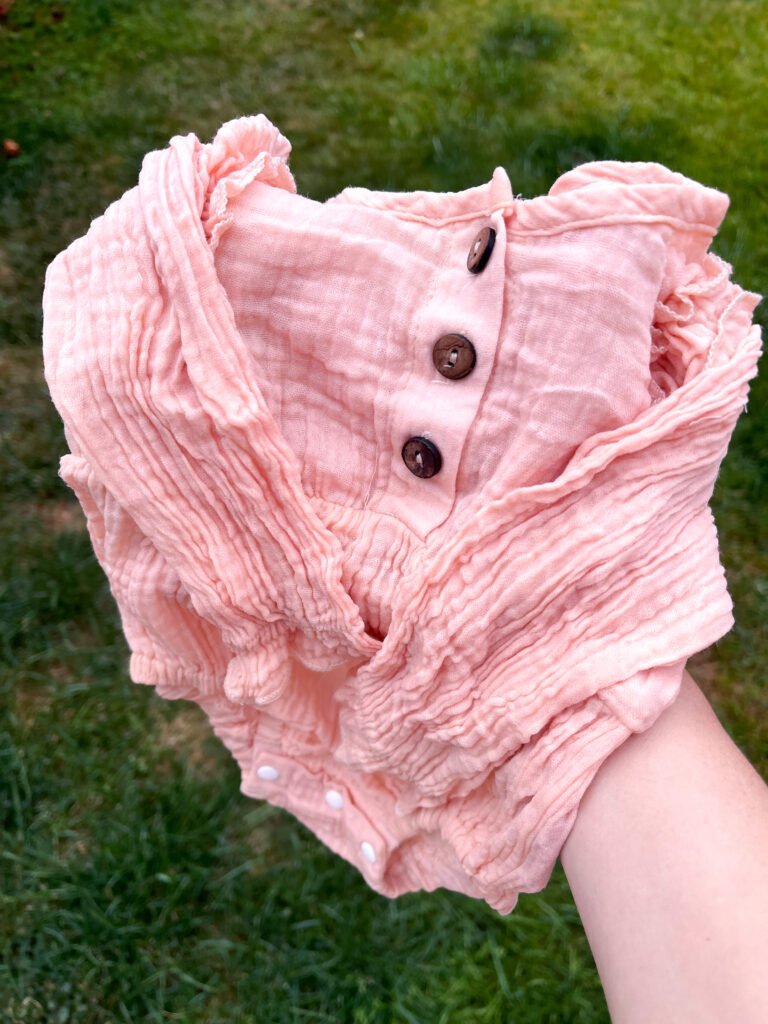
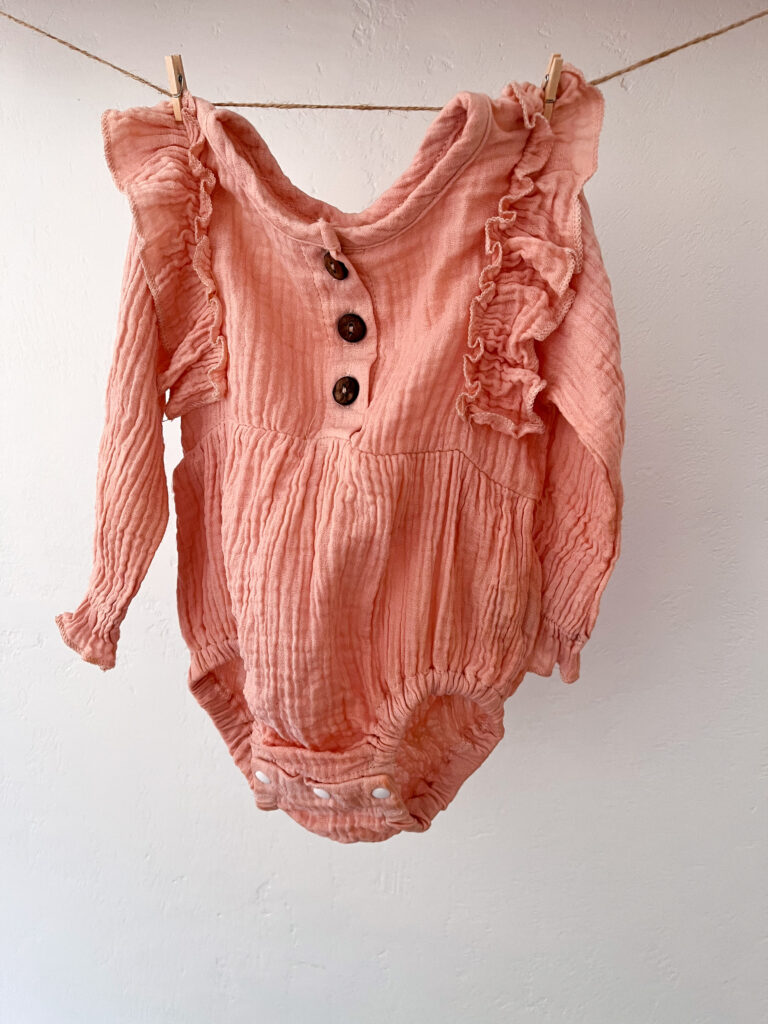
Once the garment is finished dyeing, rinse it out completely, until the water runs clear. Next, rinse out the container and fill it up with clean water. Add white vinegar to the container and mix it in the water. Submerge the garment and swirl it around. You will notice right away that the color of the garment will change and make it less vibrant. If you do not want to do this step, just skip it. Adding vinegar will help the color stay longer. I didn't do this step for my bridesmaid dresses because I did not want to alter the color! Rinse out the garment one last time and then hang to dry!
YAY that's all there is to dyeing with avocado!! If you're interested in reading more about how I personalized our wedding day, check out my Blush Wedding Day and our DIY Wedding Arch Backdrop Panels posts!
FAQs!
Most people will say to use only natural materials, like cotton, silk or linen.. But honestly, all of my bridesmaid dresses were made of completely synthetic materials and they dyed fine! So feel free to try whatever you'd like to dye, and keep an open mind!
This is totally fine! Double or triple the recipe and add the garments in together or one after the other. I have had success dyeing a few pieces with one batch of dye.
This is totally up to preference! I check my garments every 20 minutes until I am happy with the dye!
A mordant fixes the dye to the garment, and usually is used for synthetic dyes. In short, I have never used a mordant so I can say it is not necessary for this dyeing process! However, the clothes that I have dyed are not everyday wear pieces, so it may be worth using a mordant if the garment will be washed frequently.
I set the avocado dye with vinegar after I am happy with the color. I did this for the onesie because I anticipate it being worn several times. However, I did not do this for the bridesmaid dresses because I did not want to alter their color once they were dyed.

Avocado Dye for Clothing!
Equipment
- 1 8 qt stock pot
- 1 bin or container a dark one or one that you are comfortable with the color tinting due to the dye
Materials
- 2 avocados dark, ripe ones with a reddish or purple tint to the skin
- 2 tablespoon white vinegar
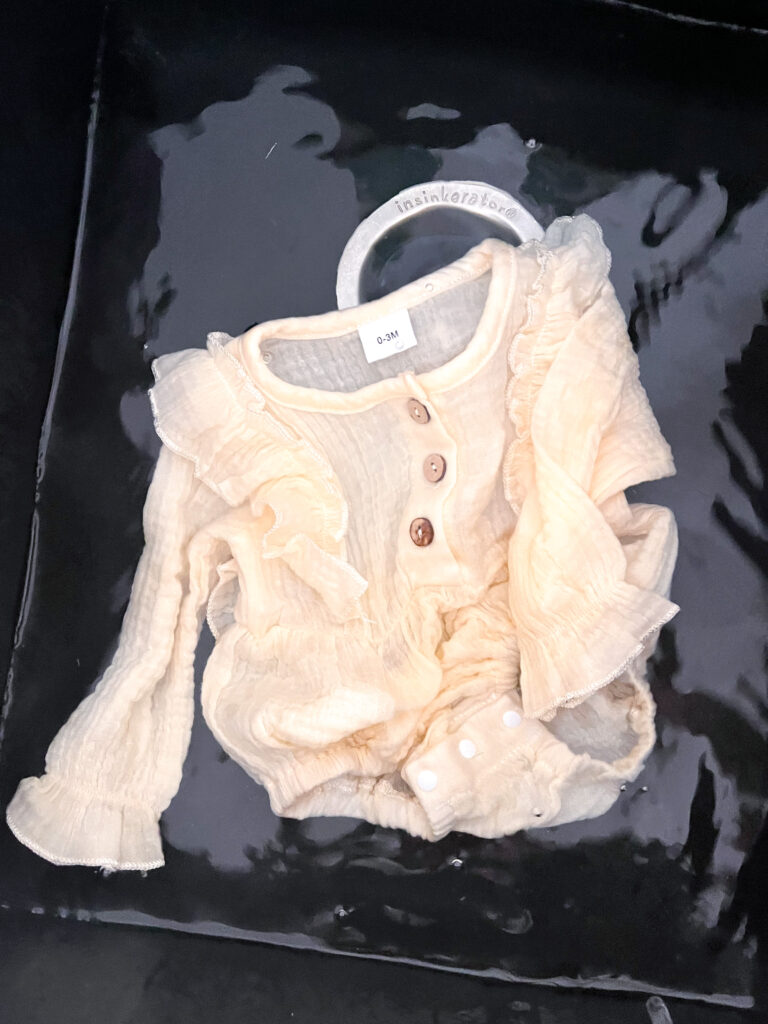
- 1 small garment of choice I used a baby onesie- white or cream colored garments work best!
Instructions
- slice avocados in half and remove the pits and flesh
- rinse out the avocado skins, using a dish scrub brush if necessary
- fill up the stock pot half way with water and heat to a simmer on the stove top
- once the water is simmering, add the skins
- allow the skins to simmer until the water has turned a dark reddish-pink color. This usually takes about 25-35 minutes
- while the dye is simmering, soak the garment completely in clean water so that it is saturated. wring out the excess water and set aside
- once the dye has reached the desired color, pour into a bin or sink (with stopper in to contain the liquid). Add clean water to the bin, just enough to cover the garment completely
- place the wet garment into the dye, making sure every part of it is submerged
- cover the garment with saucepan lids to keep the garment fully submerged
- check the garment every 20 minutes and then submerge and cover with the lids until satisfied with the dyed garment
- drain the dye and rinse out the garment in clean water until the water runs clear
- to help set the dye: fill up the bin or sink with clean water and add the vinegar. swirl around the water to mix and then add the garment
- rinse out one last time and hang to dry!


Claire says
Literally the most creative bride ever!