
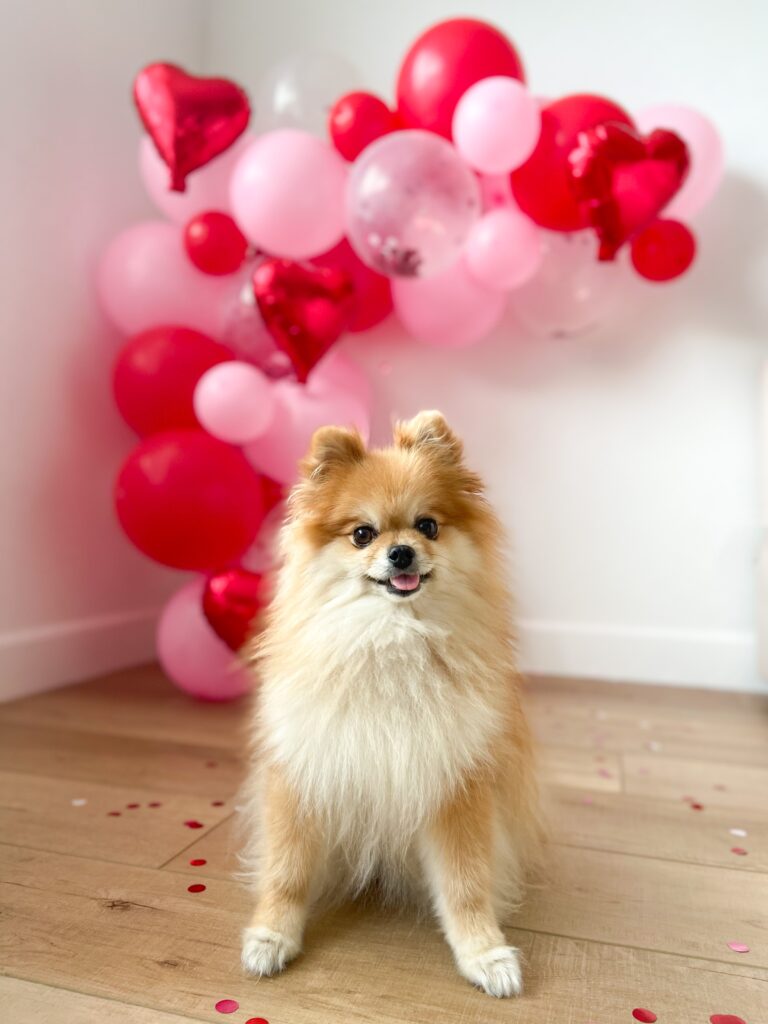
There are so many cute things about Valentine's Day in general, but anything dog or kiddo inspired literally sends me over the edge. So today I'm sharing a Valentine's day balloon garland I created for Penny, my little princess. You guys. It's so cute. This melted me in the best way! Valentine's Day balloons are such a fun touch to celebrate with as a backdrop for an intimate dinner, a kids party, a galentine's celebration, or even a dog party 🙂
If you're looking for more Valentine's Day ideas, make sure to read our Galentine's Brunch and DIY Felt Heart Garland posts.
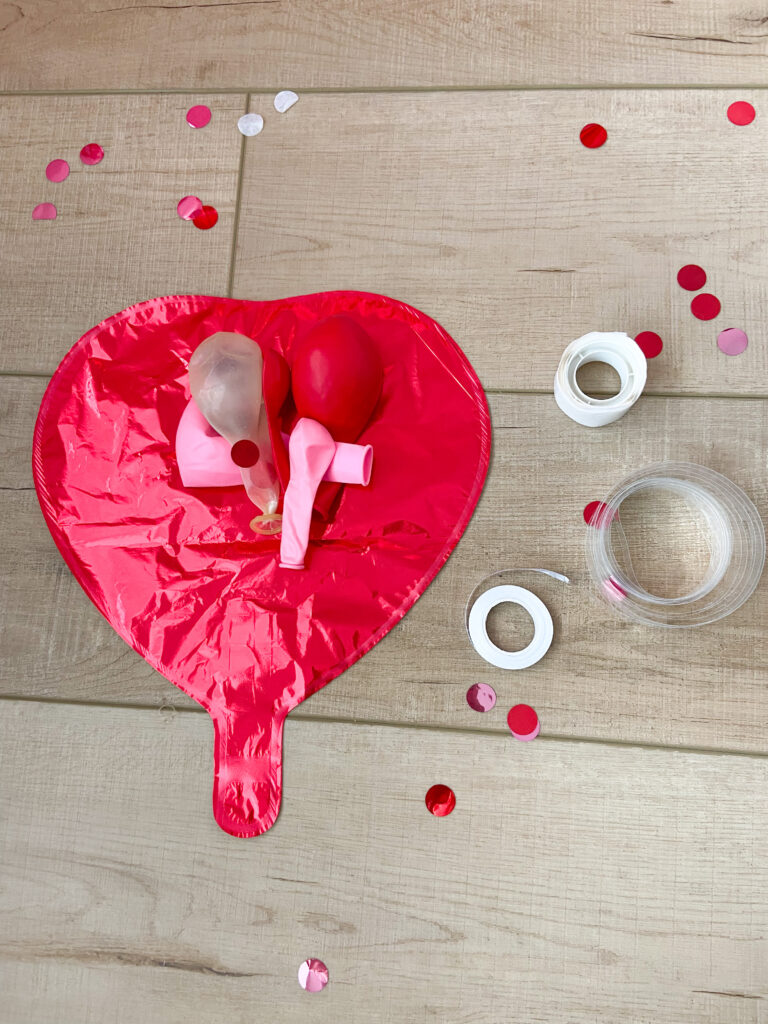
Supplies
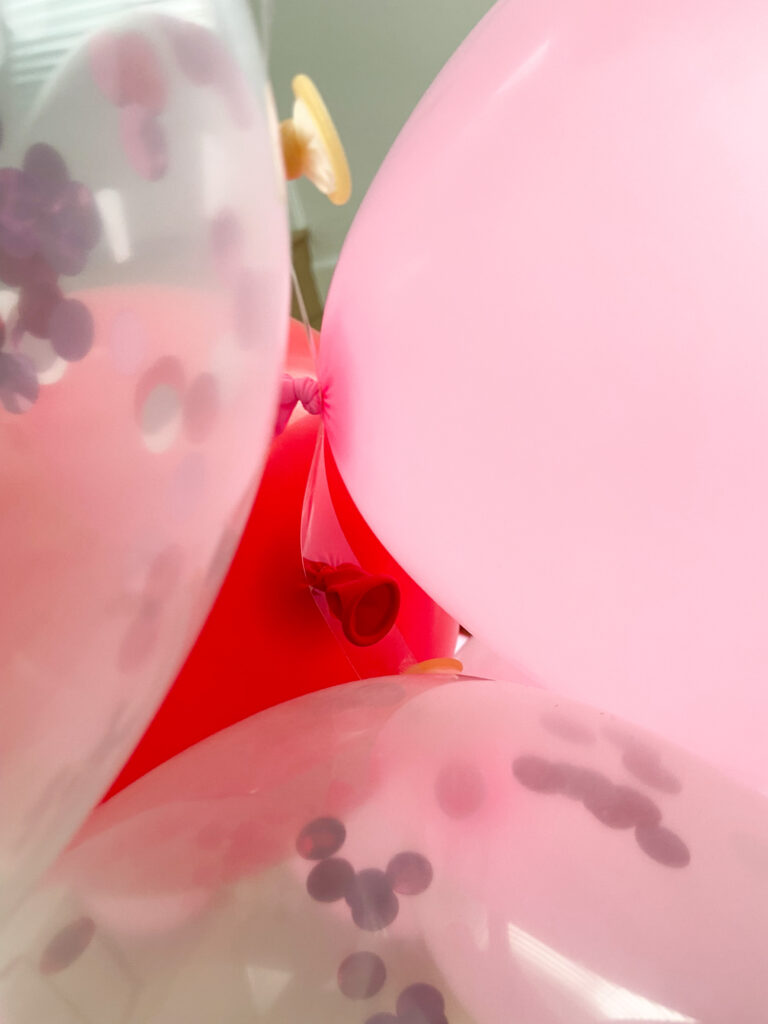
- Balloons - at least 3 different colors and in 2 sizes
- Ribbon
- Clear Tape
- Balloon glue dots
- Balloon Tape
- Scissors
- Electric Balloon Pump (not necessary, but VERY helpful!)
You can buy all of these things individually or just buy a kit. Here is the one I used for this post!
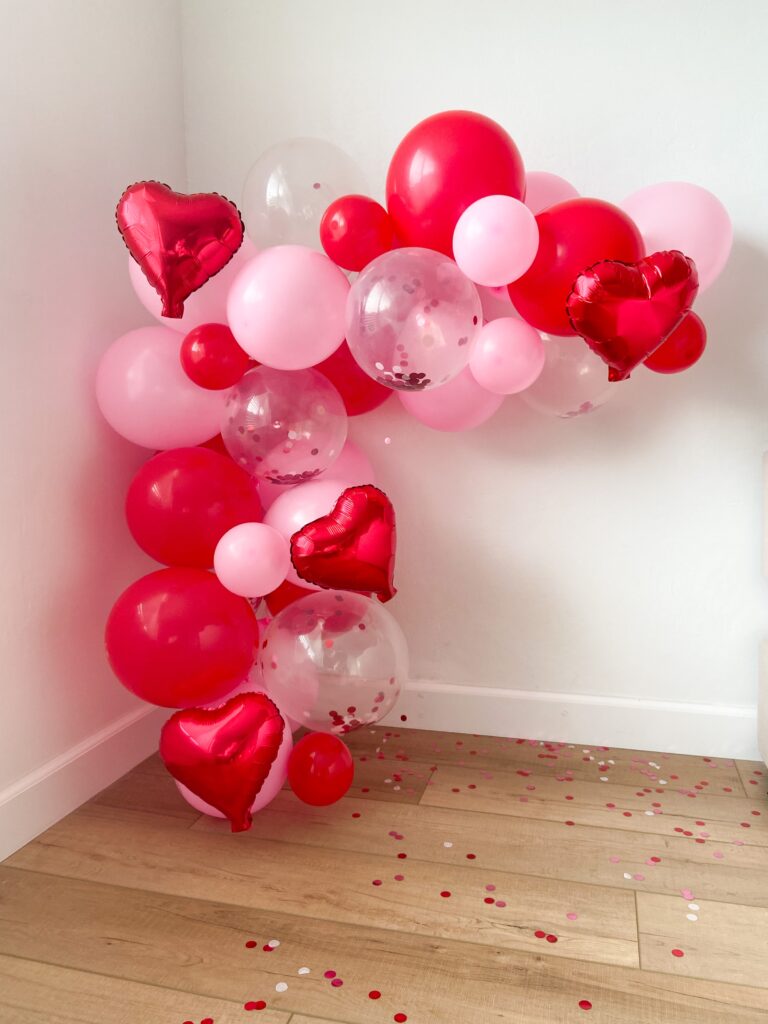
Making the Valentine's Day Balloon Garland
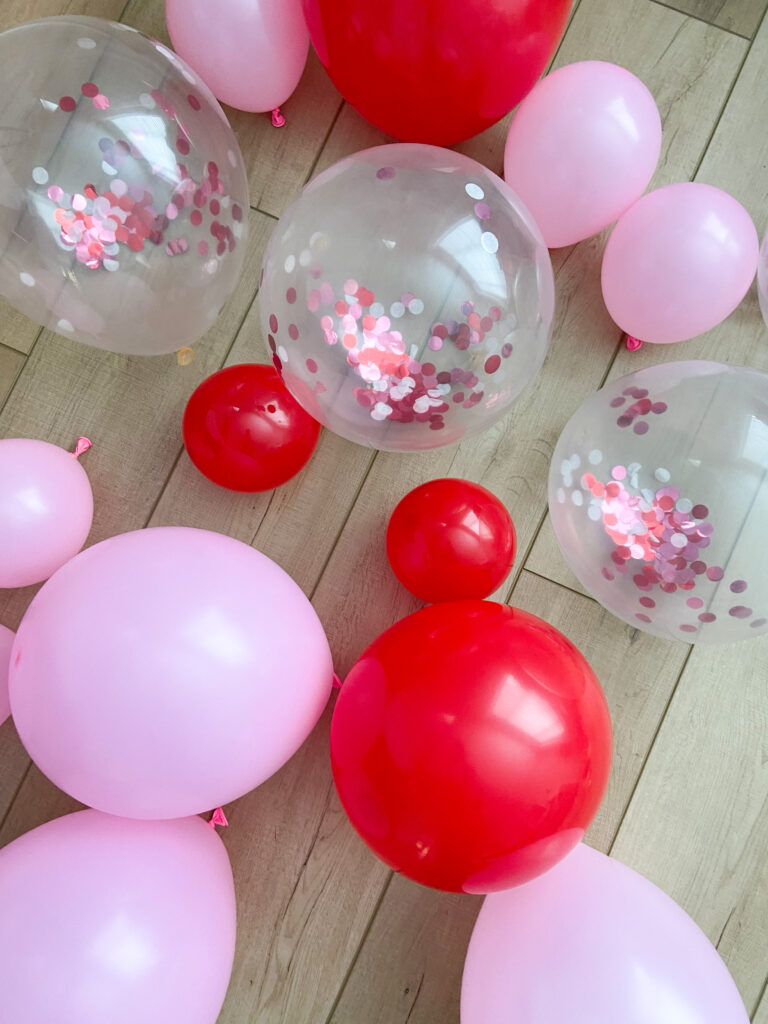
- Use the electric pump to inflate all of the balloons. It's best to inflate each balloon type to a similar size, so they look evenly matched. I used 10 of each color in the larger size, and 4 of each color in the smaller size, plus 4 heart shaped ones.
- Decide how long to the Valentine's Day balloon garland should be, and cut the balloon tape to the desired length. I made a miniature one so it was only about 5 ft total in length but the concept is the same for a larger one.
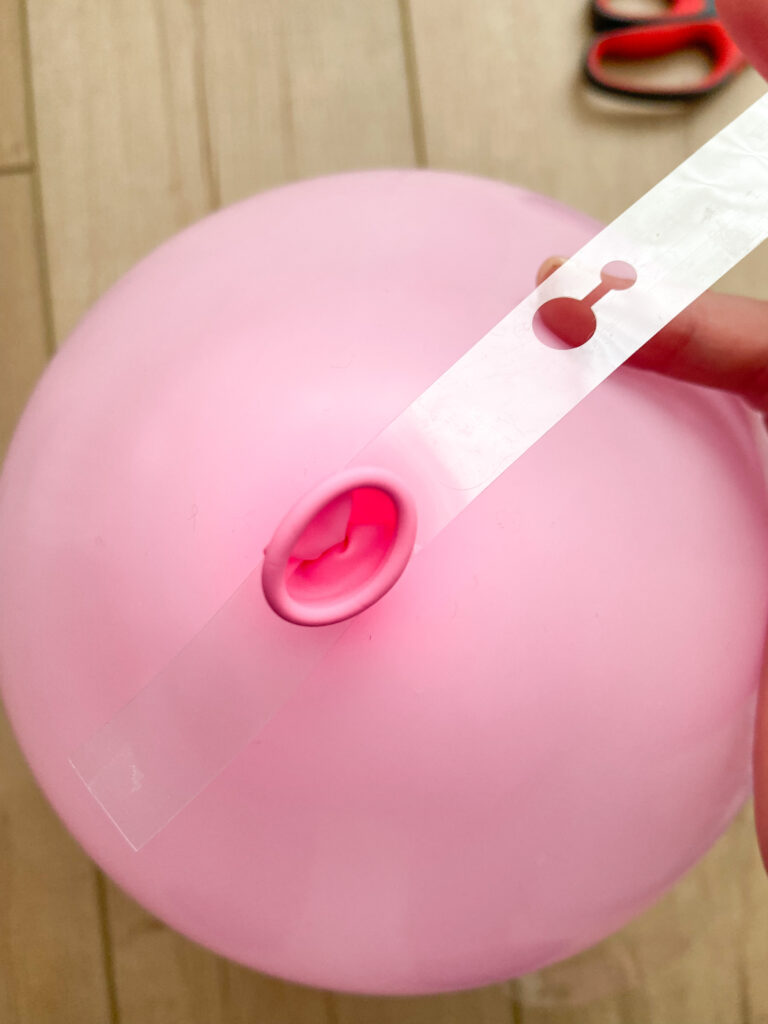
- Thread the largest balloon sizes through the tape holes. There is a larger hole to thread the knotted end of the balloon through, and then slide it over to the smaller hole to hold it in place. I always alternate every other side to thread the balloons- so they are not all facing the same direction on the tape.
- To make a curve or a corner in the garland, leave approximately 6 tape holes and then continue. The reason for this is that the balloons get bunched together making it difficult to form a curve.
Finishing touches to the Valentine's Day Balloons
- Attach the Valentine's Day balloon garland to the wall. For this mini garland I tied some ribbon to the curved area of the balloon tape and then taped the ribbon to the wall behind. I also did the same for the "floating" edge of the curve. This was enough to keep the balloons in place, but a larger one may need more support. For larger ones- it's helpful to have a backdrop to tie the balloons to instead of using tape only to support it.
- Use the smaller sized balloons for any gaps in garland using the balloon glue dots. These small balloons are perfect for hiding any spaces where the balloon tape may be visible.
- Sprinkle a few fun shaped balloons throughout- I used the shiny, heart shaped balloons here!
Tips
- Do not over inflate the balloons! This will make them harder to tie and harder to make the garland in general
- Some textures of the balloons like the glue dots more than others- its ok to use multiple glue dots to get the balloons to stay in place. Make sure to hide the knot behind so it doesn't show!
- Don't try to take the tape off a balloon once it's there- use clear tape and just leave it! Otherwise it may pop!
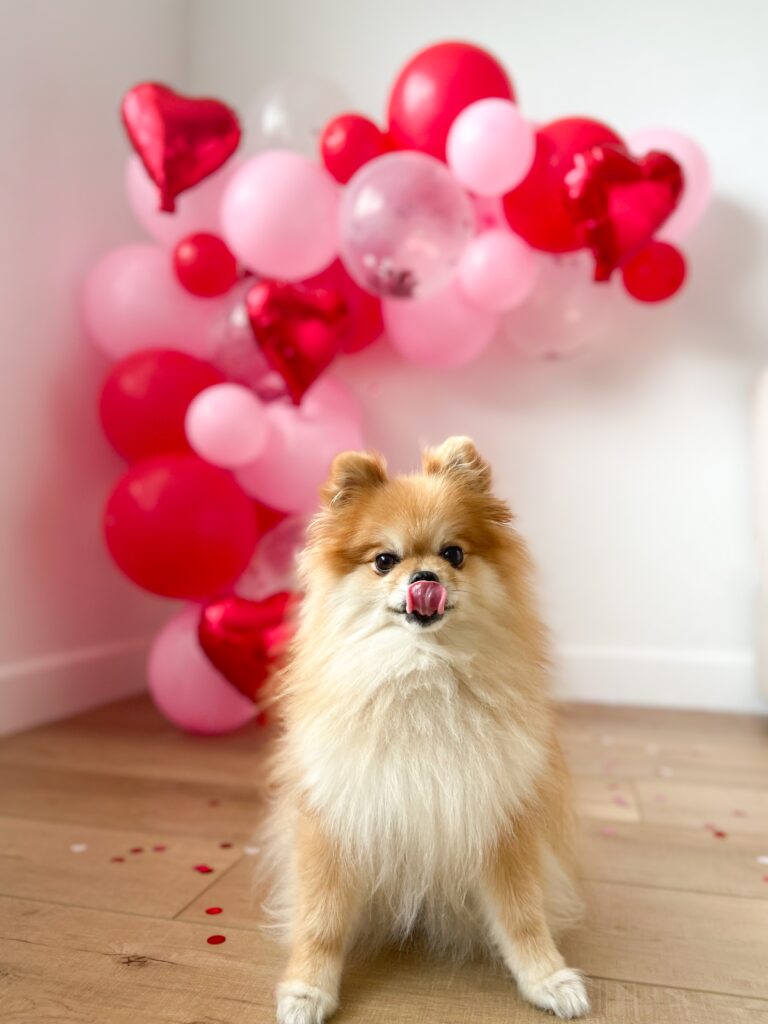
She's just so cute! I can't with this one.
Please let me know if you end up making this and if you're a dog lover like me- let me know if you did a photoshoot with your fur baby!
Hugs,
Melanie


Claire says
Omgeeeee! Could Penny be more adorable?!?! Love it Melanie!
Carol says
I love the balloon garland and how versatile it can be for any occasion. The size is perfect. Penny couldn’t be any cuter if she tried!!
Melanie Jameson says
Thank you! So glad you love it! And you're right, this works for any and all occasions!