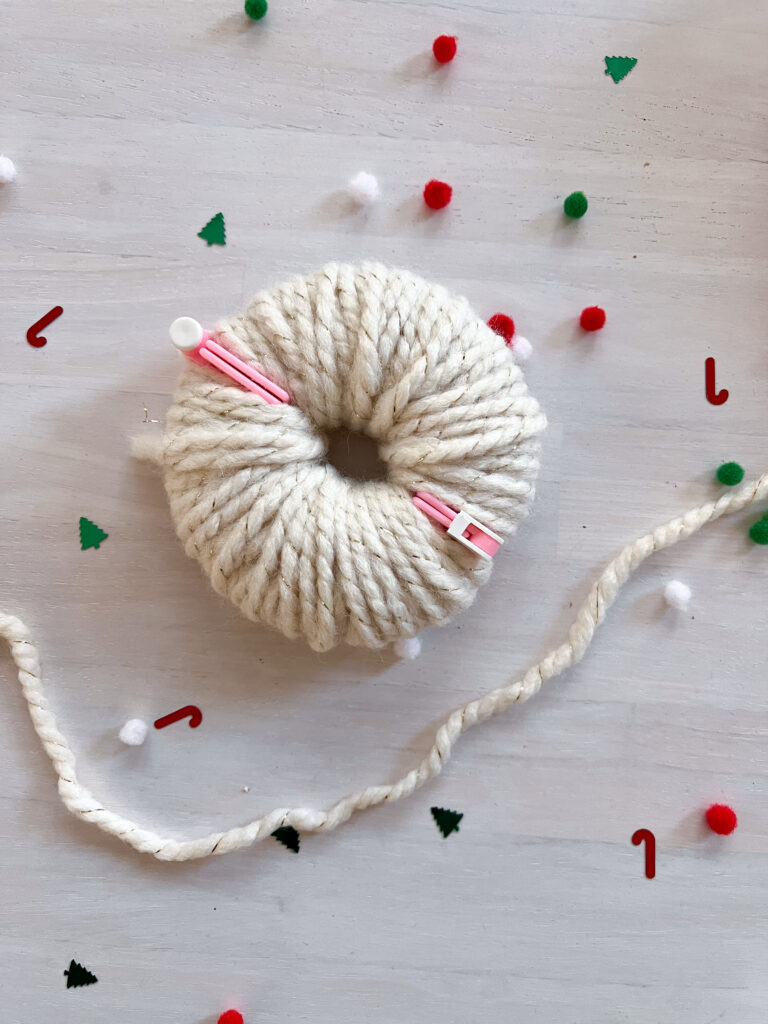
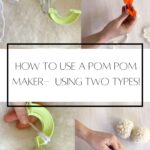
The holidays are almost here! It's so hard to believe that it's ALREADY that time again. My family loves Christmas so no complaints here! Our tree went up November 1st and each night my husband "makes it Christmas time" by turning off all the lights, lighting a candle, and plugging in our Christmas tree lights! So in the spirit of Christmas and crafting, today I'm going to share how to use a pom pom maker for all of those Christmas crafts. Let's be honest, the directions on the back of the packaging are usually not sufficient! So read on for an easy breakdown of how to make pom poms with a pom pom maker- using the two main types. I'll also share a few different types of pom pom makers so you can get an idea of which one you may prefer to purchase.
In the crafting mood? Check out all of our Christmas Crafts!
We have an adorable pom pom garland how-to post too!!
Types of Pom Pom Makers
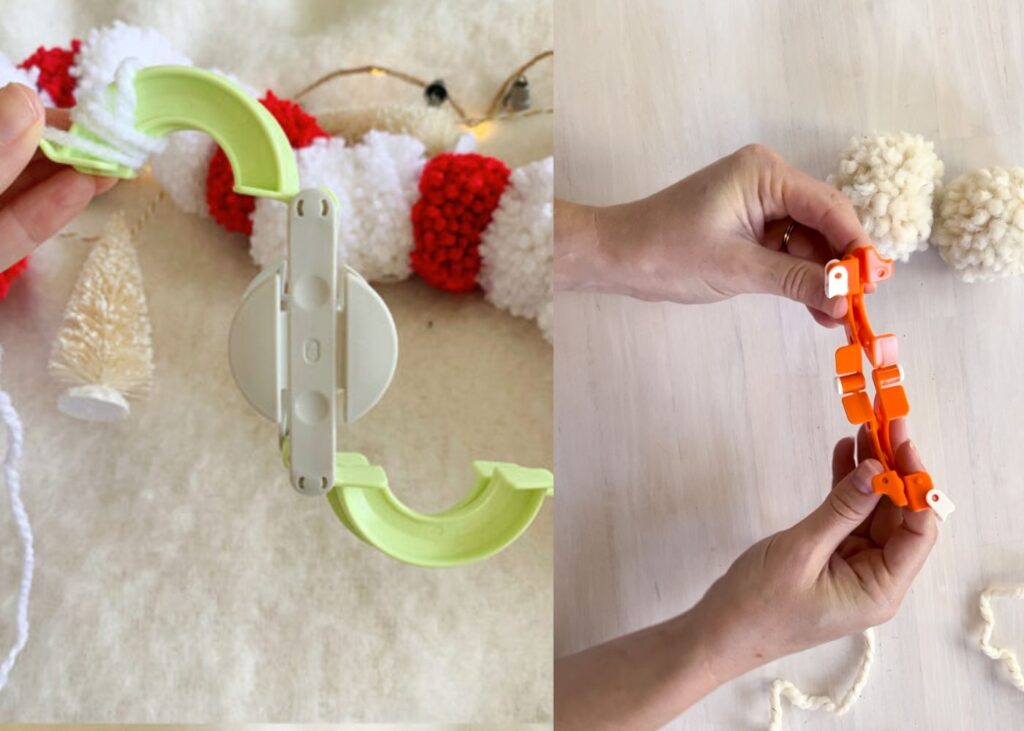
There are a few different types of pom pom makers that you can pick up at a craft store or online. The main difference is that one has a middle piece that holds the yarn after its been cut, and the other type does not. See the photos below for reference Both are really easy to use, but I would say the one with the middle piece is easier for beginners. Each type comes with multiple size options to make smaller or larger pom poms. The great things about these pom pom makers?! They are SO easy to use and honestly, slightly addicting!! You'll be a pom pom pro in no time!
Types of Yarn to use
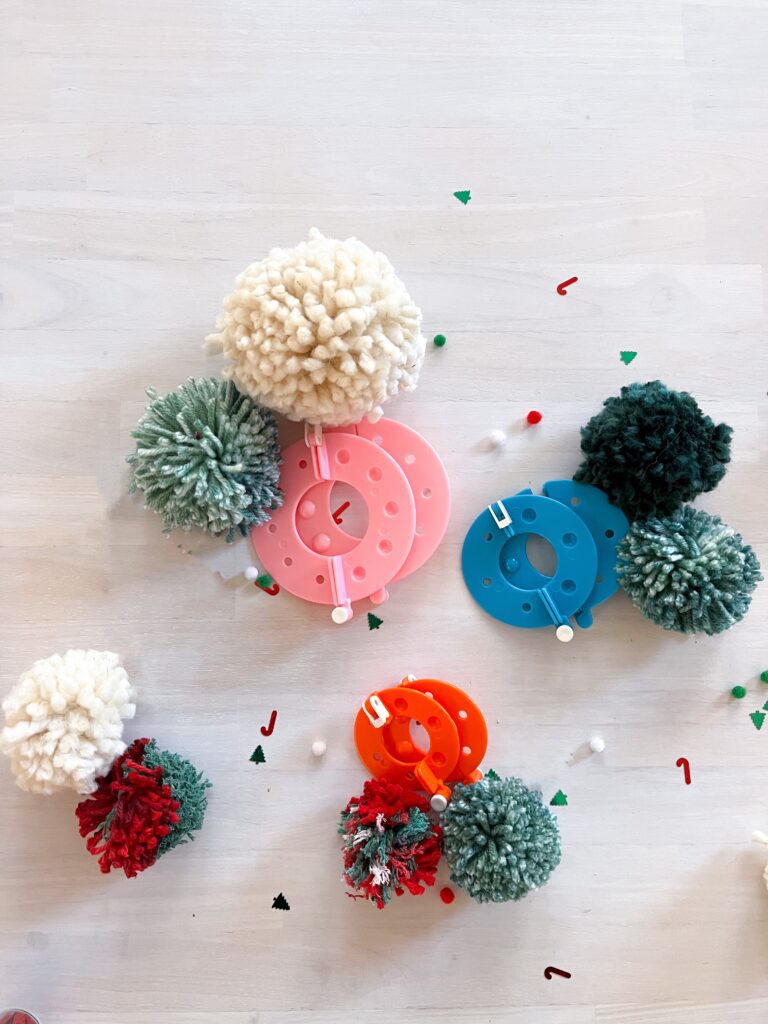
You can make pom poms with any type of yarn! In general, using a thicker yarn creates a fluffier and fuller looking pom pom. For the photos below, I used a yarn weight of 5 Bulky (Skein weight 3.5 oz), a yarn weight of 4 medium (Skein weight 5 oz) and a yarn weight of 4 medium (Skein weight 2.6 oz). The size and texture of the yarn will affect the final look of the pom pom- I personally love mixing textures.
How to make pom poms with a pom pom maker
Step 1!
Prep the pom pom maker. Open the maker so that the semi circles spread out like arms. This is straight forward for the maker with the middle piece, but for the maker without that feature, take the two pieces that are the same size, and line them up together so that there is a clasp on either side. Hold the pieces together until the yarn wraps around at least one side.

Step 2!
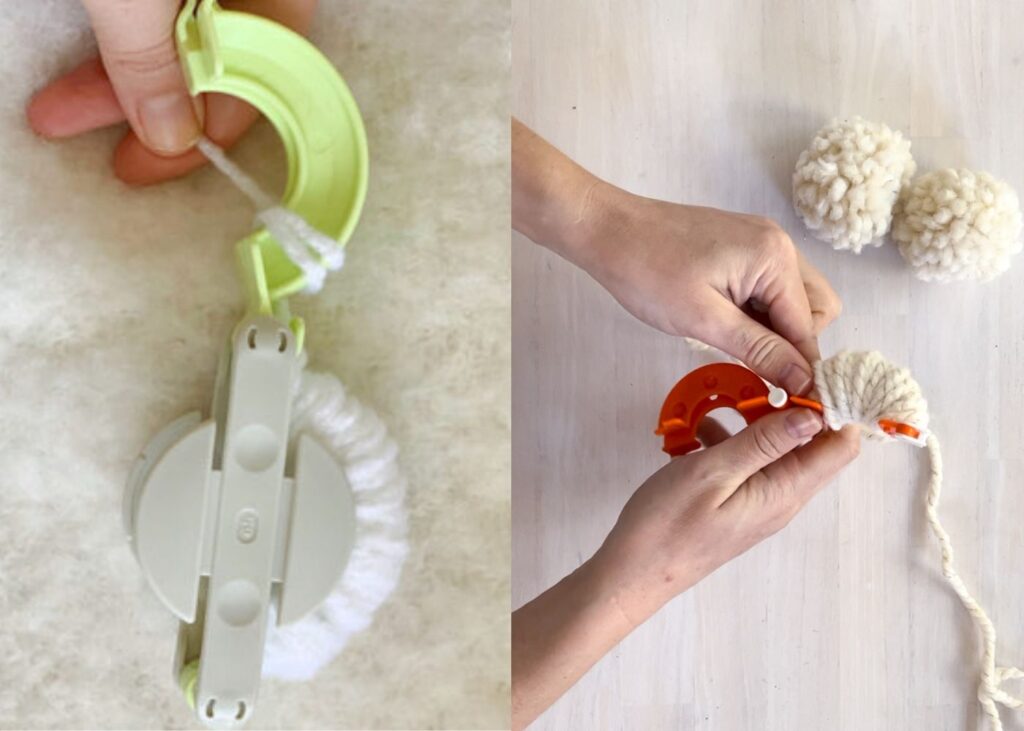
Take yarn of choice, and start wrapping around one side of the maker, starting from the INSIDE and working towards the outside. The tighter and closer the yarn is wrapped together creates a fluffier, more fuller looking pom pom. I usually wrap the yarn from the inside-outside-inside-outside-inside (or wrap it fully twice) on each side. If the yarn is really thin, I wrap it three full times per side. Next, take the yarn and loop it to the second side, and repeat. I cut the yarn, and then tuck the end under one of the nearby loops, to keep it in place.
Step 3!
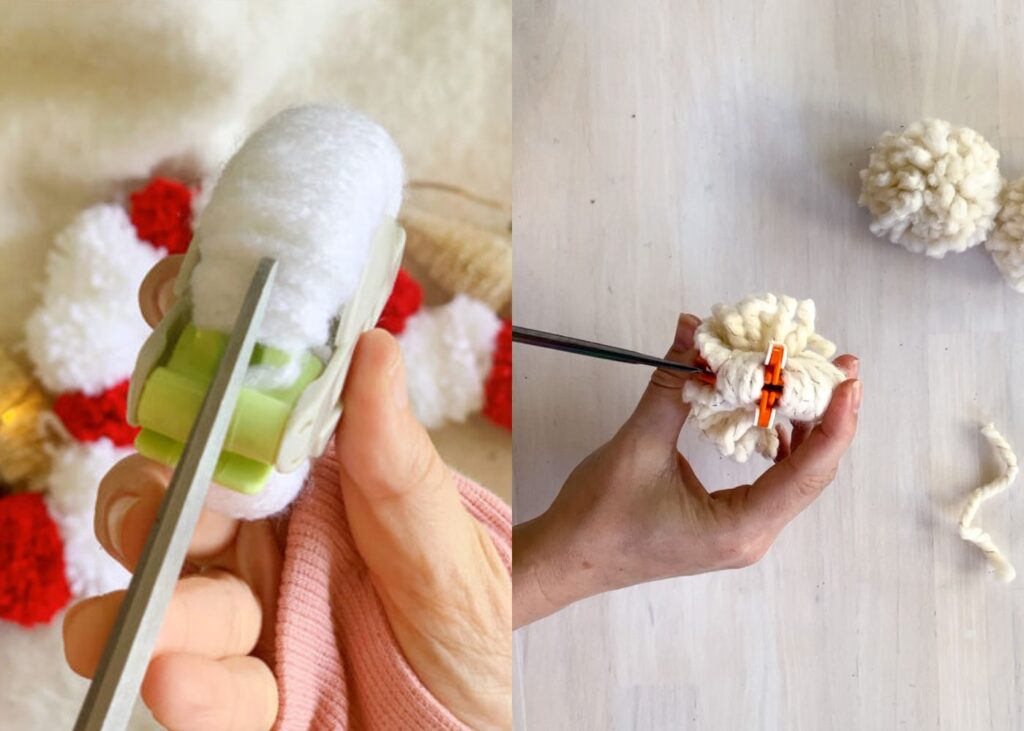
Close the pom pom maker so that it forms a full circle. For the simple pom pom maker, take the clasps on either end and click them into place, so that the circle holds itself together. Next, take scissors (sharp craft scissors work best) and cut the yarn along the center of the arms around the pom pom maker. Tip: Don't touch the yarn that's been cut on the simple maker so it doesn't push through on one side and go lopsided.
Finishing Steps
Step 4!
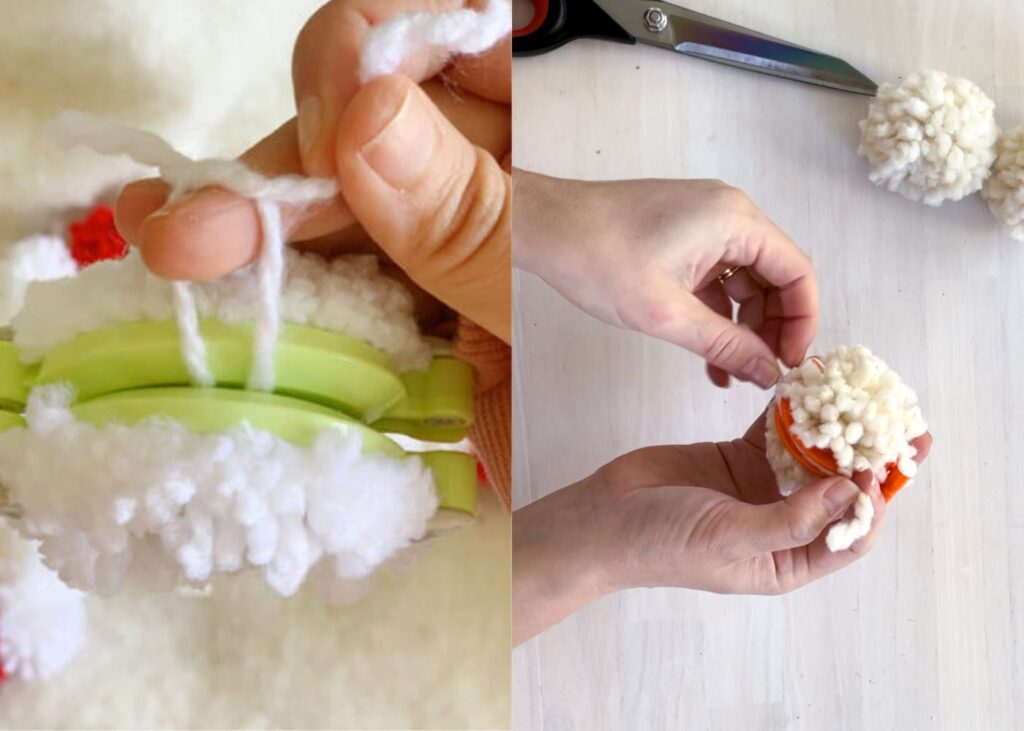
Cut a separate piece of yarn, long enough to wrap around the pom pom and be able to knot it. Wrap this piece through the open ends where the cuts on the maker have just been made. Make a simple knot around the pom pom. I tighten the yarn and knot it as tight as possible, and then loop it around again and tie it one more time.
Step 5!
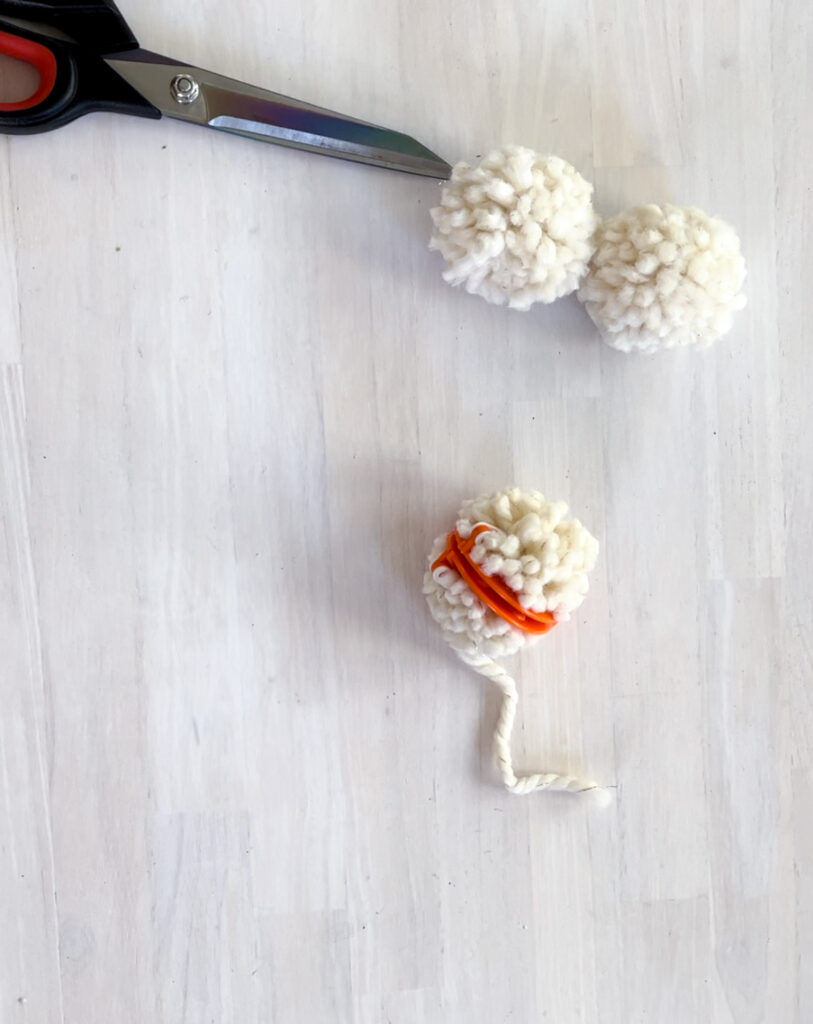
Unclasp the pom pom maker and remove the pom pom!! Fluff the pom pom since it will be lopsided at first. Now you know how to use a pom pom maker! Yay!!!
Step 6!
If the pom pom is uneven or has pieces sticking out, simply take the scissors and trim them down. Lastly, Trim the knotted string that is holding the pom pom together too.
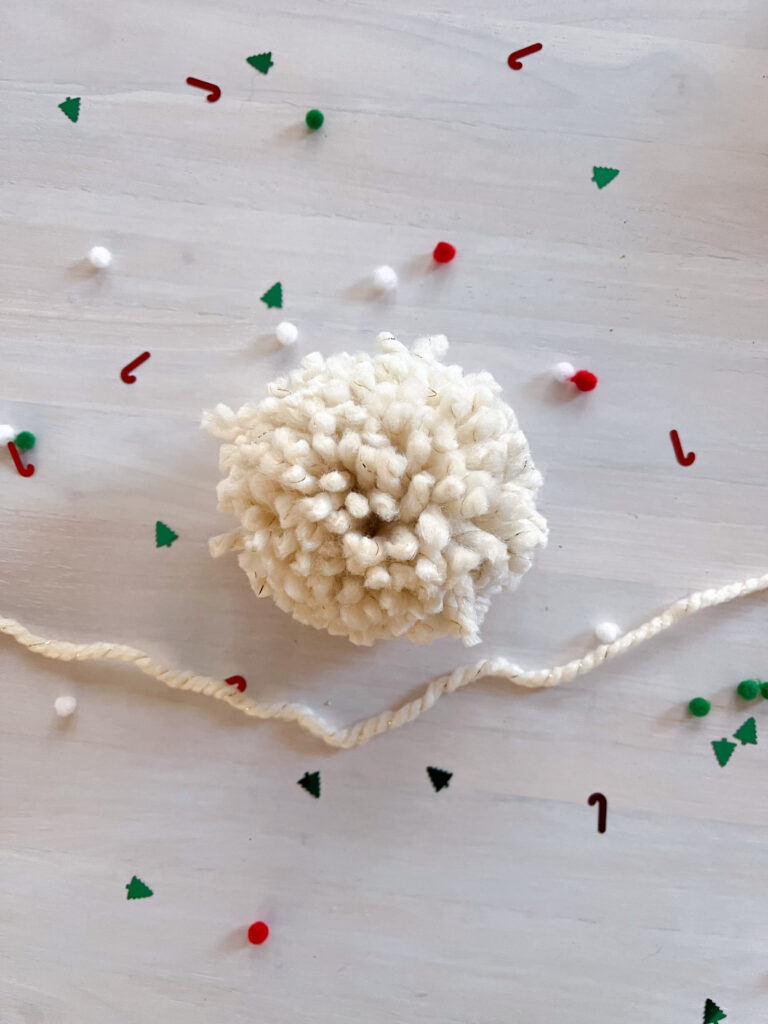
Making these is honestly so easy with either type of pom pom maker. I hope that you enjoyed this quick tutorial, and please let me know which type of pom pom maker is your favorite! Happy Crafting!
xoxo,
Melanie
How to use a pom pom maker- two types!
Equipment
- pom pom maker
Materials
- yarn of choice
Instructions
- Prep the pom pom maker! Open the maker so that the semi circles spread out like arms. This is straight forward for the maker with the middle piece, but for the maker without that feature, take the two pieces that are the same size, and line them up together so that there is a clasp on either side. Hold the pieces together until the yarn wraps around at least one side.
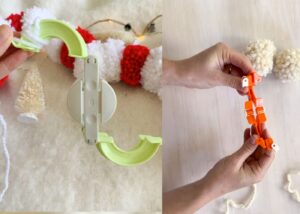
- Take yarn of choice, and start wrapping around one side of the maker, starting from the INSIDE and working towards the outside. The tighter and closer the yarn is wrapped together creates a fluffier, more fuller looking pom pom. Wrap the yarn from the inside-outside-inside-outside-inside (or wrap it fully twice) on each side. If the yarn is really thin, wrap it three full times per side. Take the yarn and loop it to the next side, and repeat.
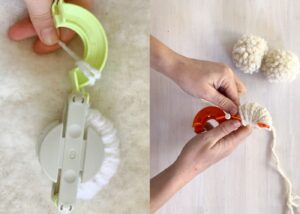
- Cut the yarn, and then tuck the end under one of the nearby loops, to keep it in place.
- Close the pom pom maker so that it forms a full circle. For the simple pom pom maker, take the clasps on either end and click them into place, so that the circle holds itself together. Next, take scissors (sharp craft scissors work best) and cut the yarn along the center of the arms around the pom pom maker. Tip: Don't touch the yarn that's been cut on the simple maker so it doesn't push through on one side and go lopsided.
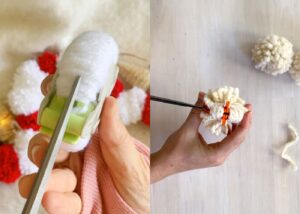
- Cut a separate piece of yarn, long enough to wrap around the pom pom and be able to knot it. Wrap this piece through the open ends where the cuts on the maker have just been made. Make a simple knot around the pom pom. Tighten the yarn and knot it as tight as possible, and then loop it around again and tie it one more time.

- Unclasp the pom pom maker and remove the pom pom!! Fluff the pom pom!
- Trim any pieces that are sticking out!



Claire says
This is such a helpful guide!!